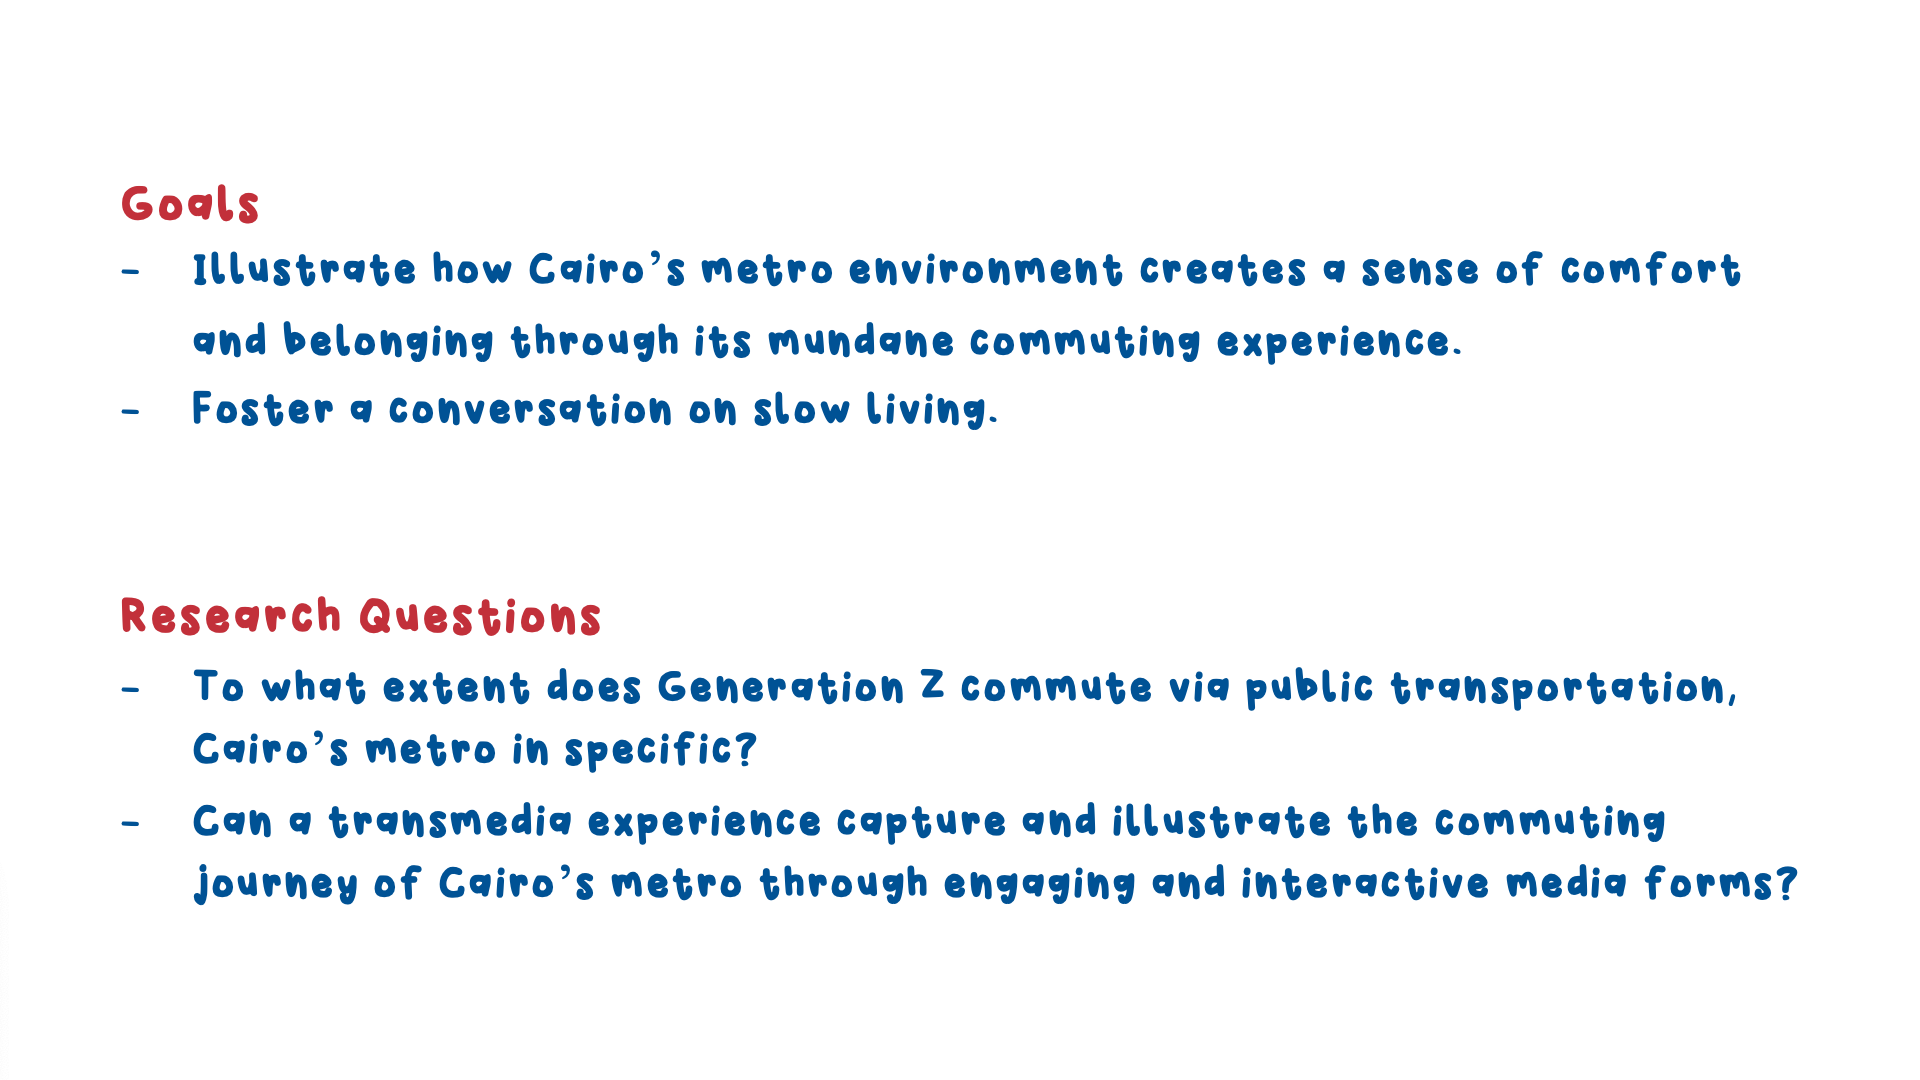
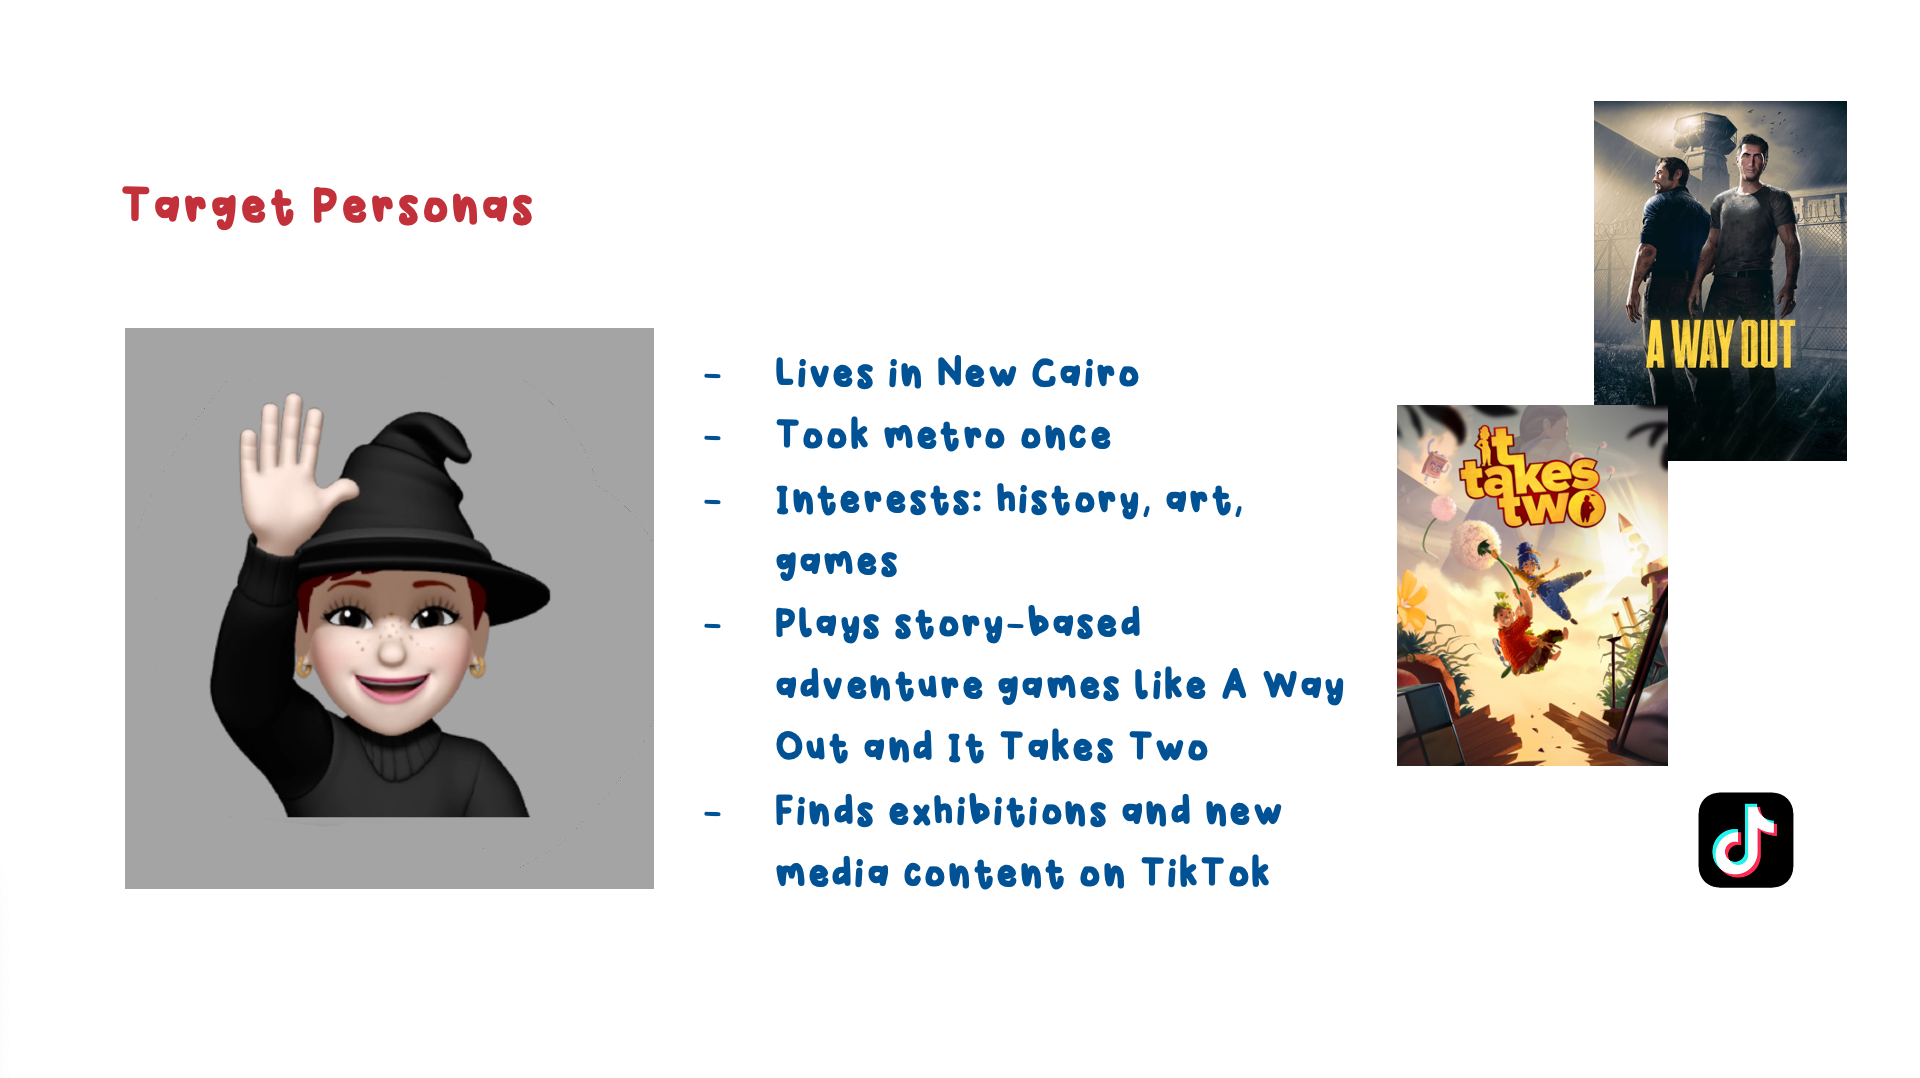
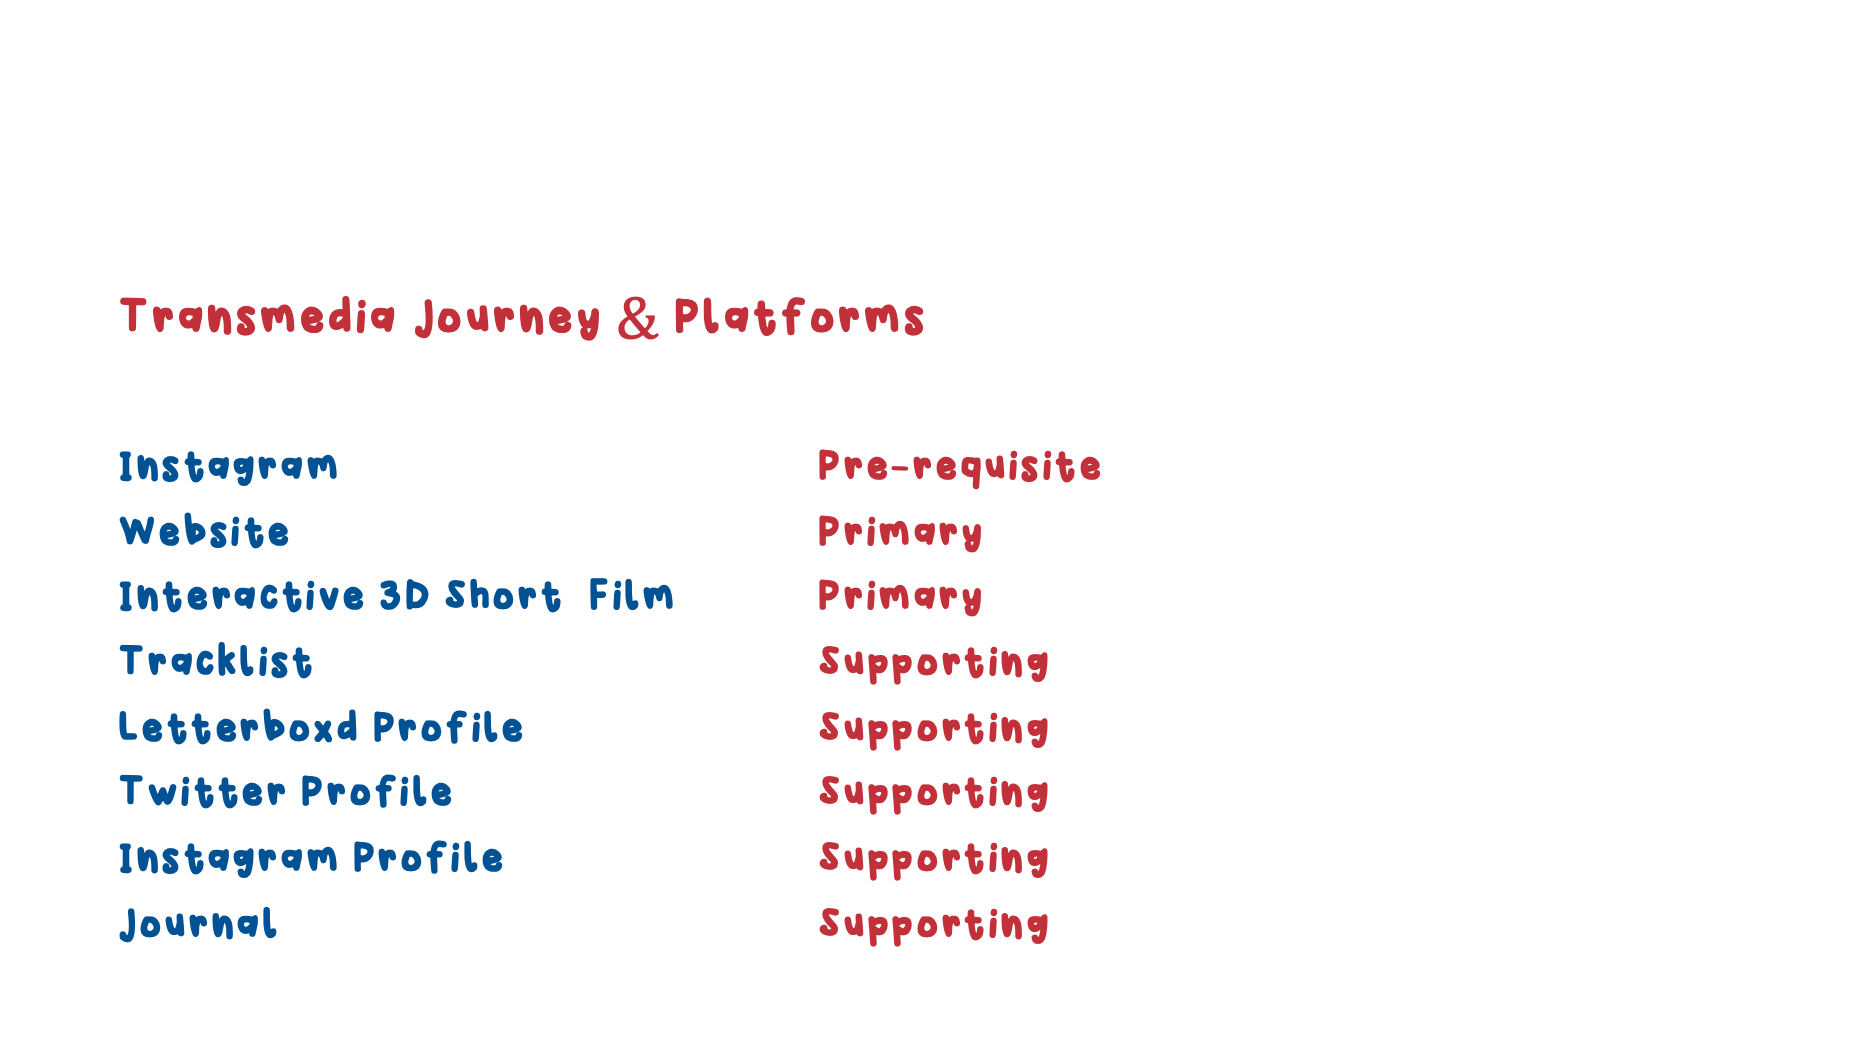
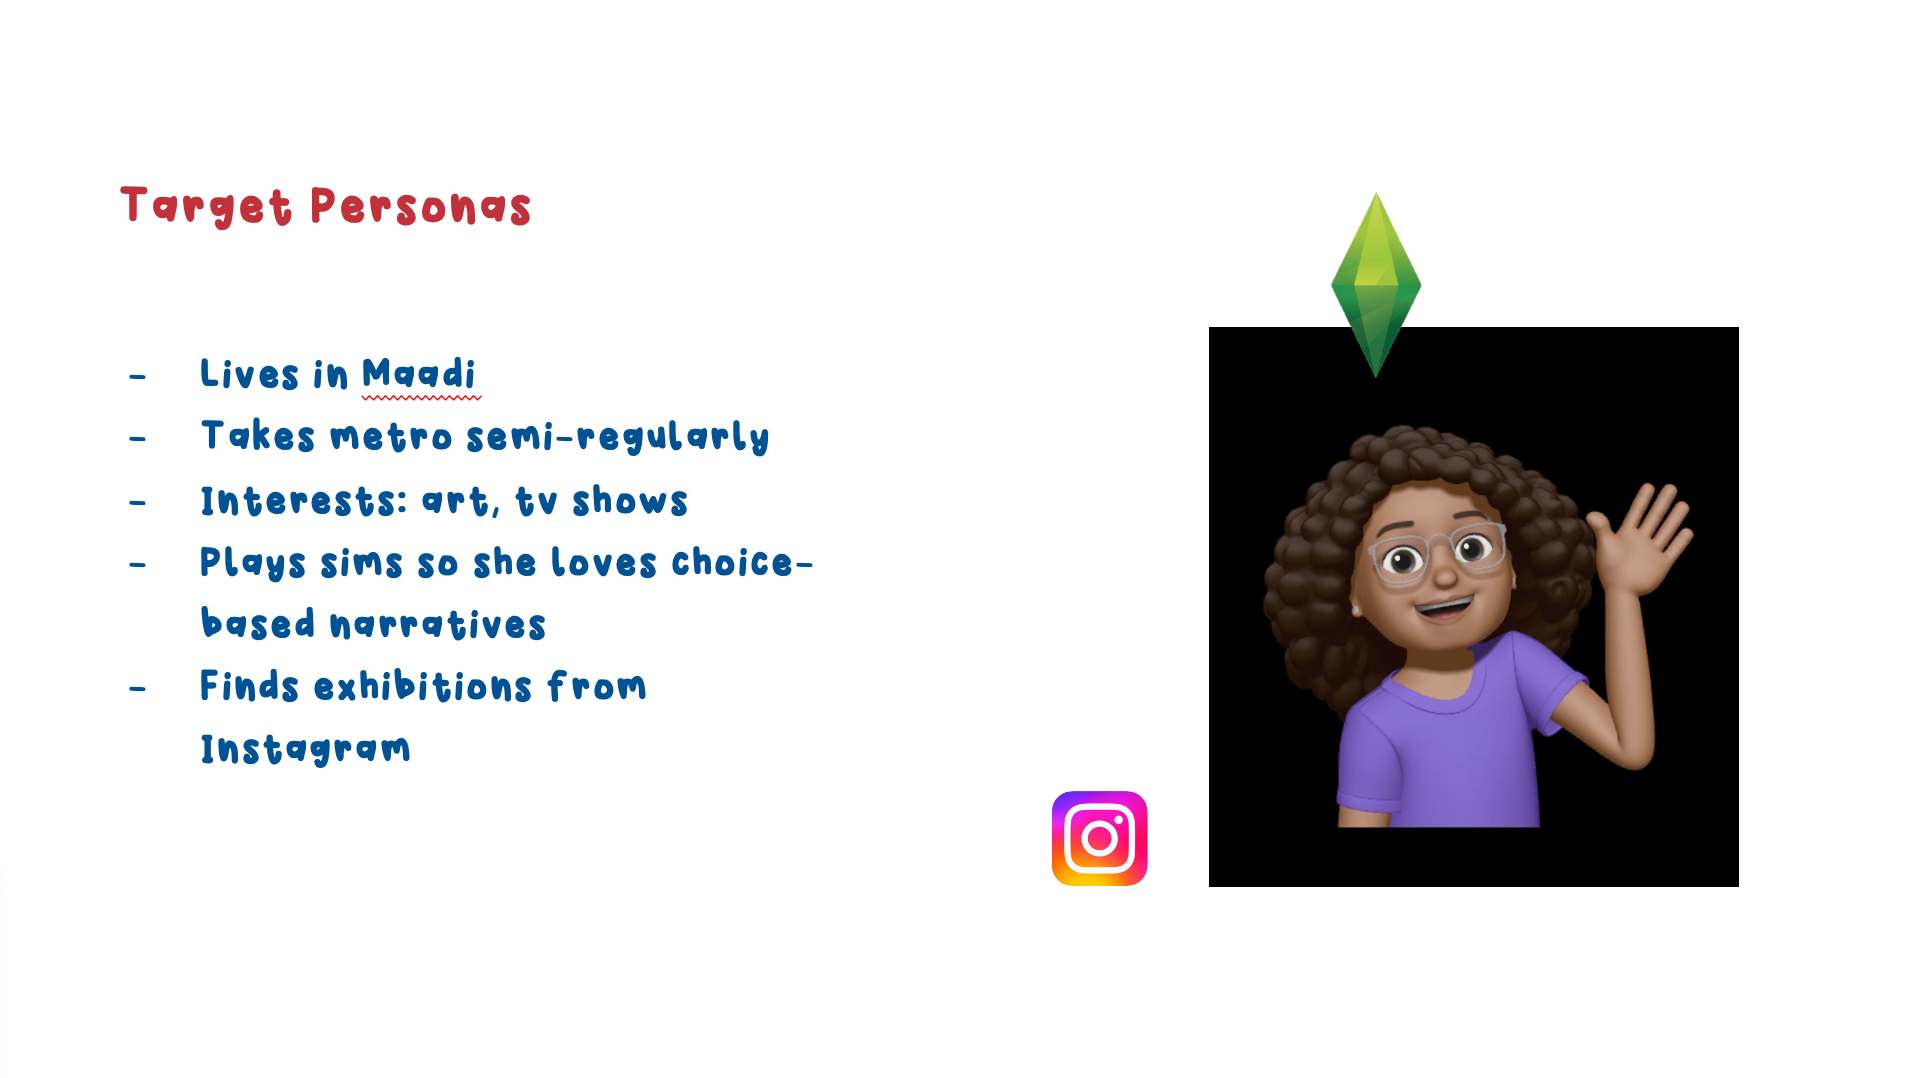
I created a shot list and asset list from the previz I had made. Over the second month, I reclarified my project's goals and created 2 target personas, made an Instagram plan, uploaded the tracklist, planned for the technical showcase, and started production. I started executing the interactive film on Unity mainly using Cinemachine as it provides powerful timeline features. I created all my 3D assets: Rayyan the main character, Medhat, metro environment, station environment, phone, etc... I used Maya, Zbrush, and Blender in my creation process. Before all that though, I took a moment to reconsider my target audience, research questions, project goals, and my chosen platforms.


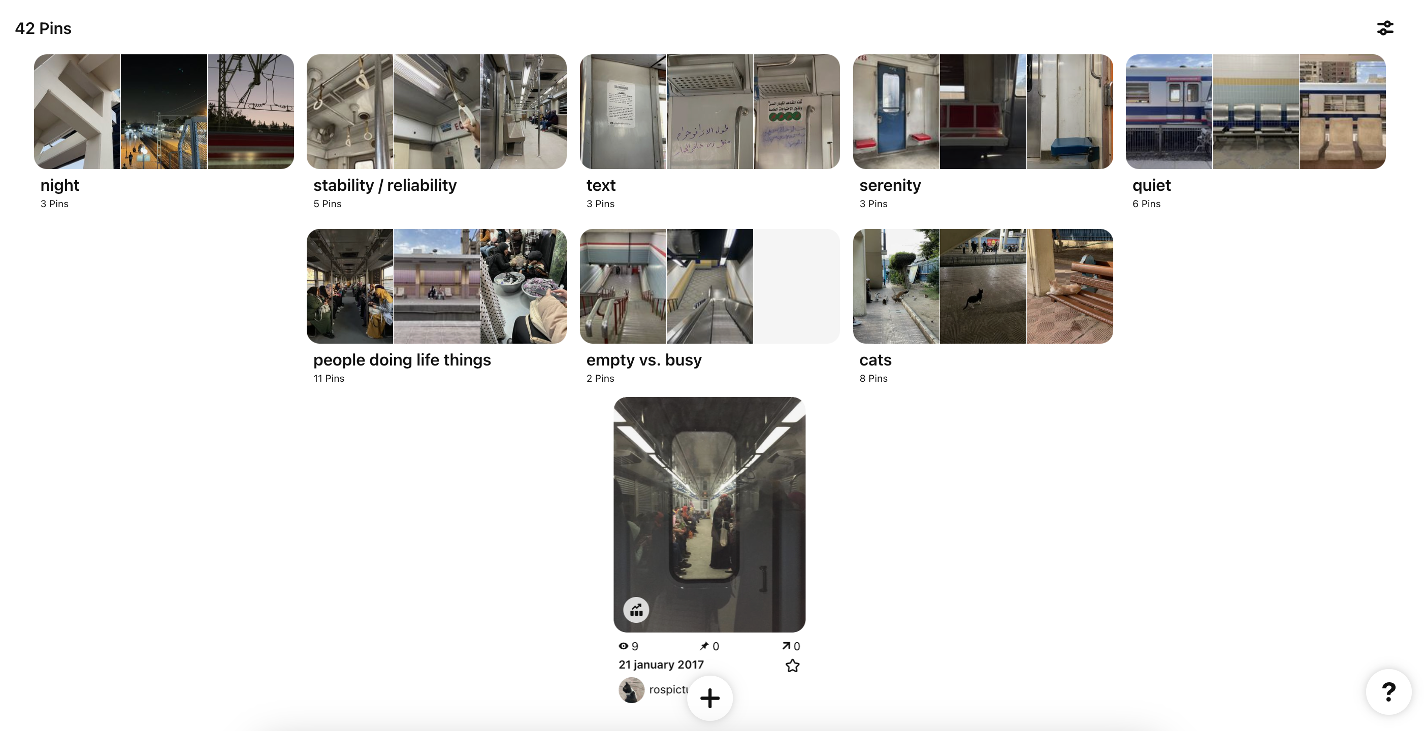
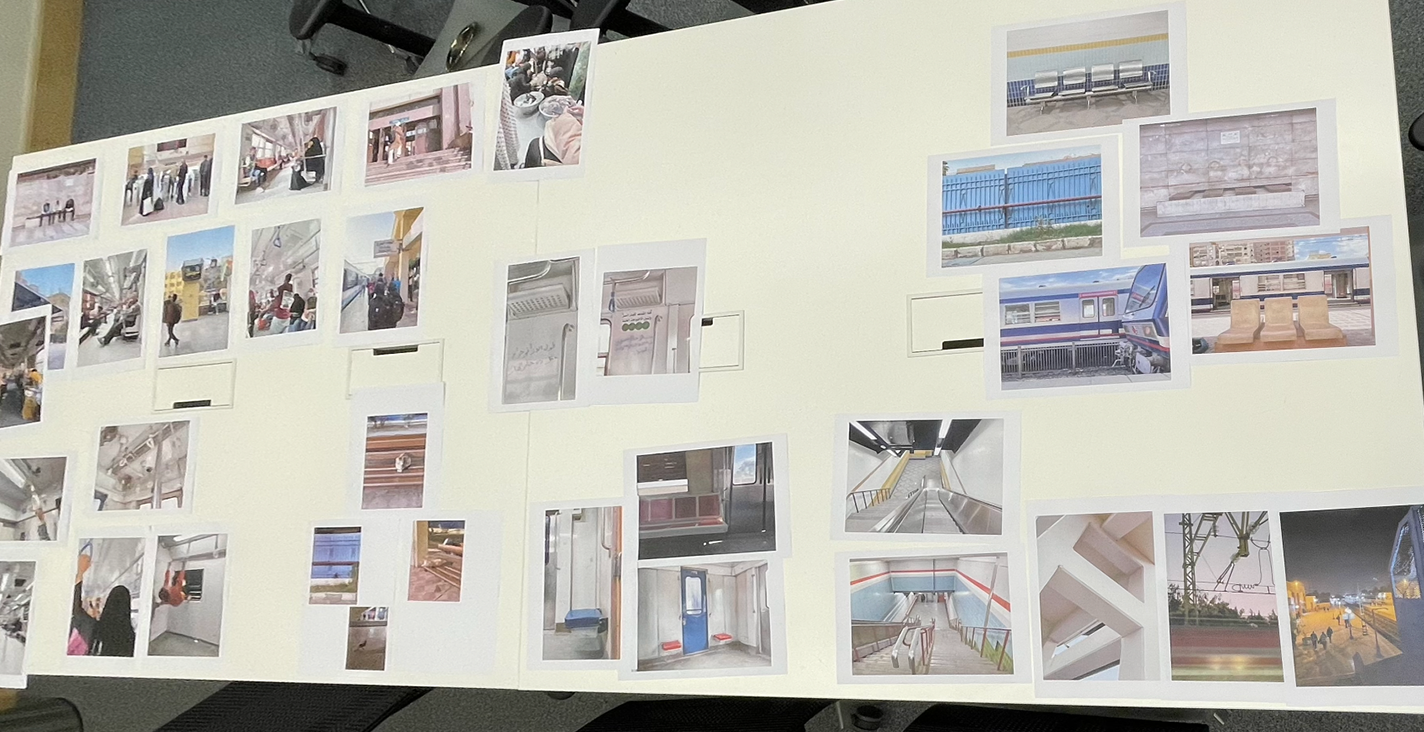
To use Instagram as a starting-point platform, my plan is to post 2 weekly posts with lyrics that communicate the
feelings in the pictures.
The pictures were divided into categories and I made a pinterest board of them so I can build on it in the future.
Tracklist
I made sure to make it available and functioning on several free listening platforms .
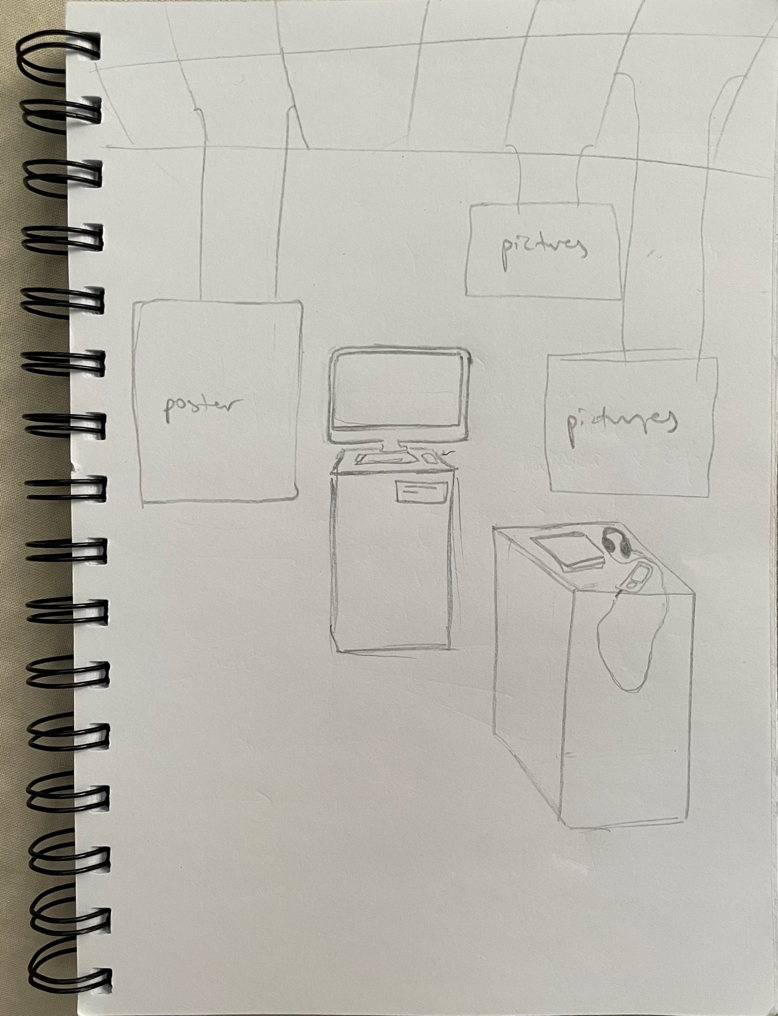
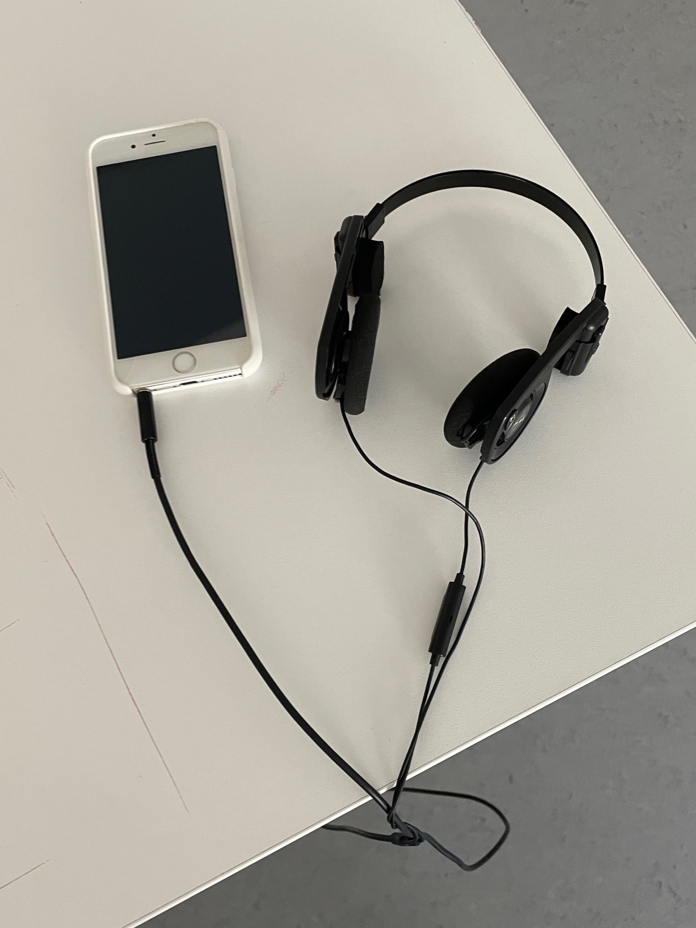
My showcase plan included displaying pictures, the film and website on an iMac, and having Rayyan's belongings (phone, journal, wallet) on a seperate podium so visitors can interact with the character further.
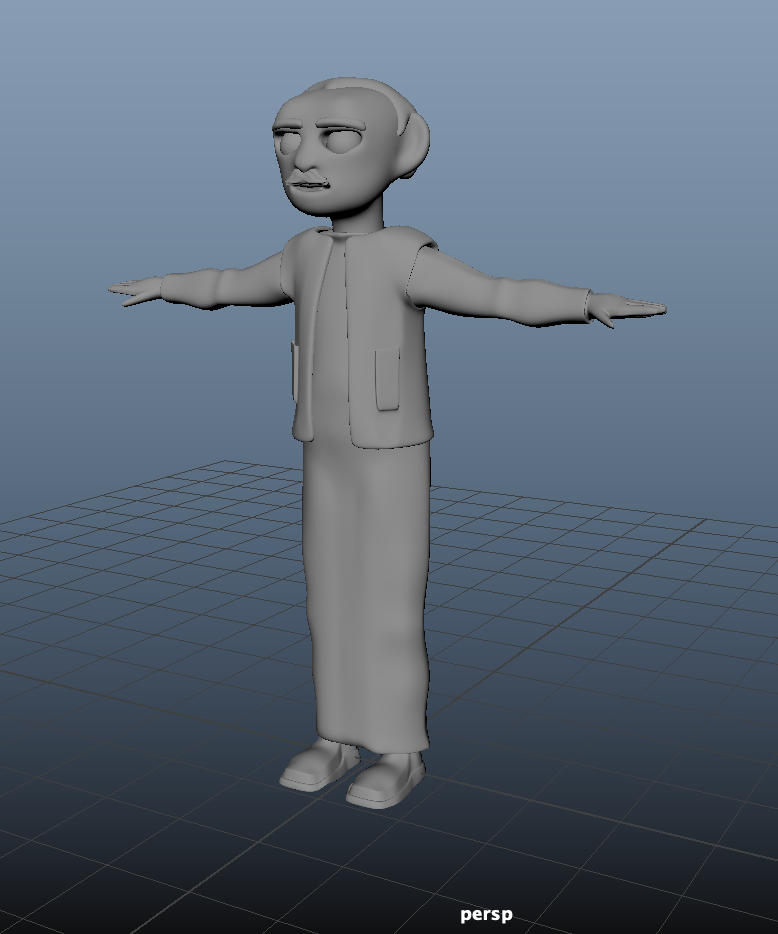
In creating Rayyan, I did various sketches and trials first.
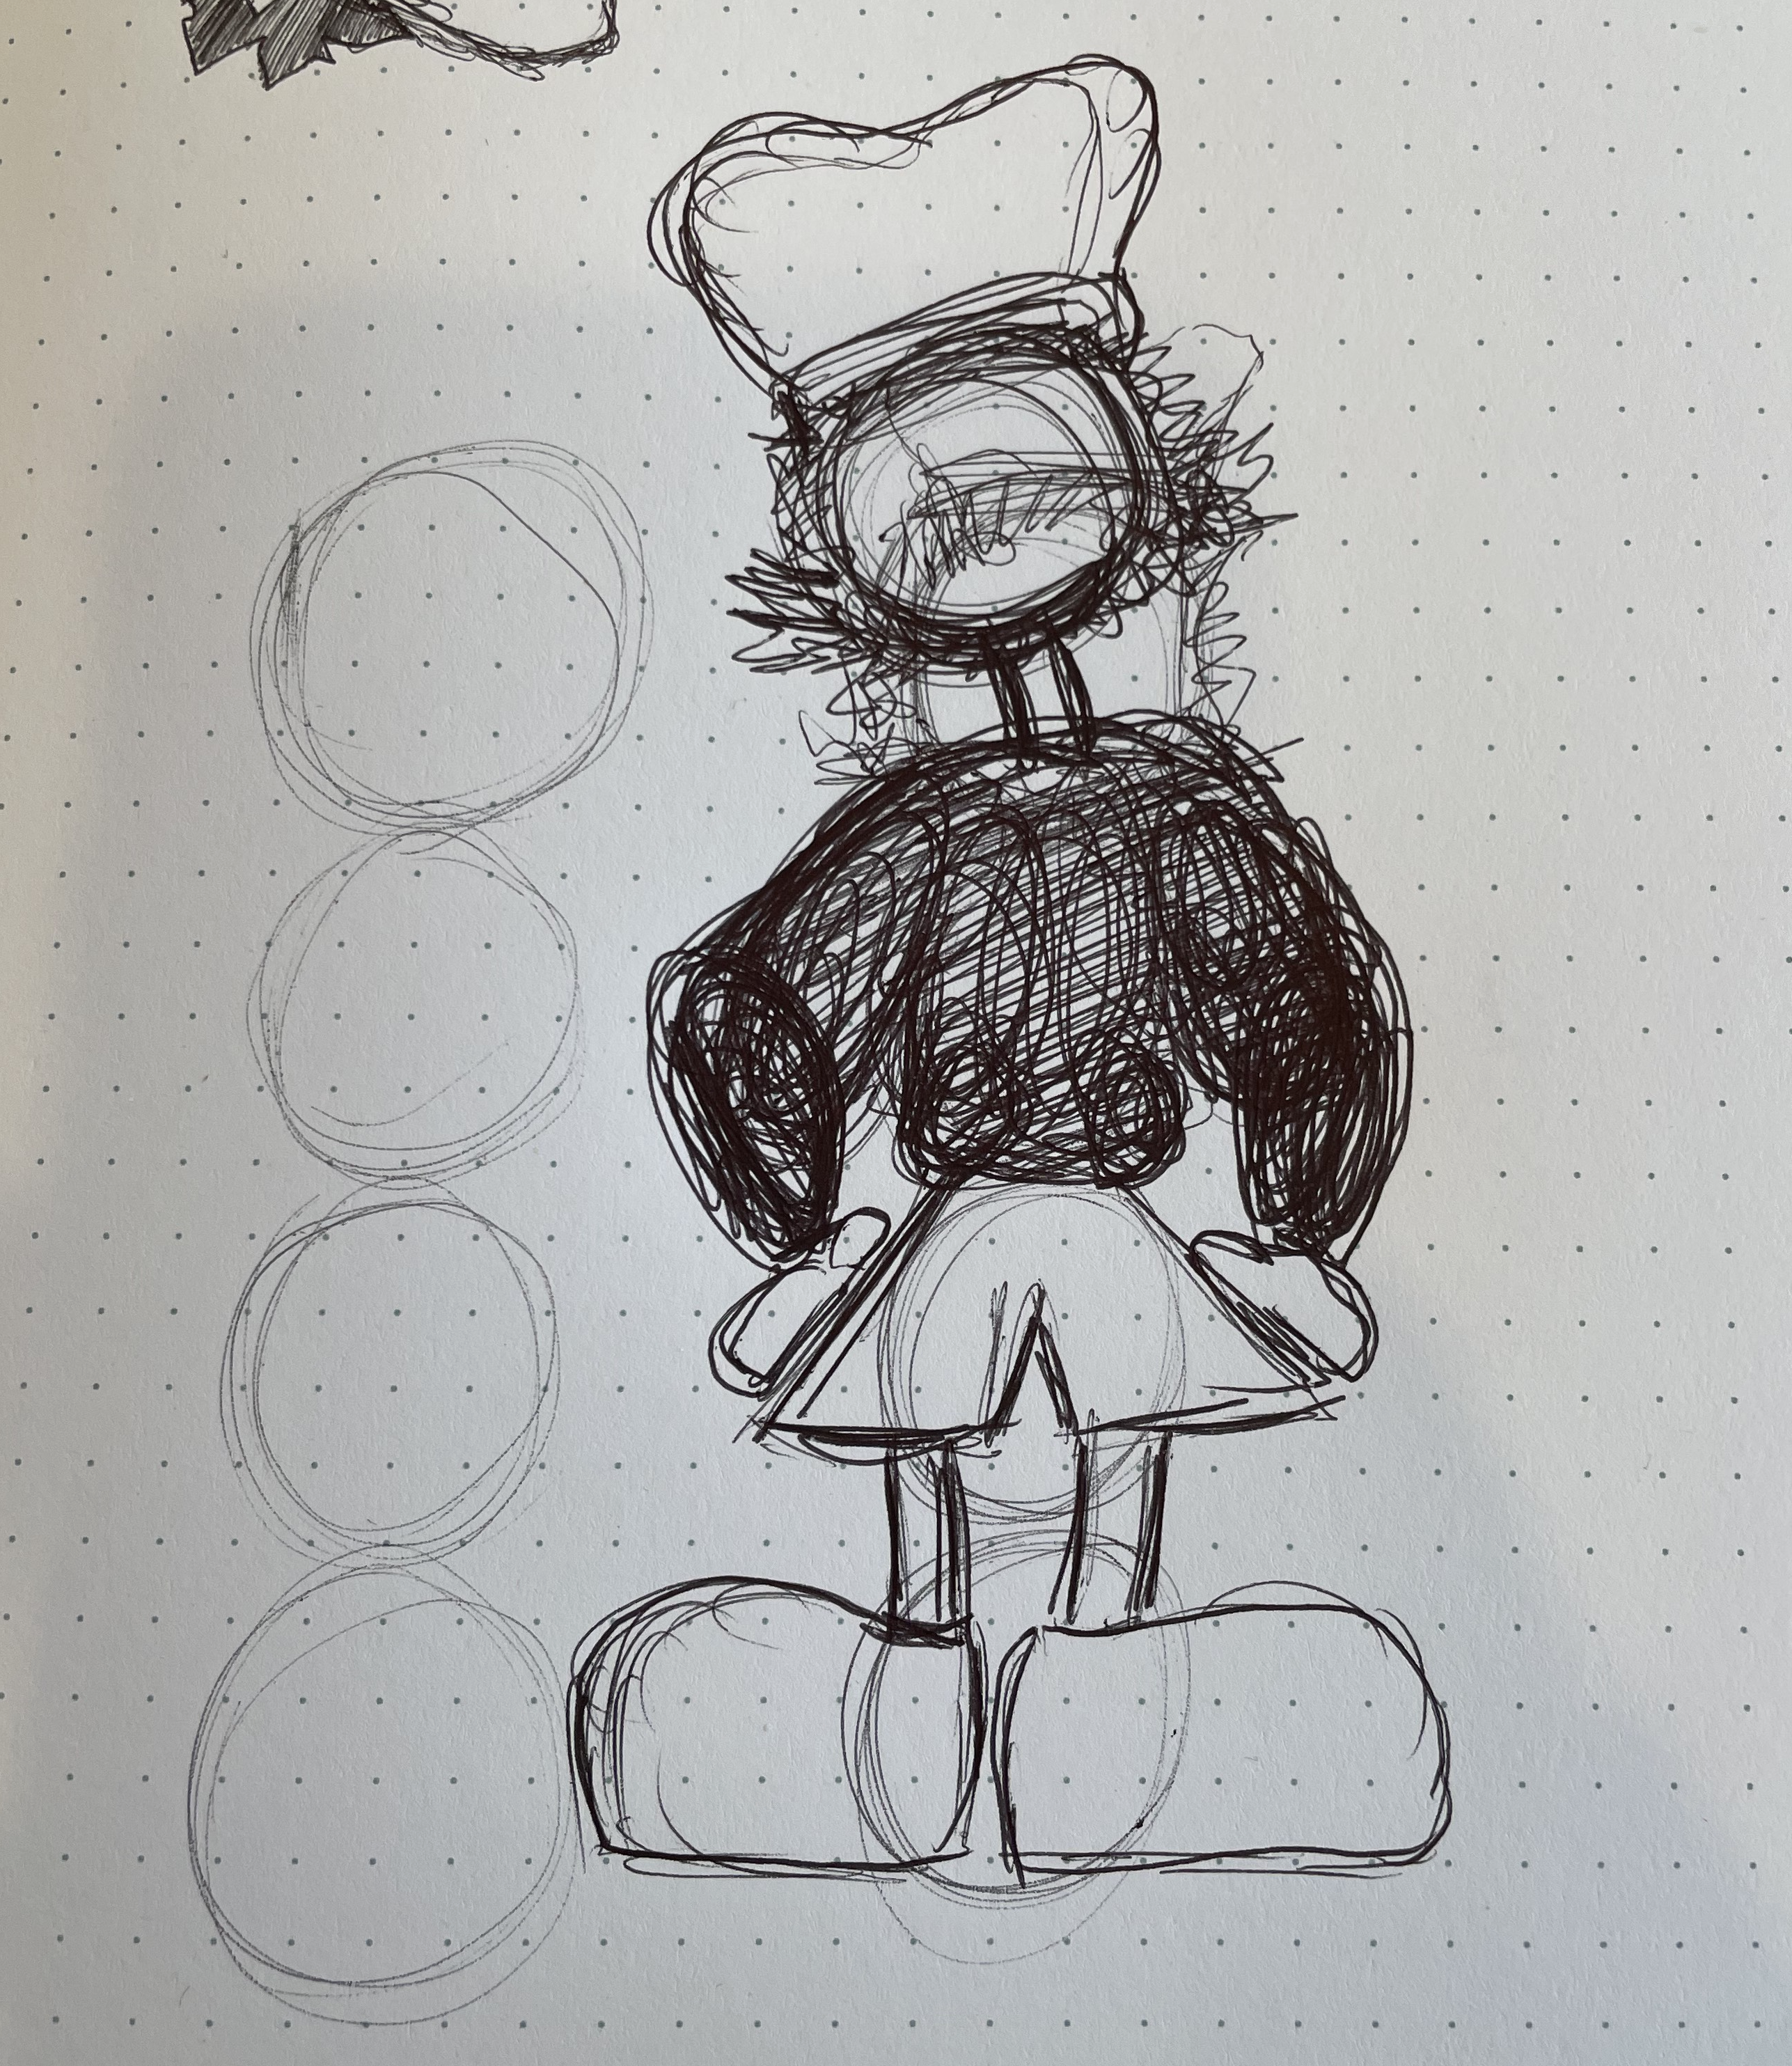
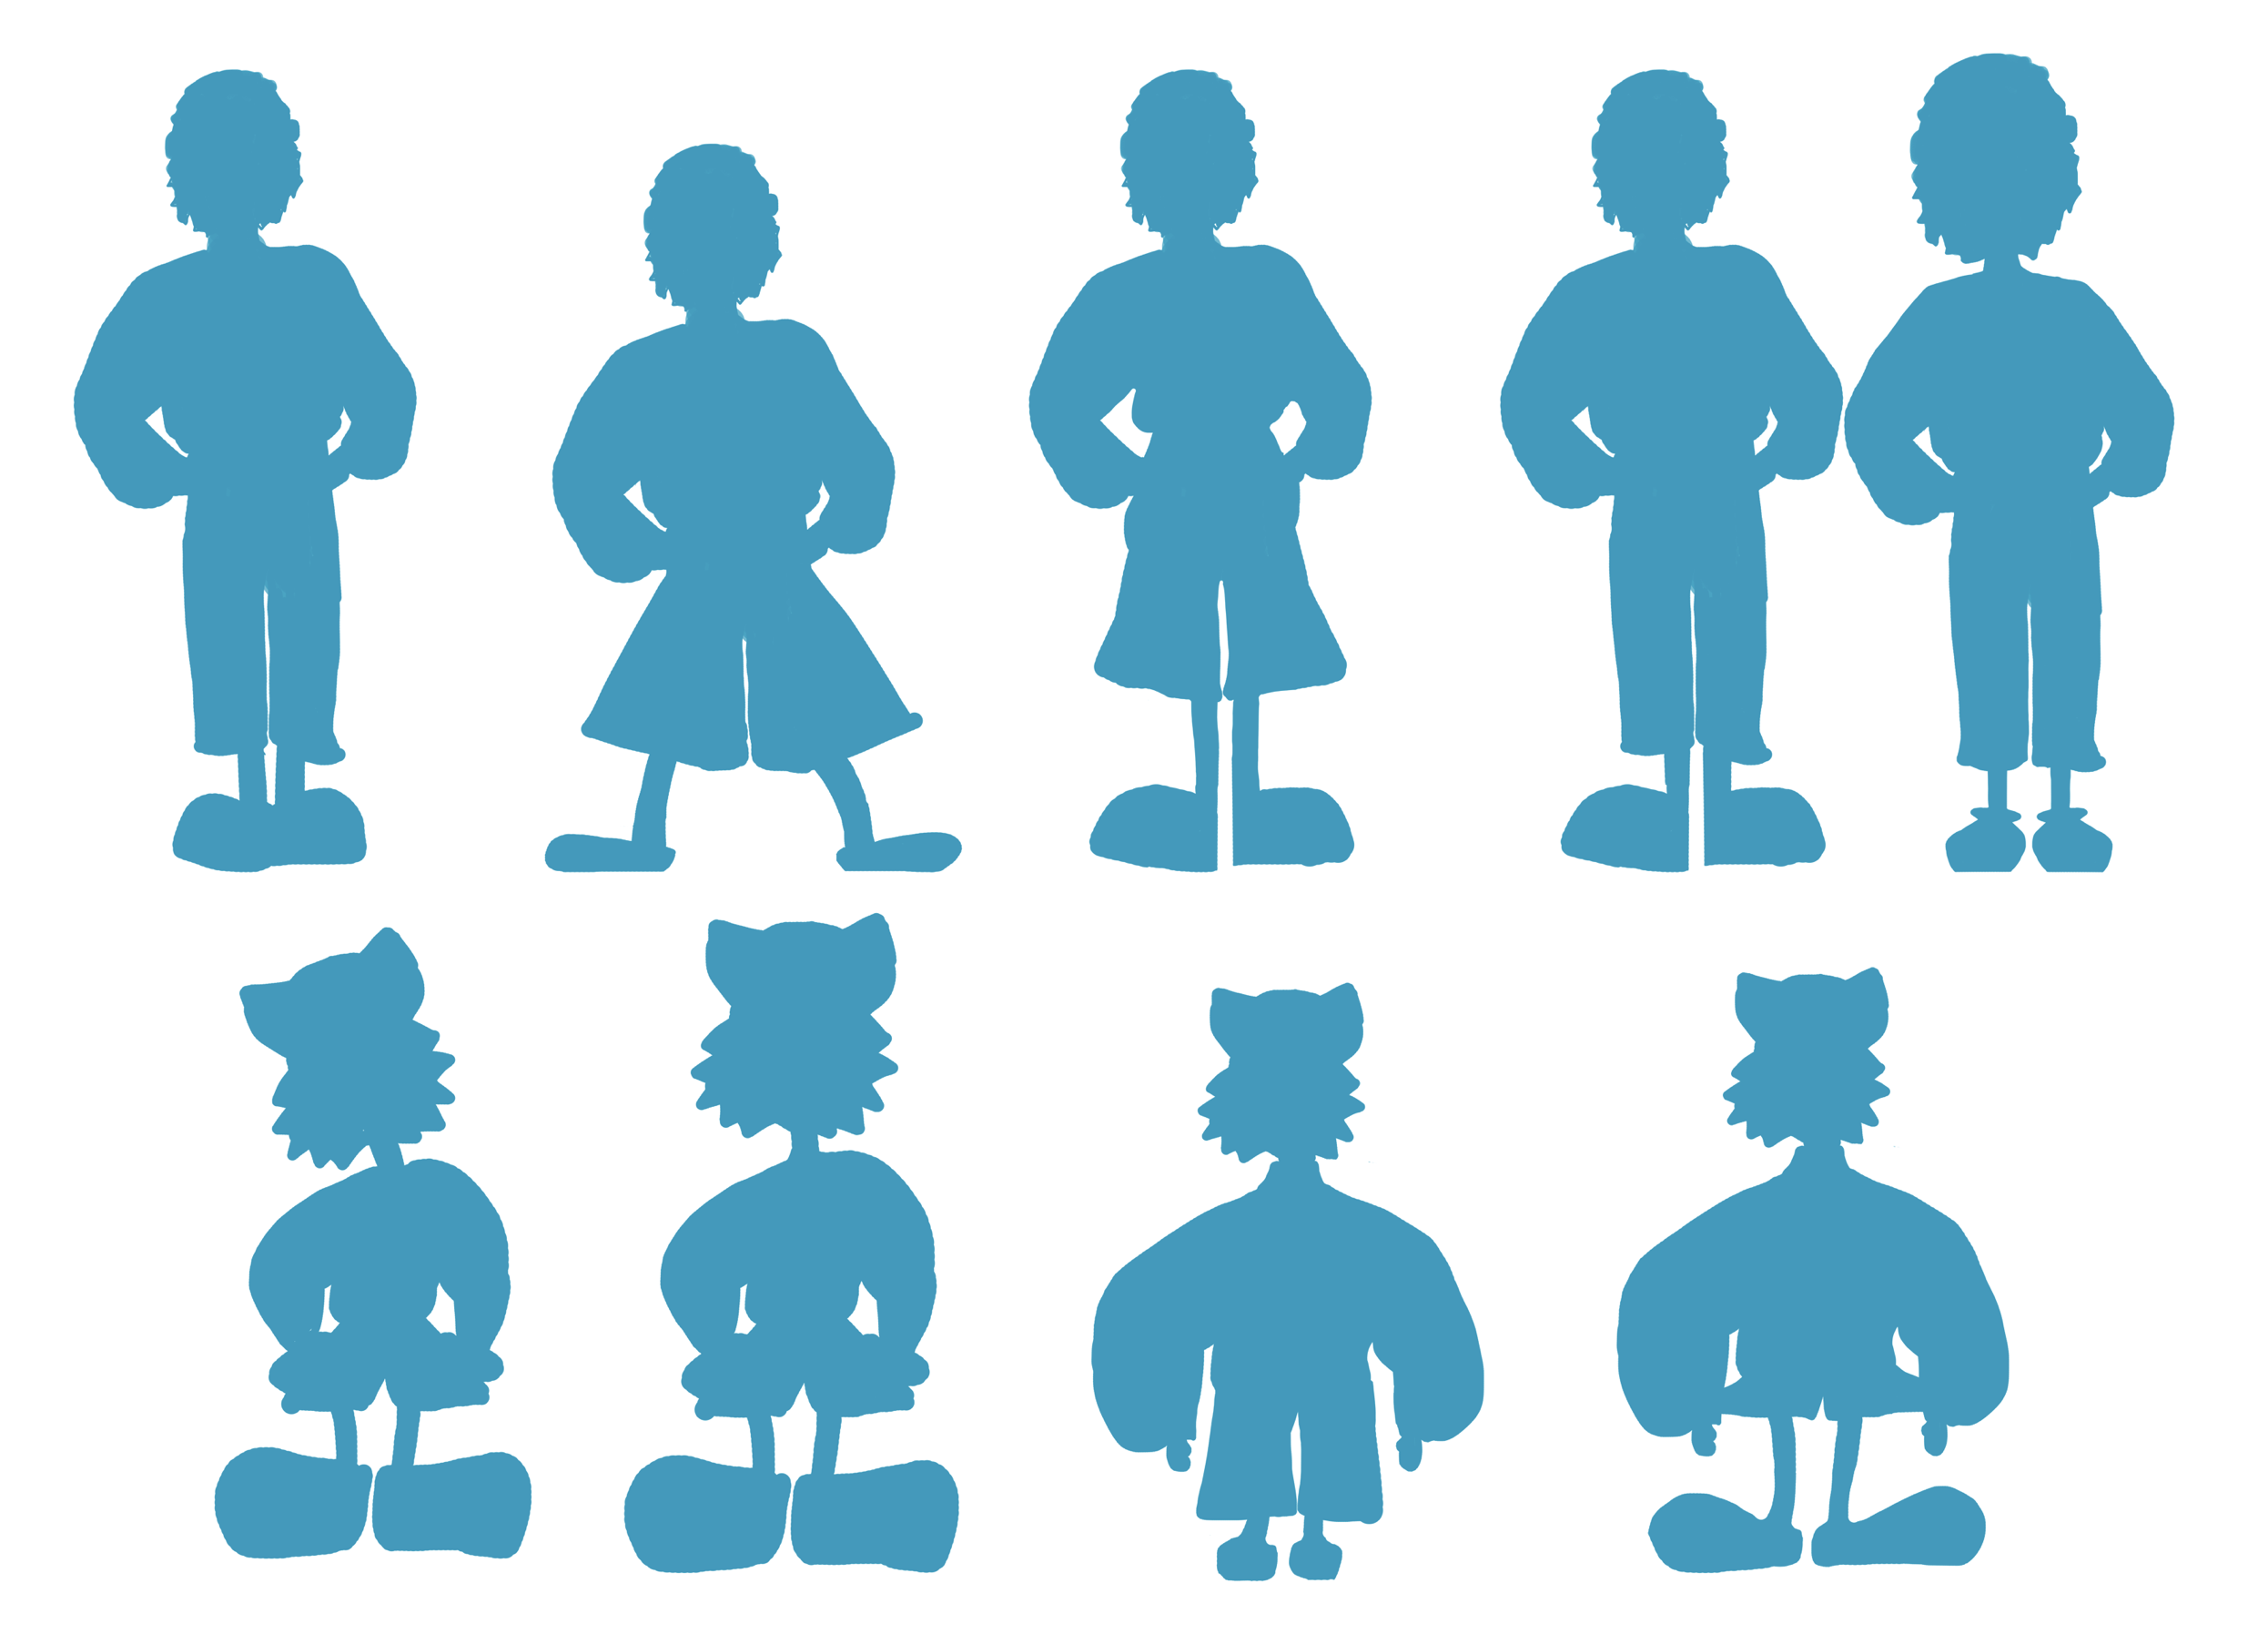
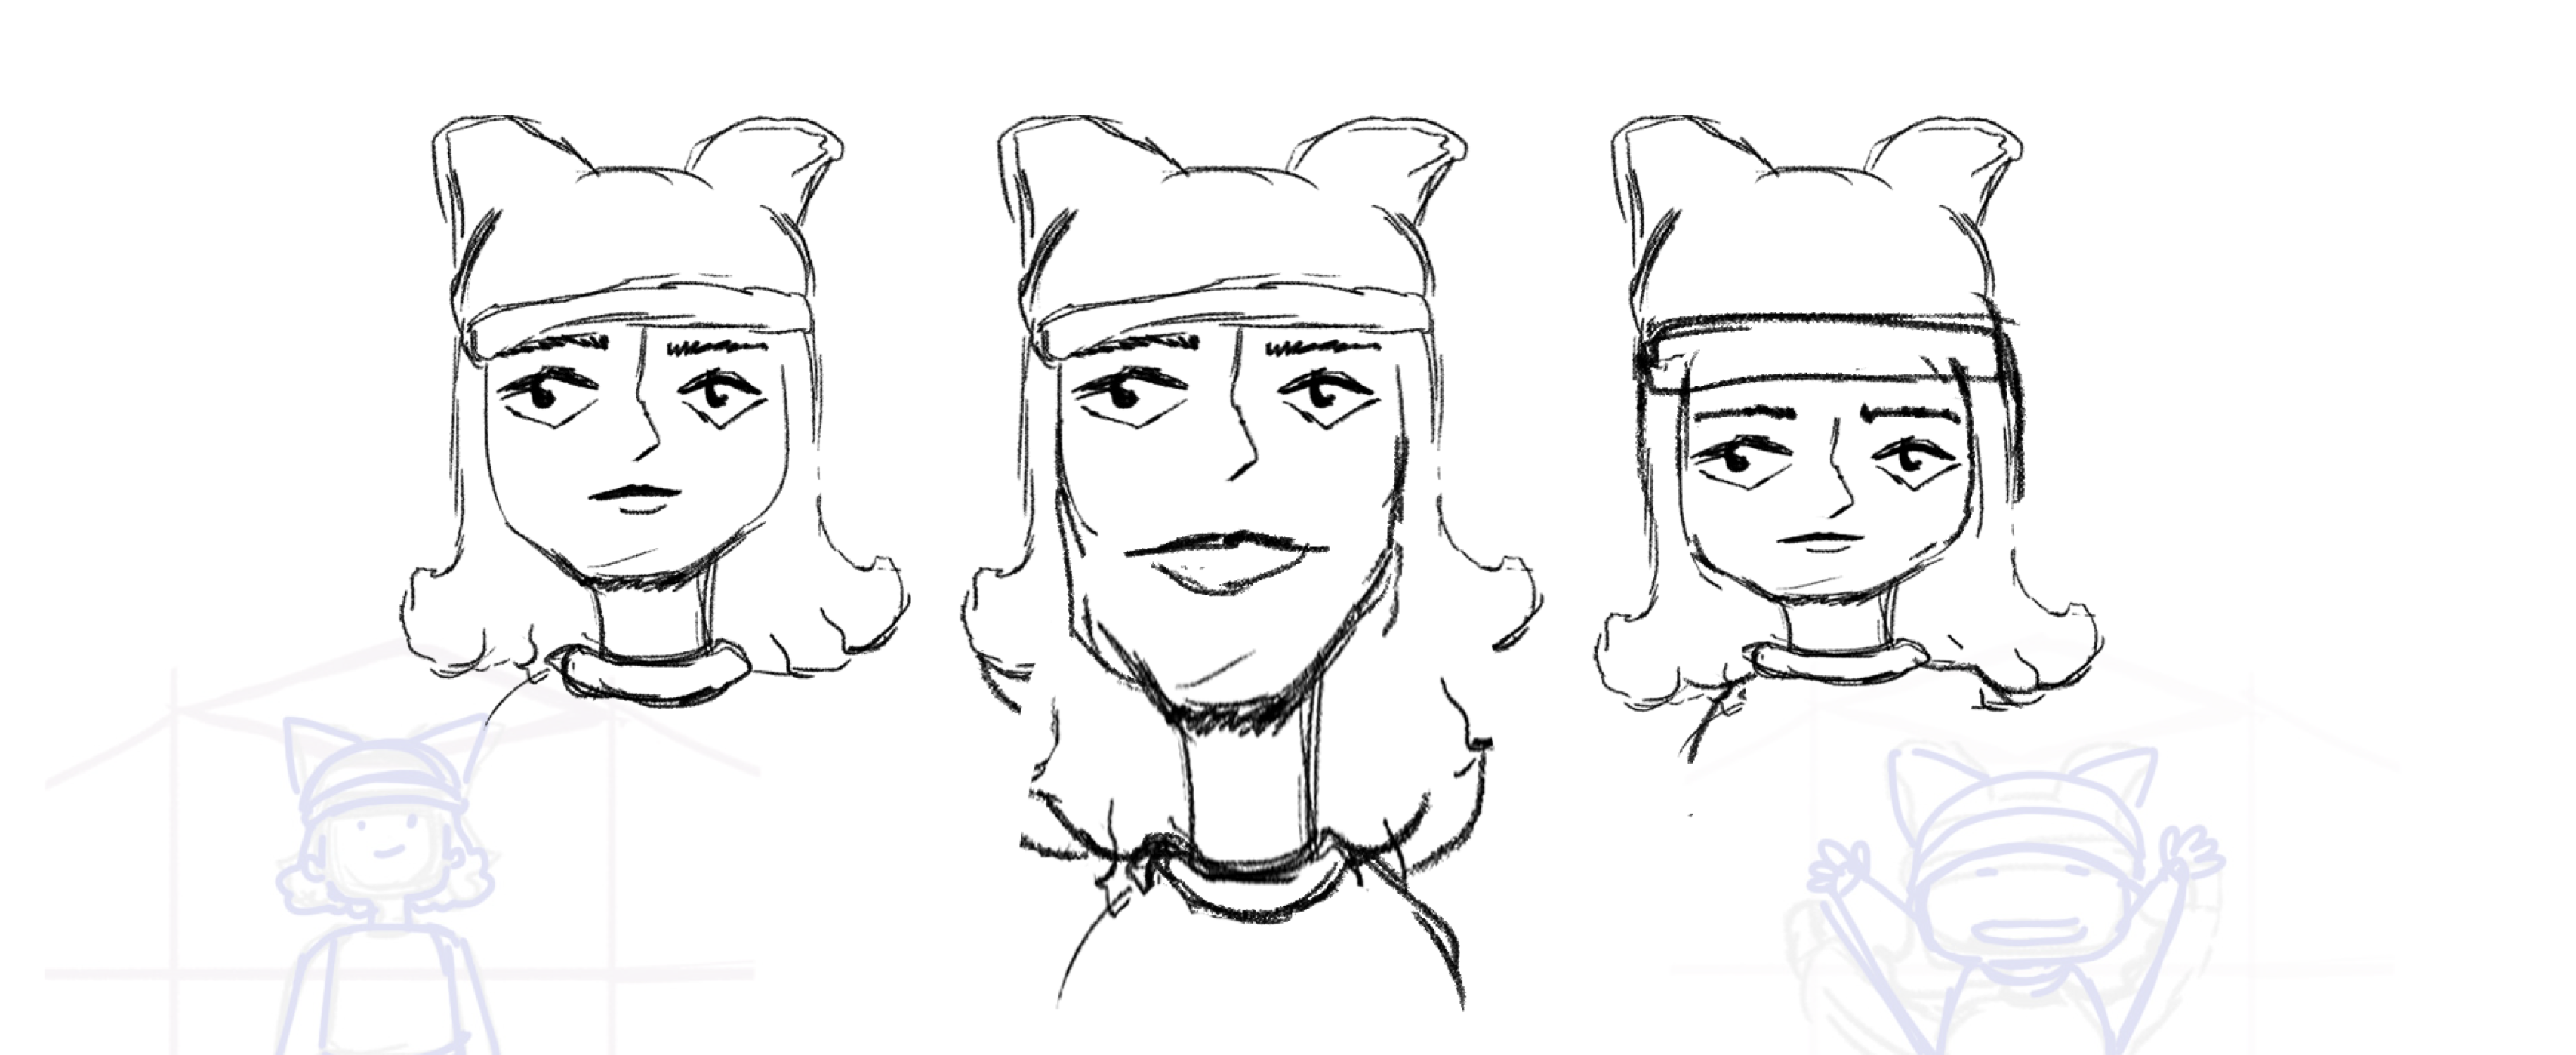
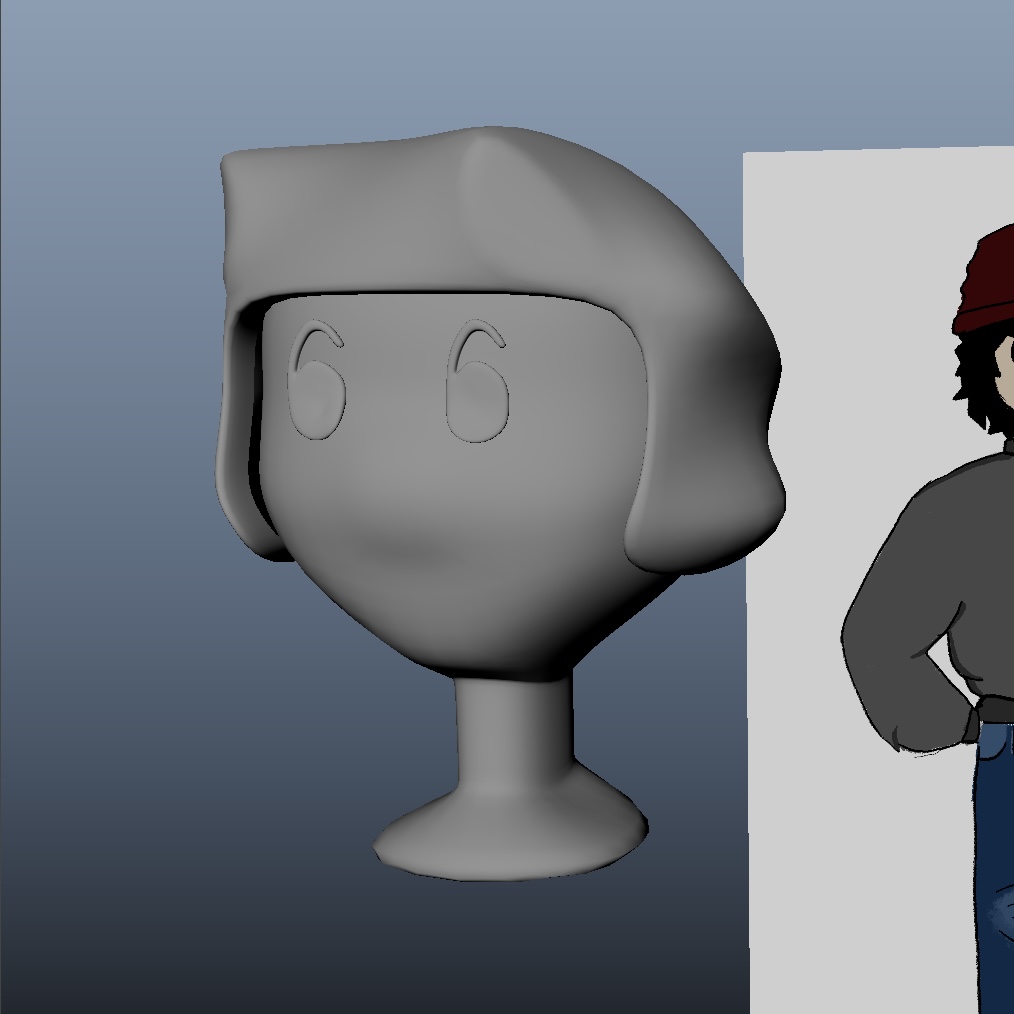
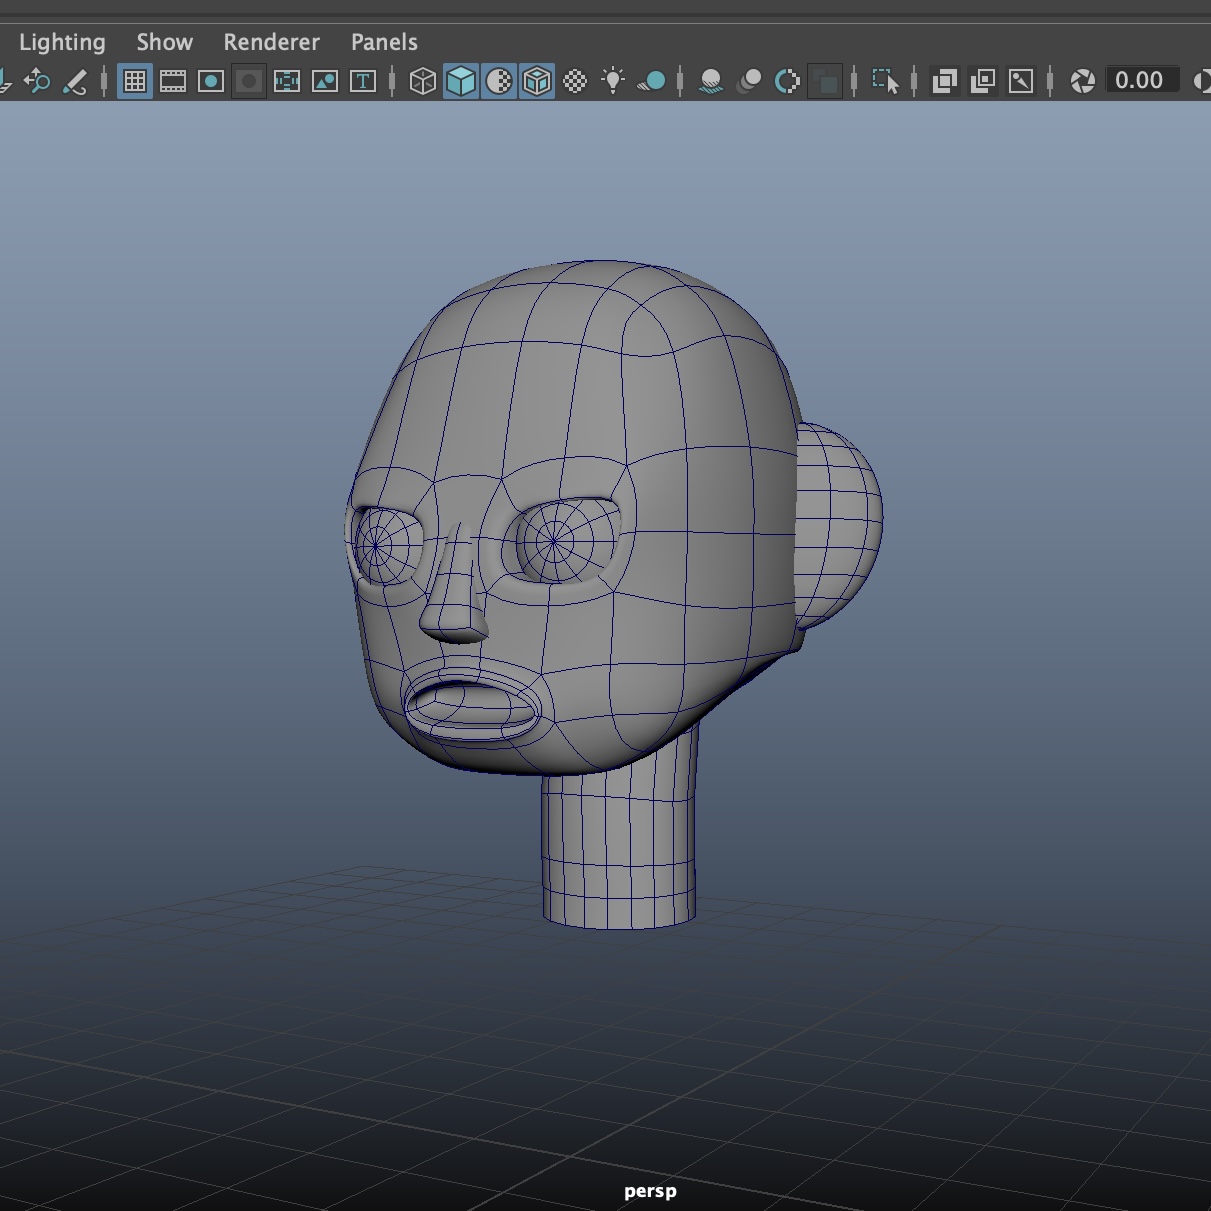
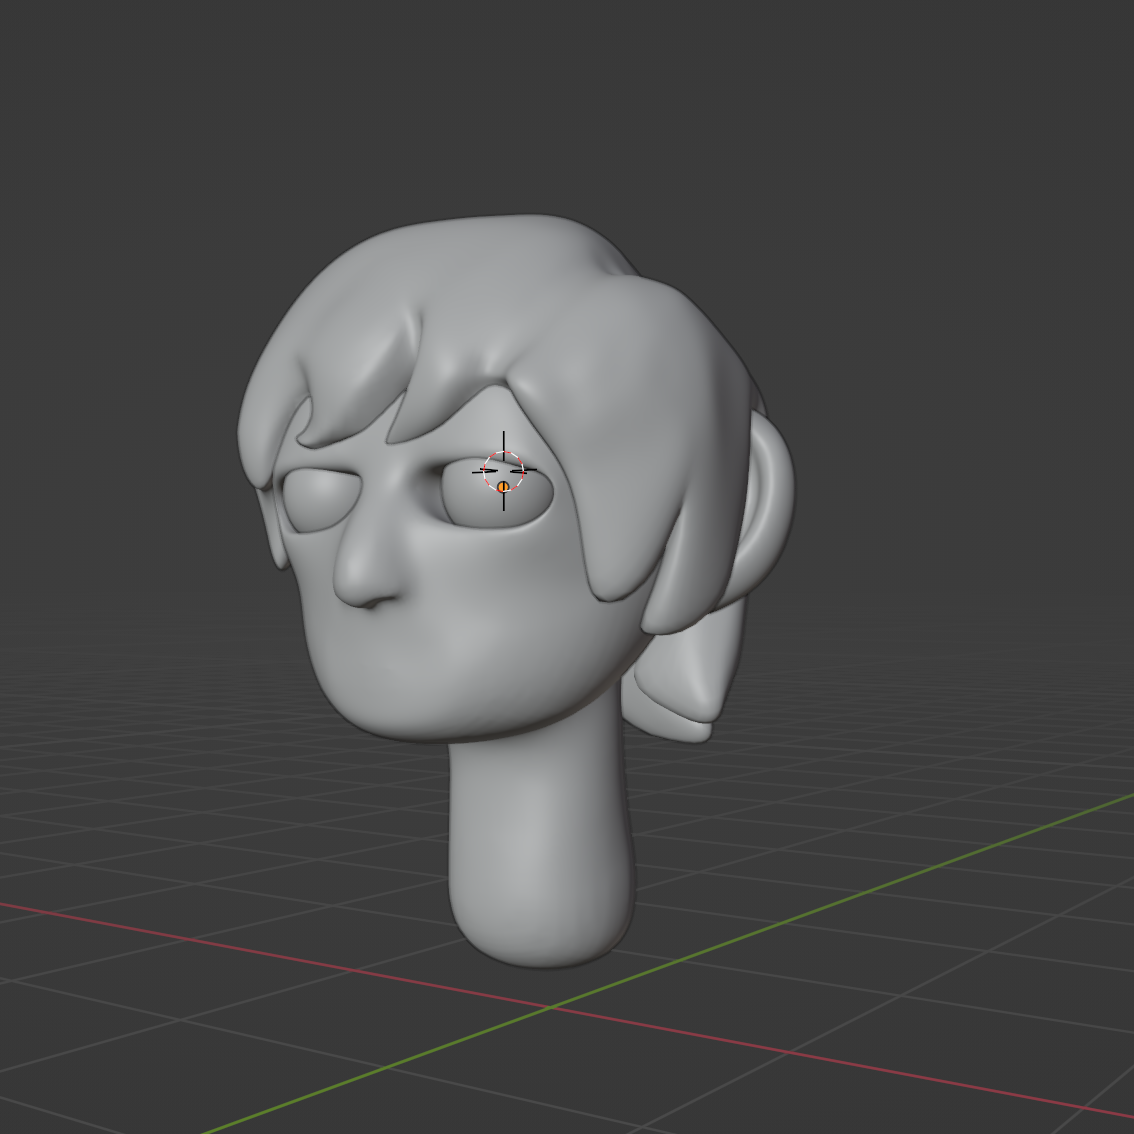
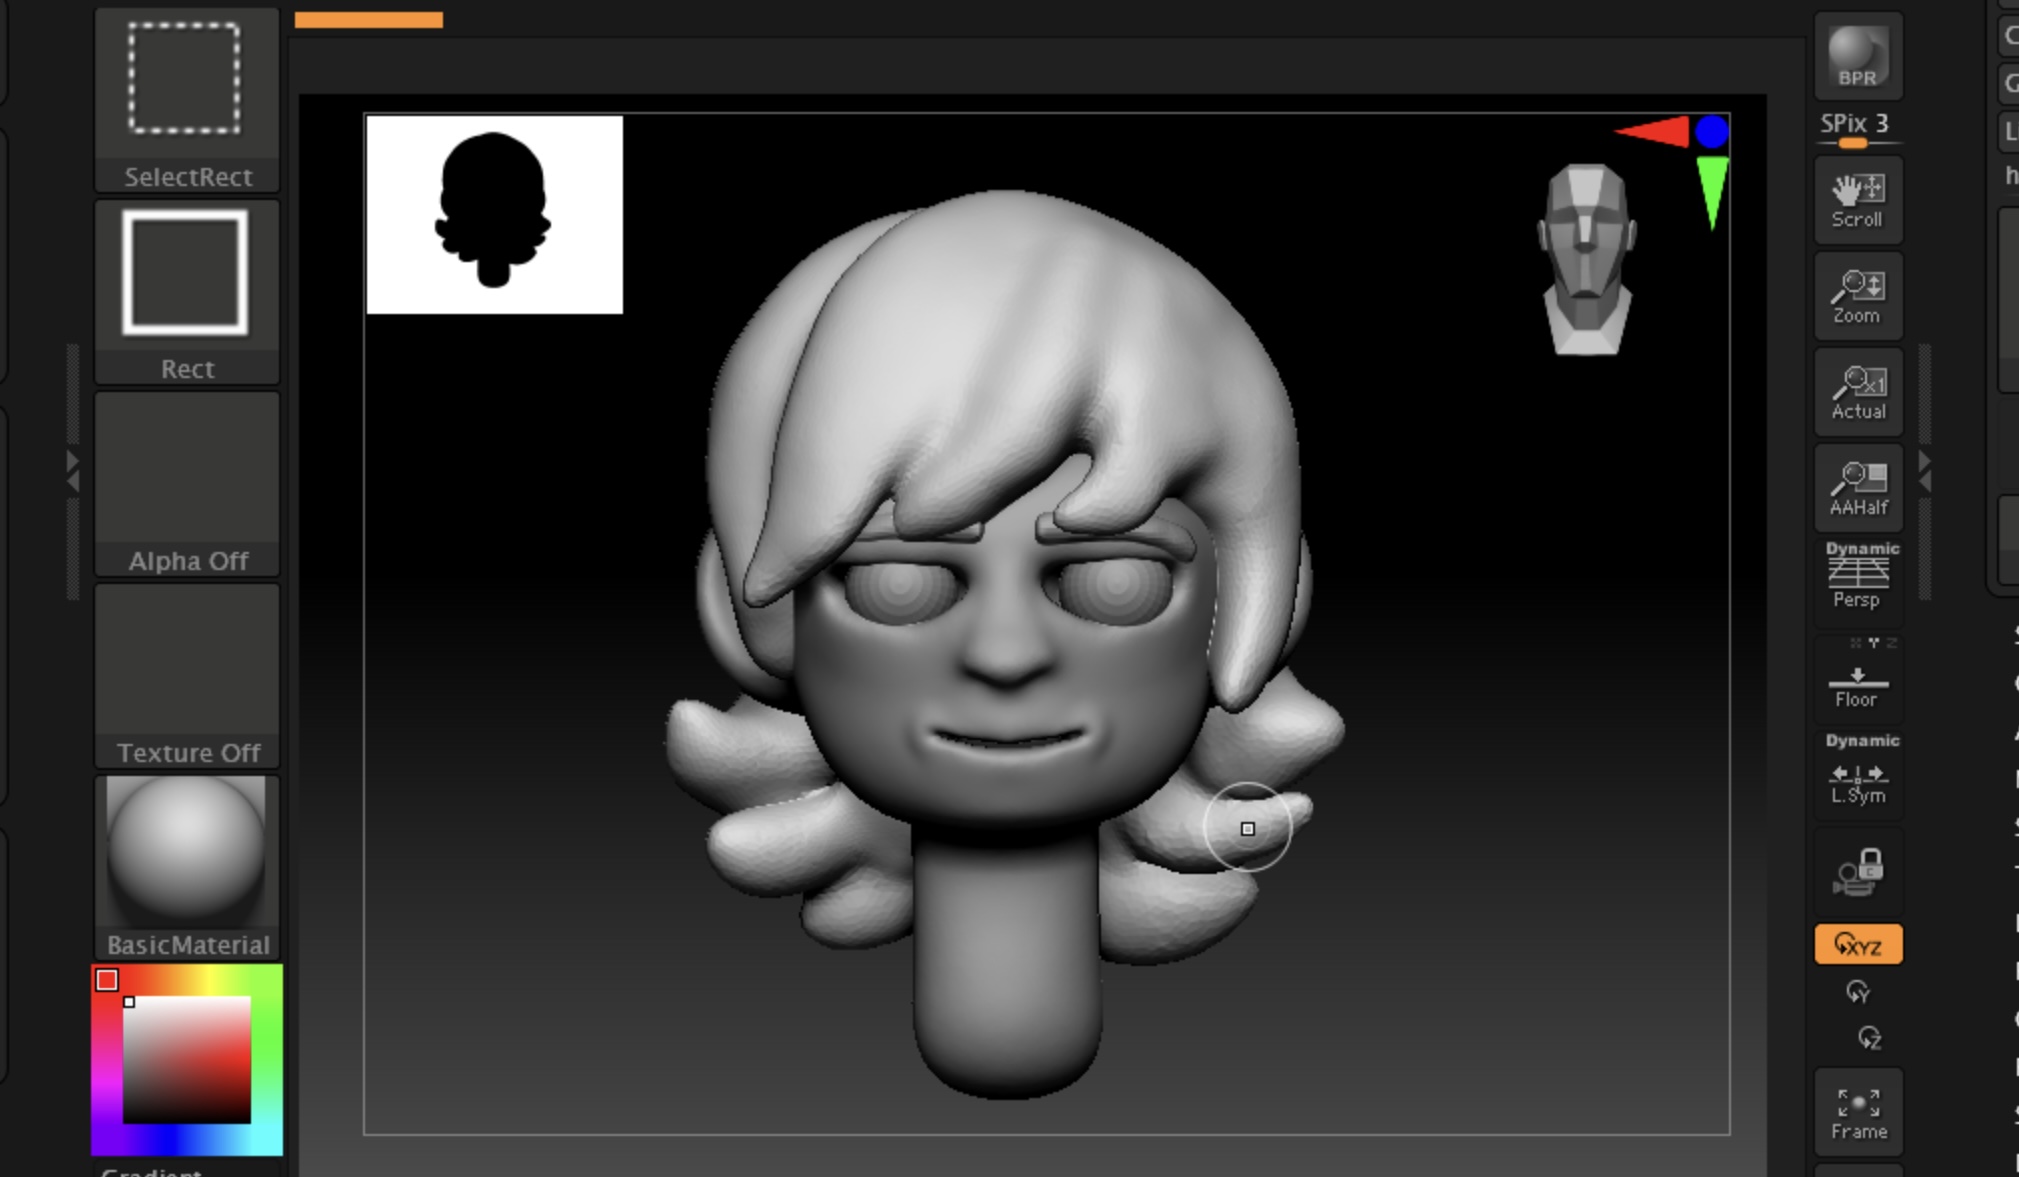
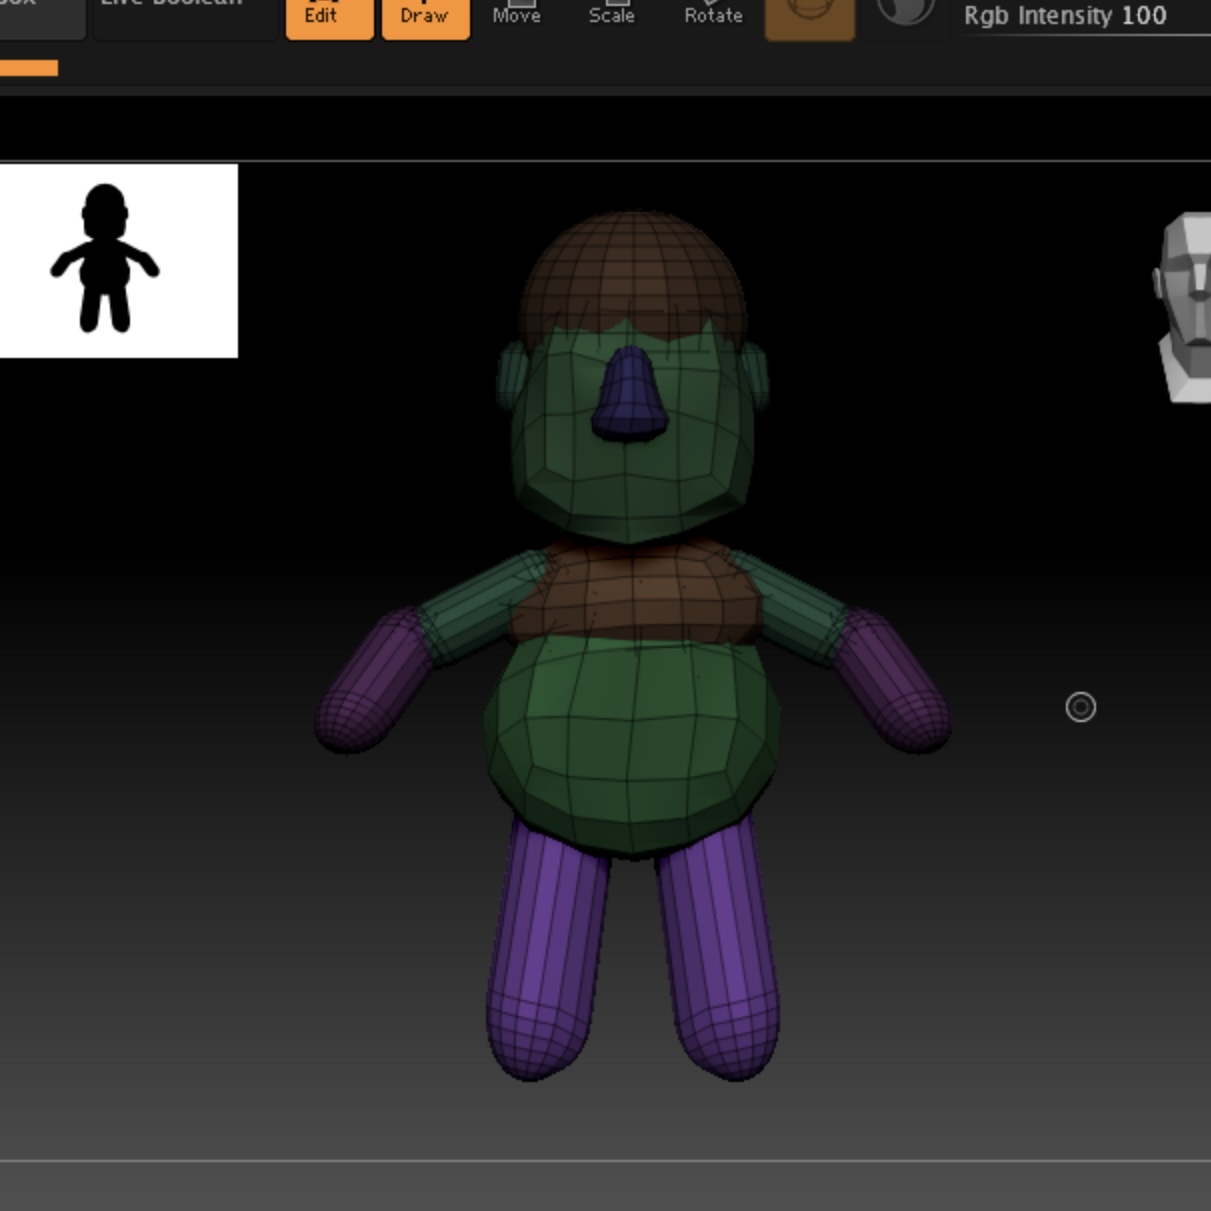
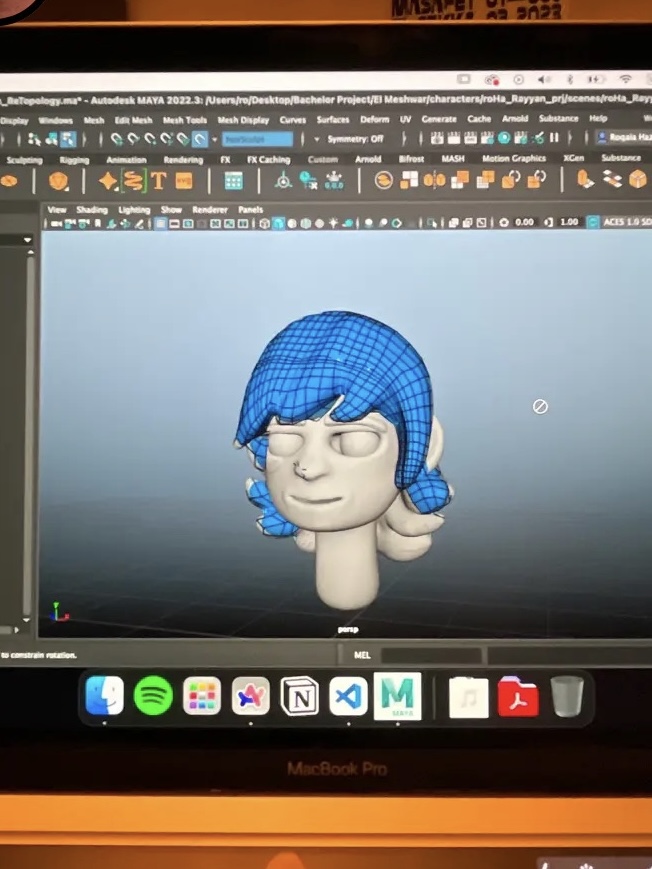
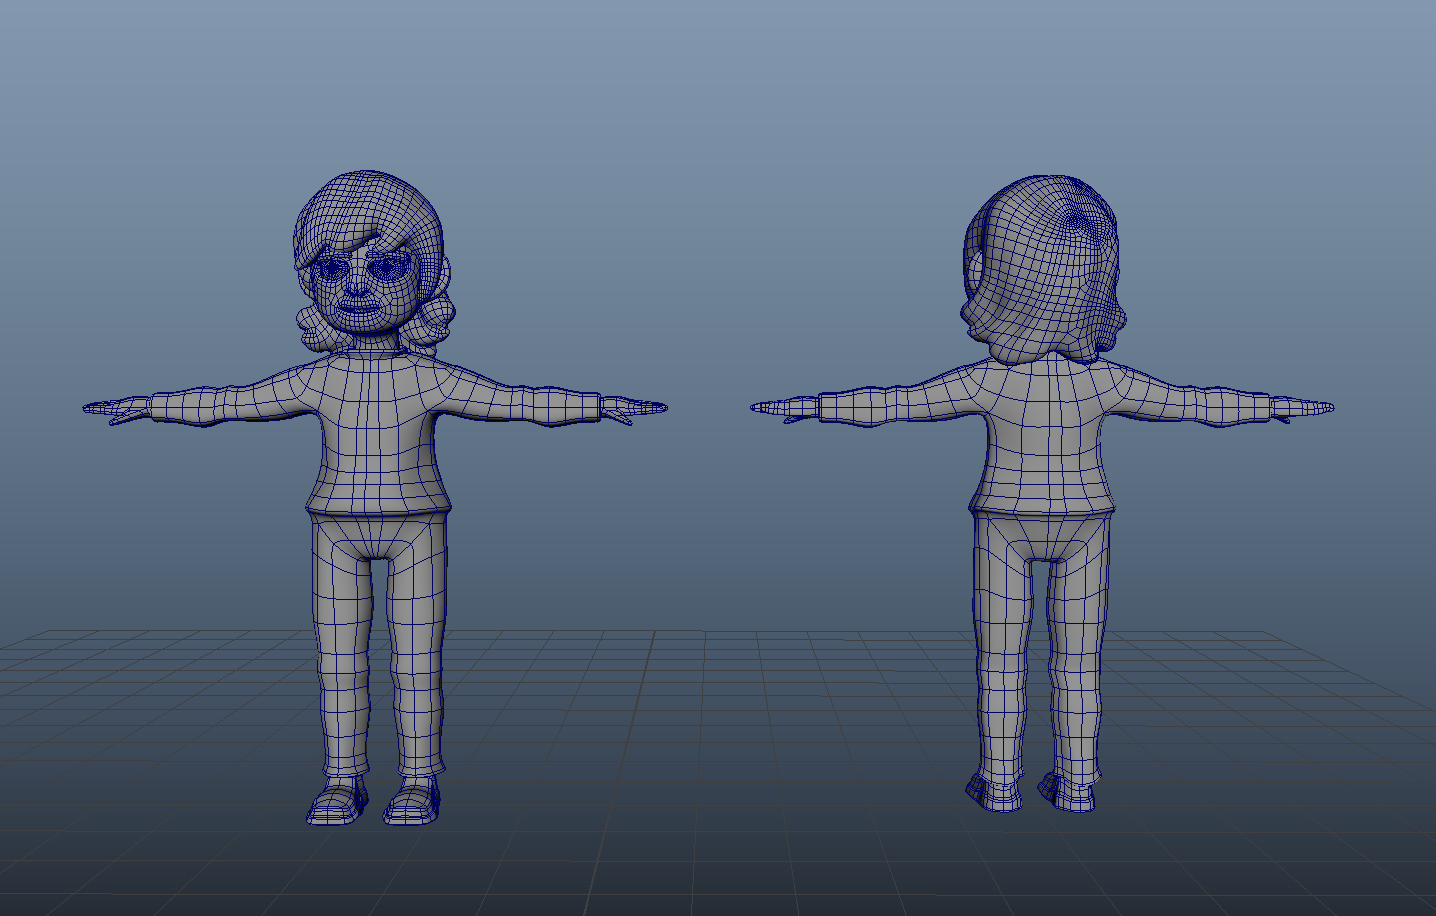
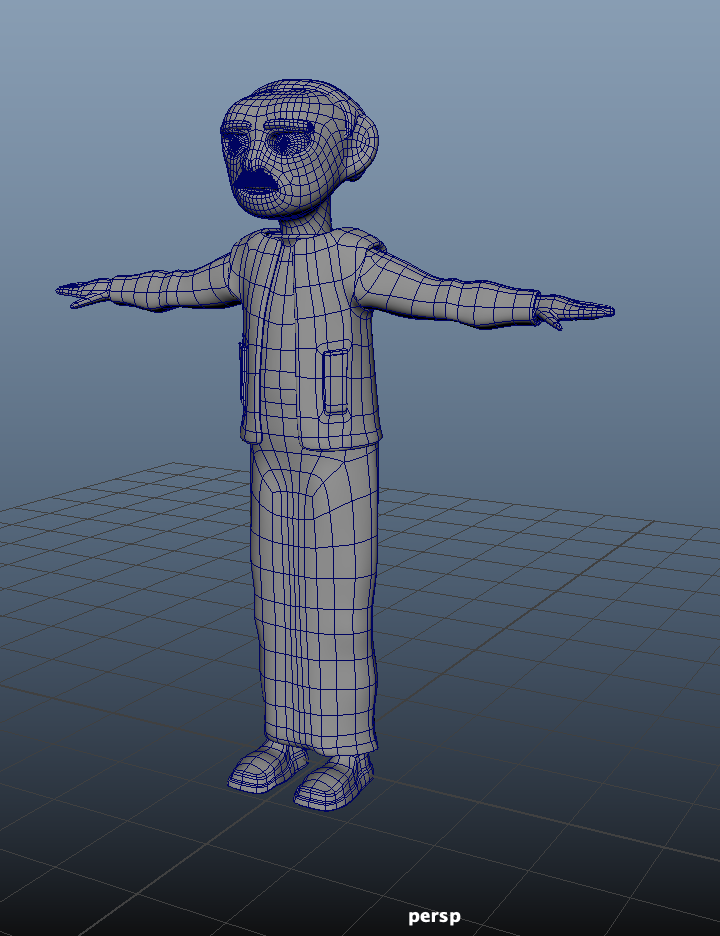
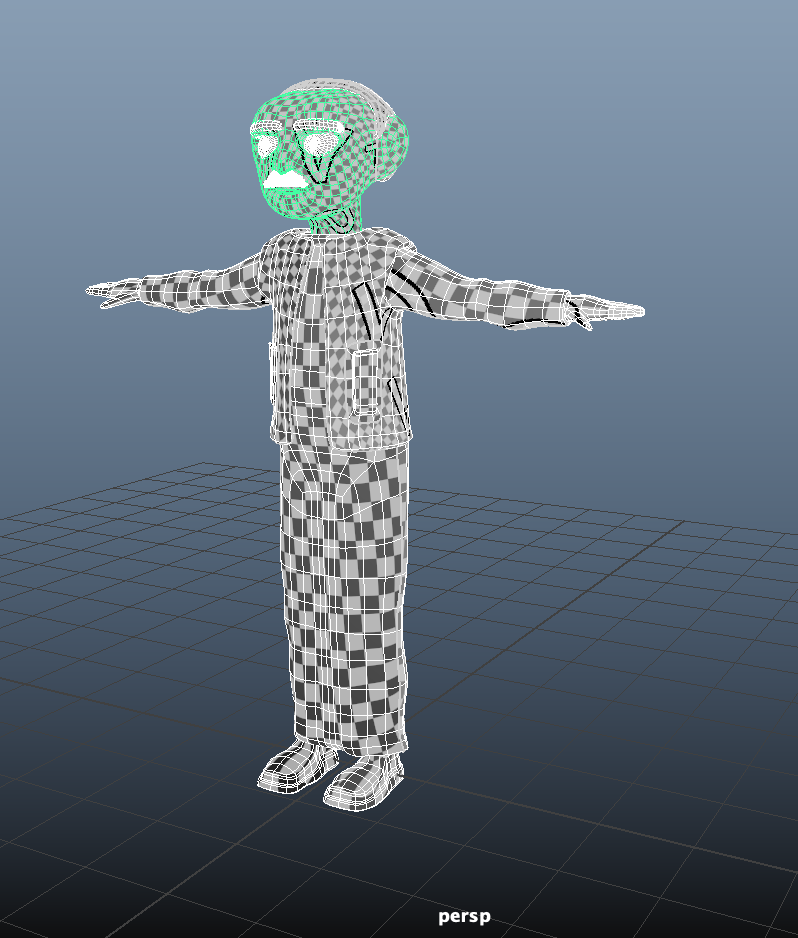
The actual one I ended up using started with a face sculpt in Blender and then took it into zbrush for more hair details. The body was blocked out in Zbrush first, then I ended up remodeling it completely in Maya where I also took my face and hair sculpt and retopologized them with Quad Draw. With the body, I was modelling the clothes seperate from it, but encountered issues when I made a few rig tests. So, based on Dr Ahmed's advice, I ended up making the clothes within the body model where loops around the sleeves, neck, and hems where made so that when UVed can be textured to give the look of clothes.
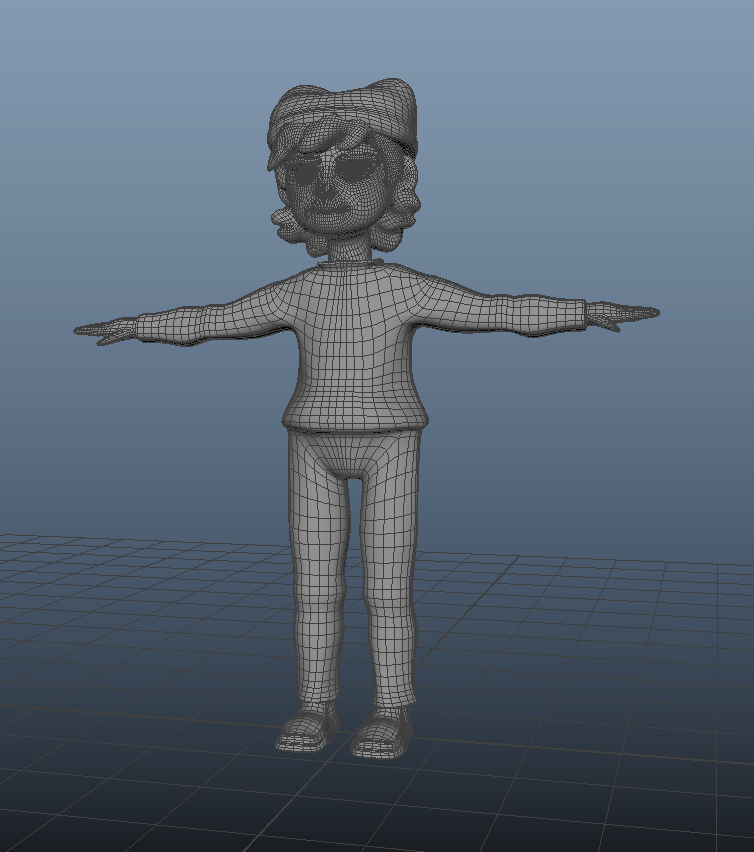
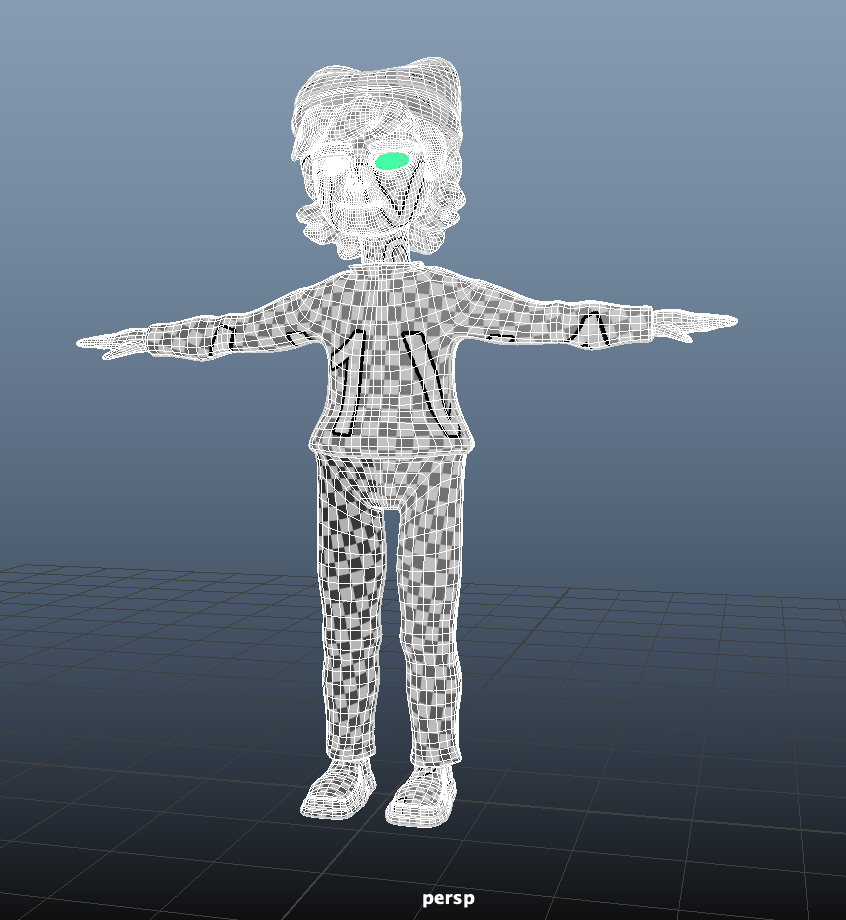
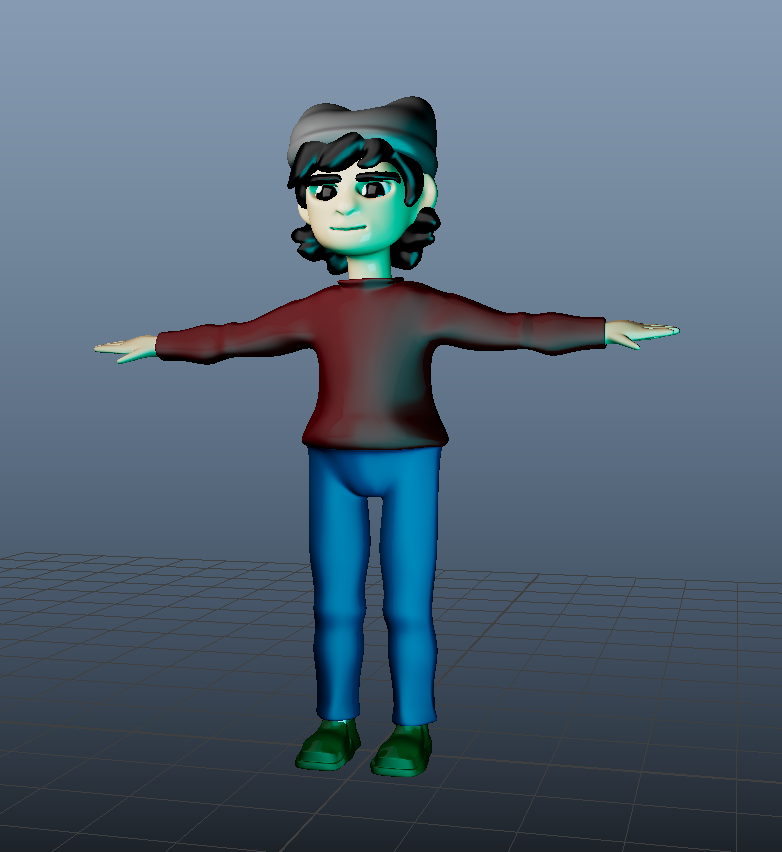
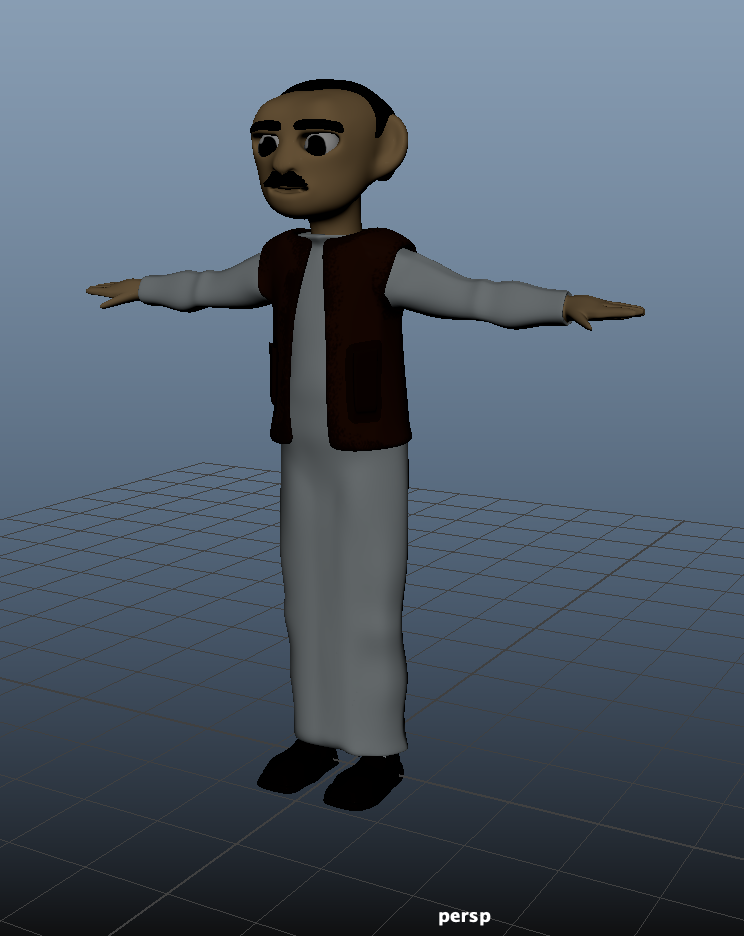
UV ed Rayyan and made a quick color map on photoshop to see what it can look like.
At this stage, I quickly added the cat hat, and
I think it really brought my sketched and illustrated design to life.
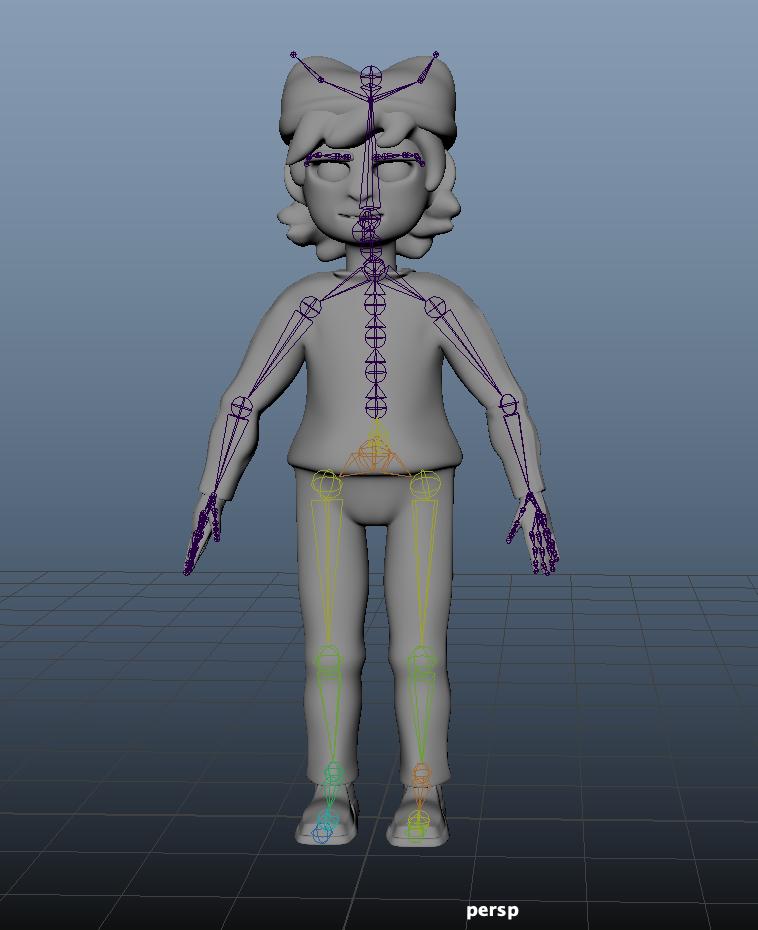
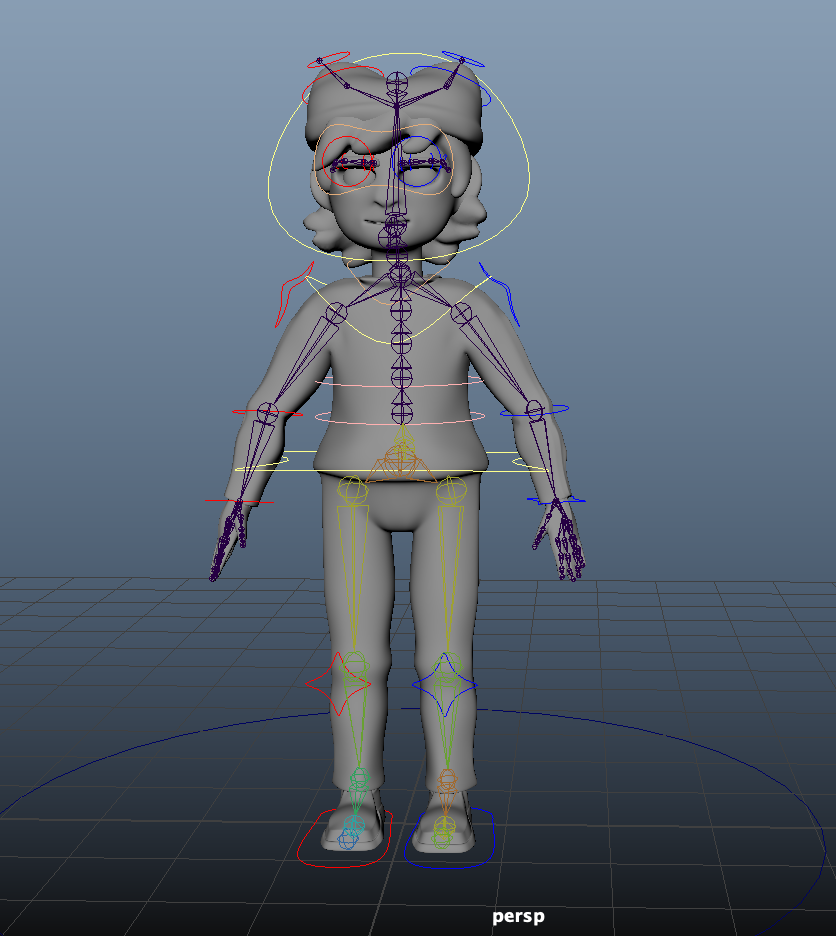
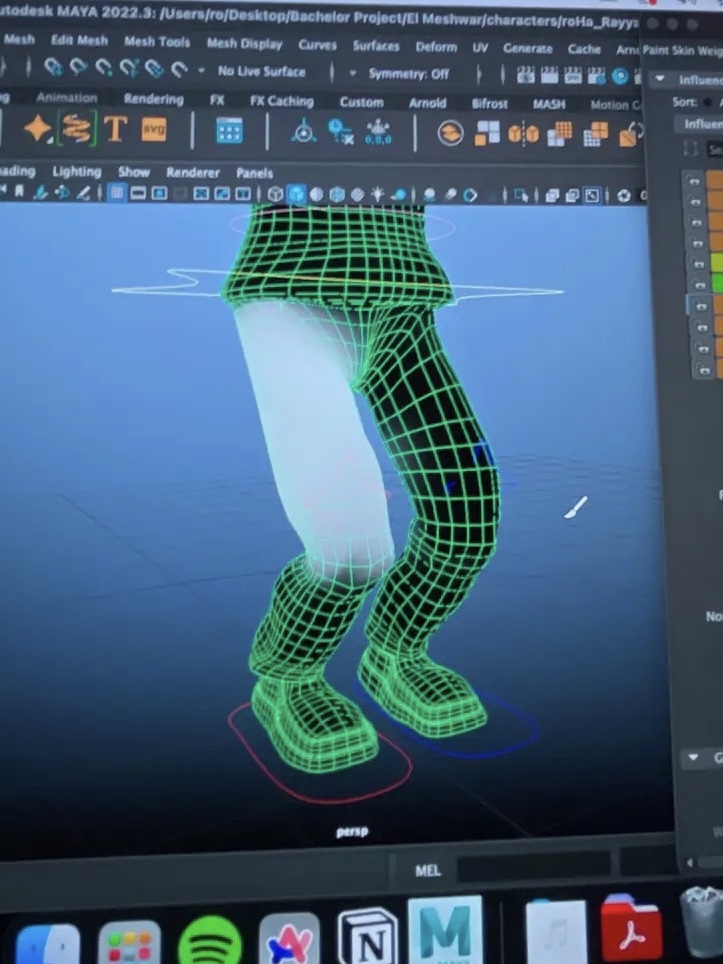
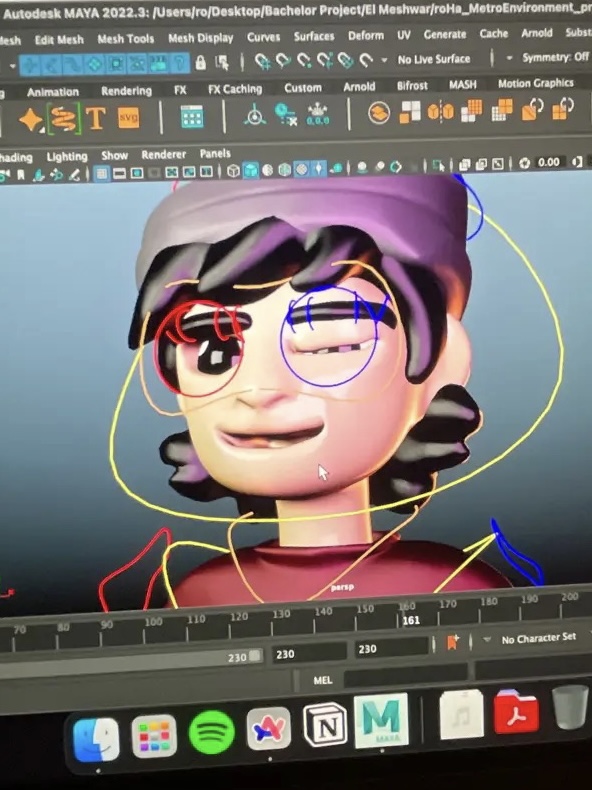
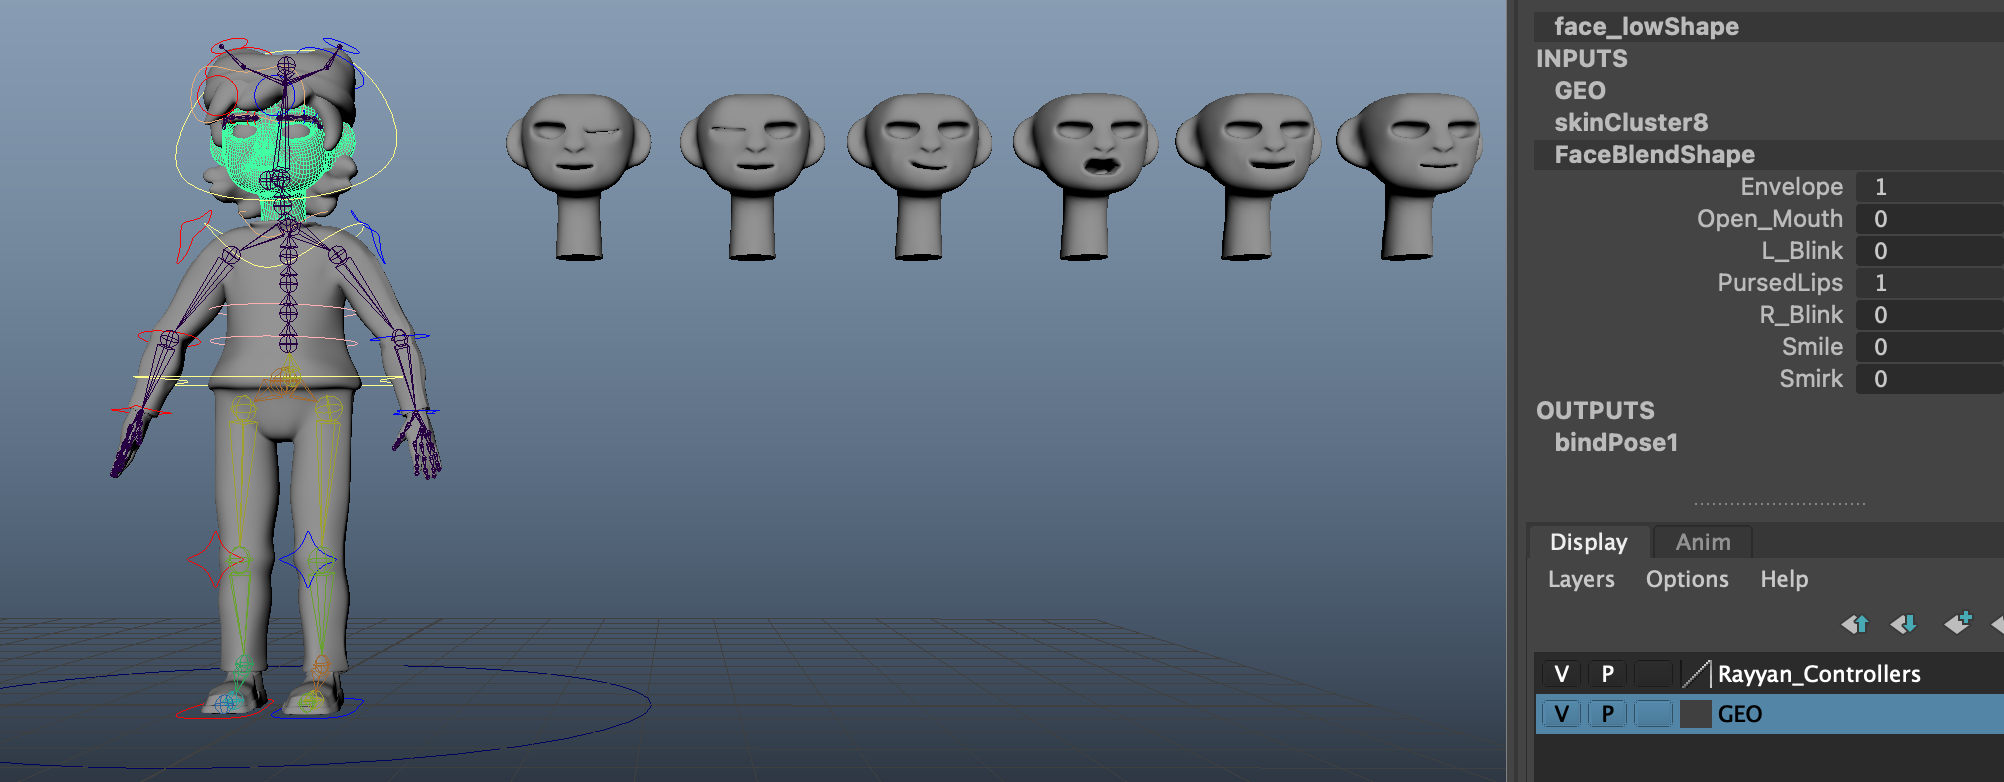
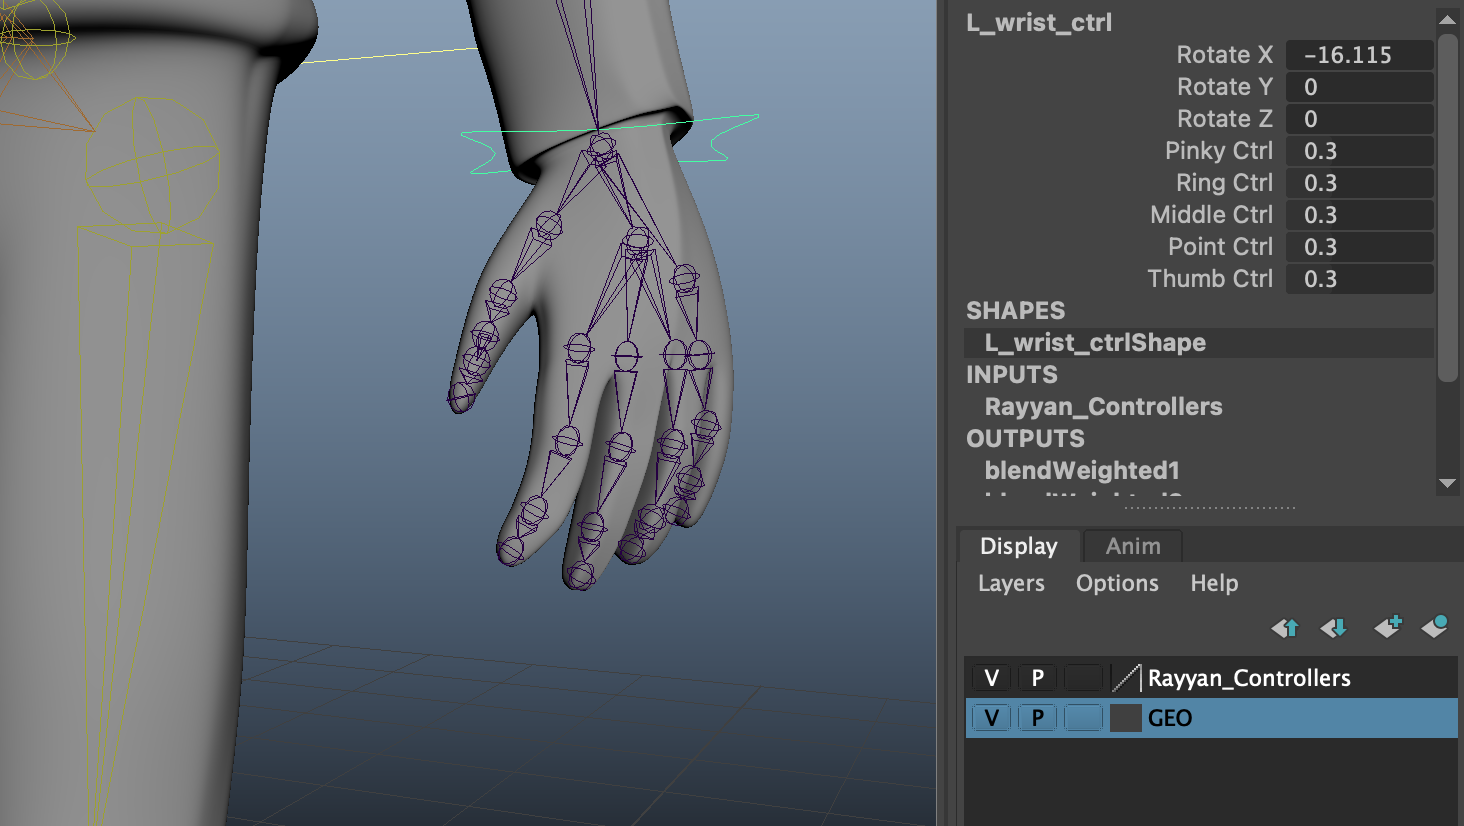
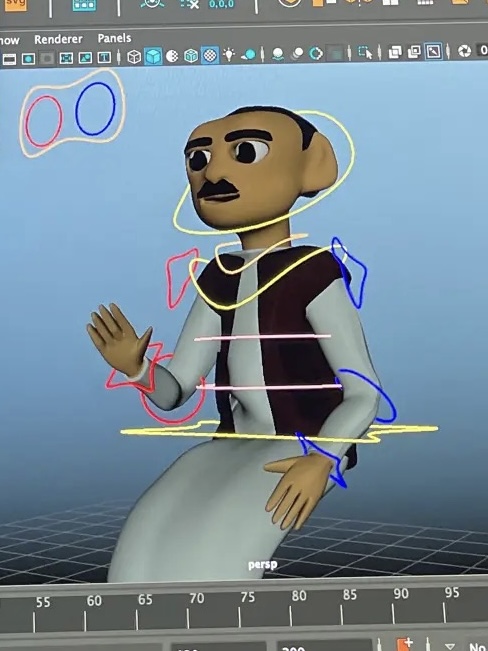
I created a complete manual custom rig with the use of custom keys and blendshapes.
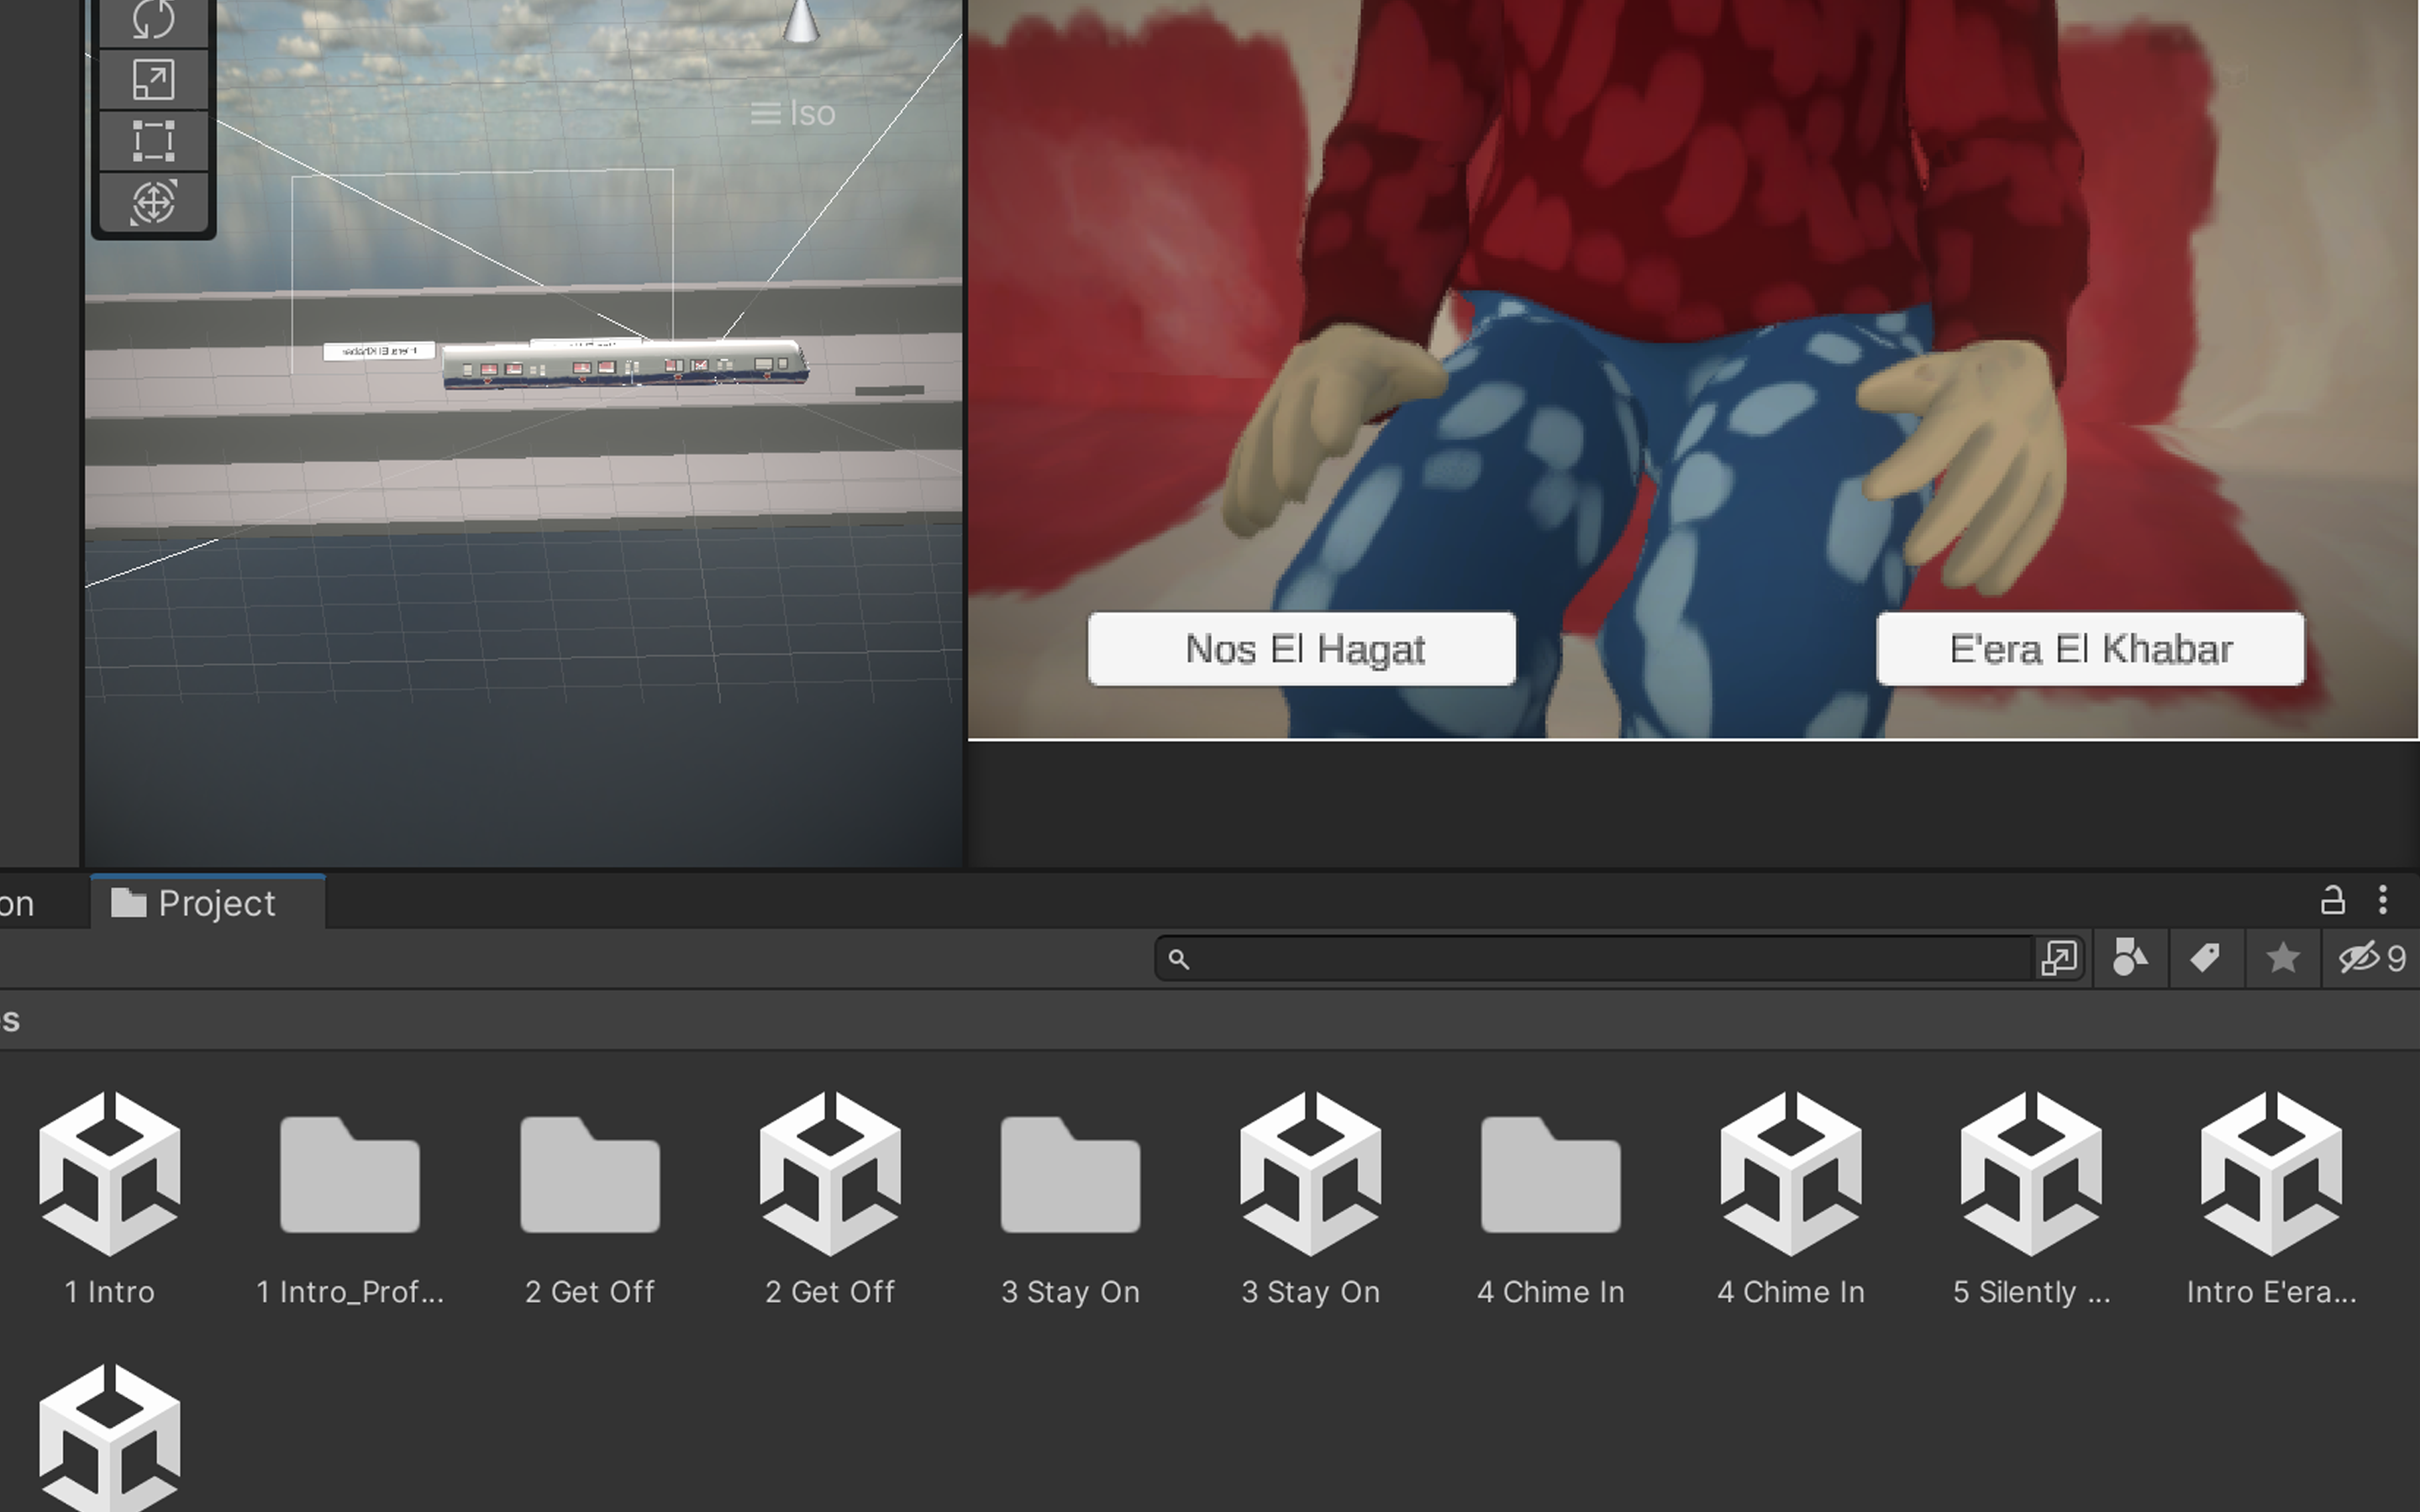
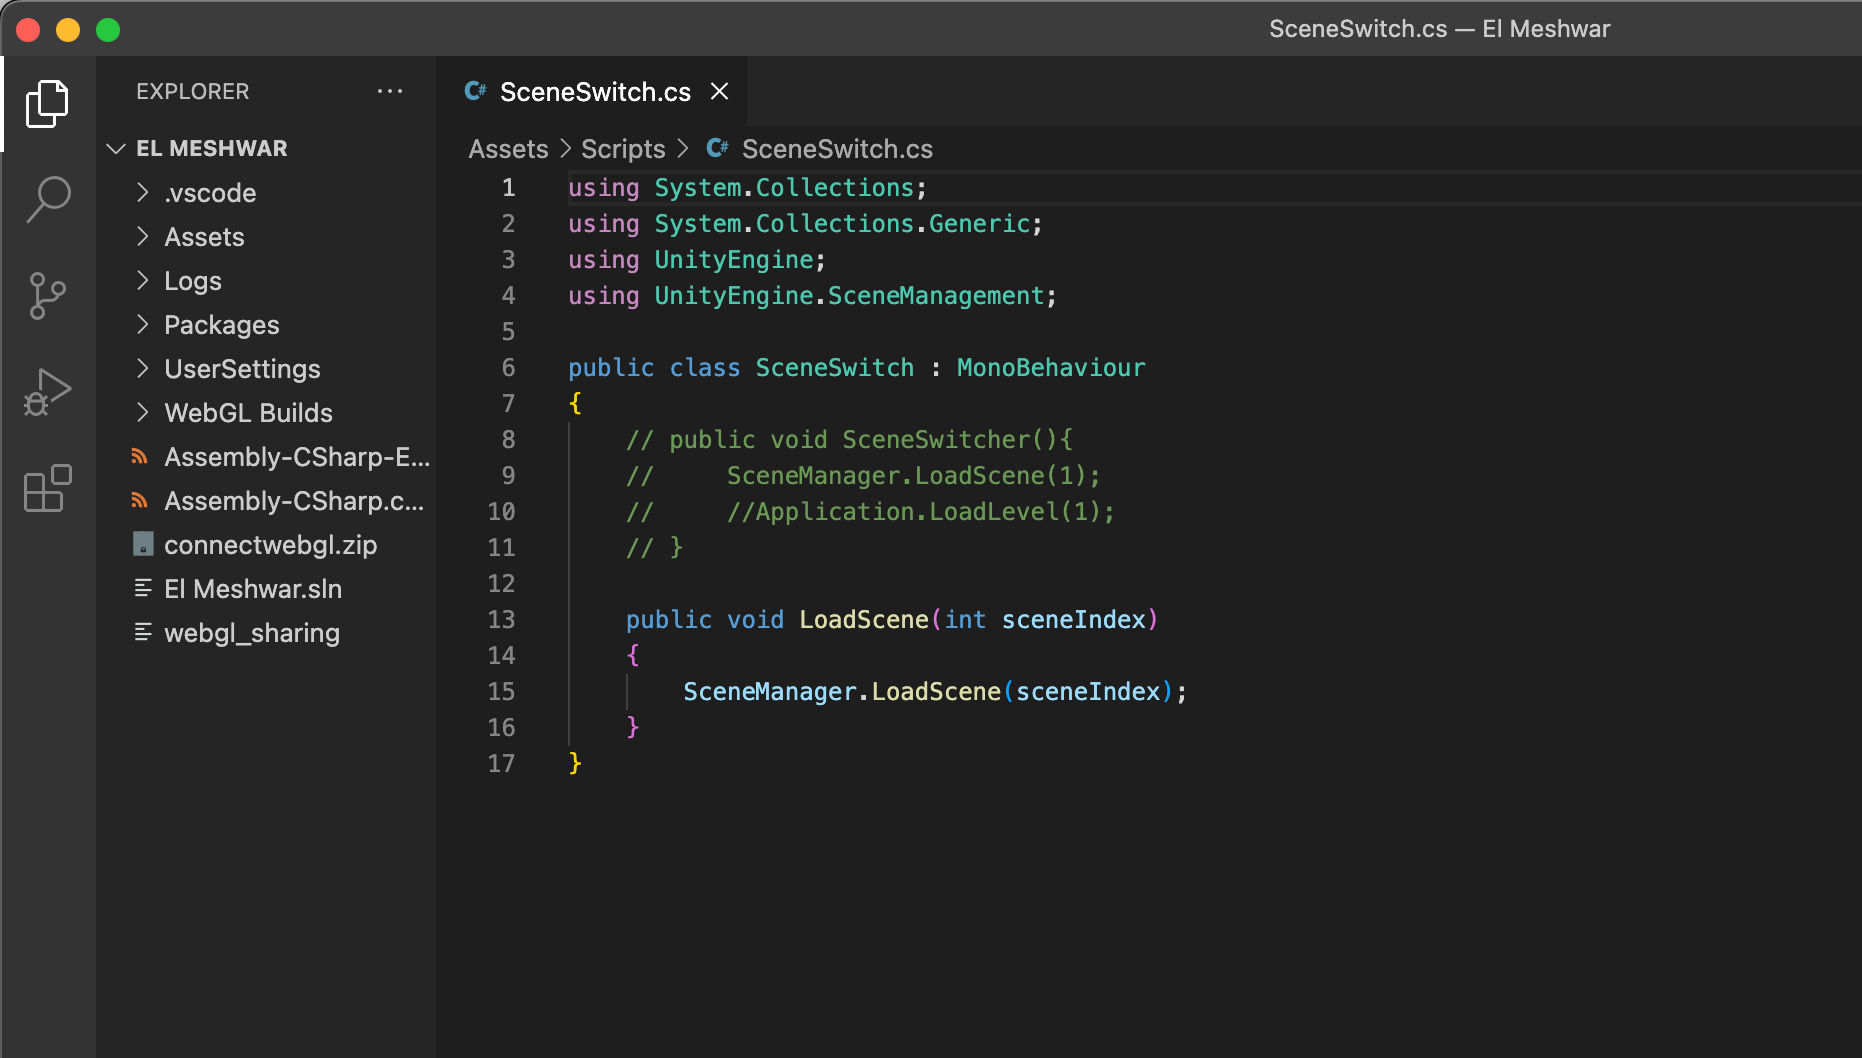
I split the scenes into their respective branches with Cinemachine timelines in each scene and connected them together with buttons via a simple scene switch script. The technical setup of the film sequence was relatively simple to figure out as a Unity novice, however, the real work ahead of me lied in creating visually appealing shots and camera movements as well as importing my models and animating.