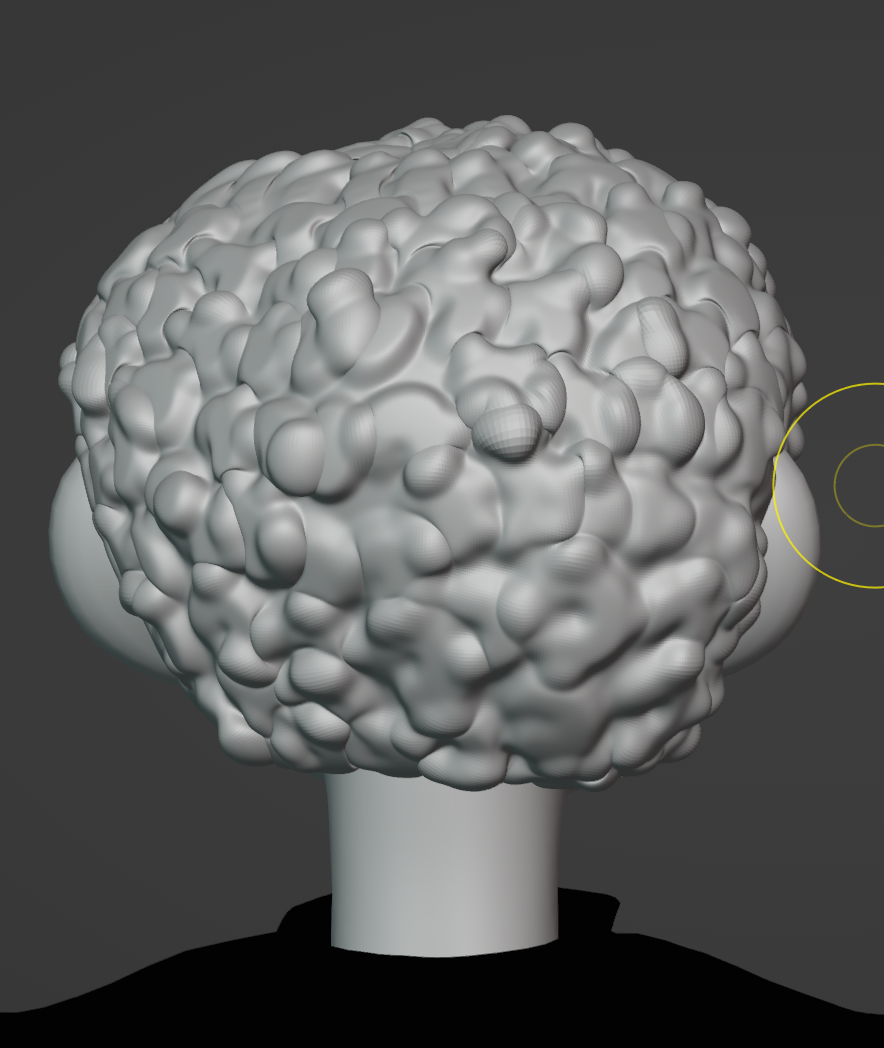
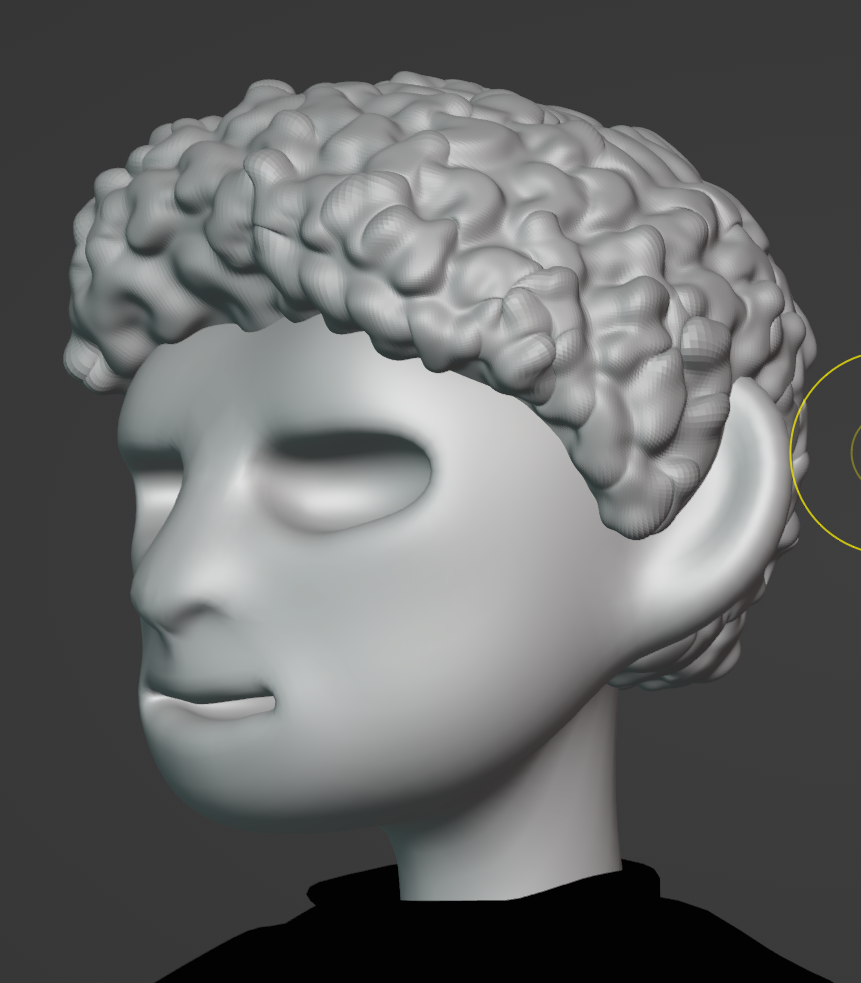
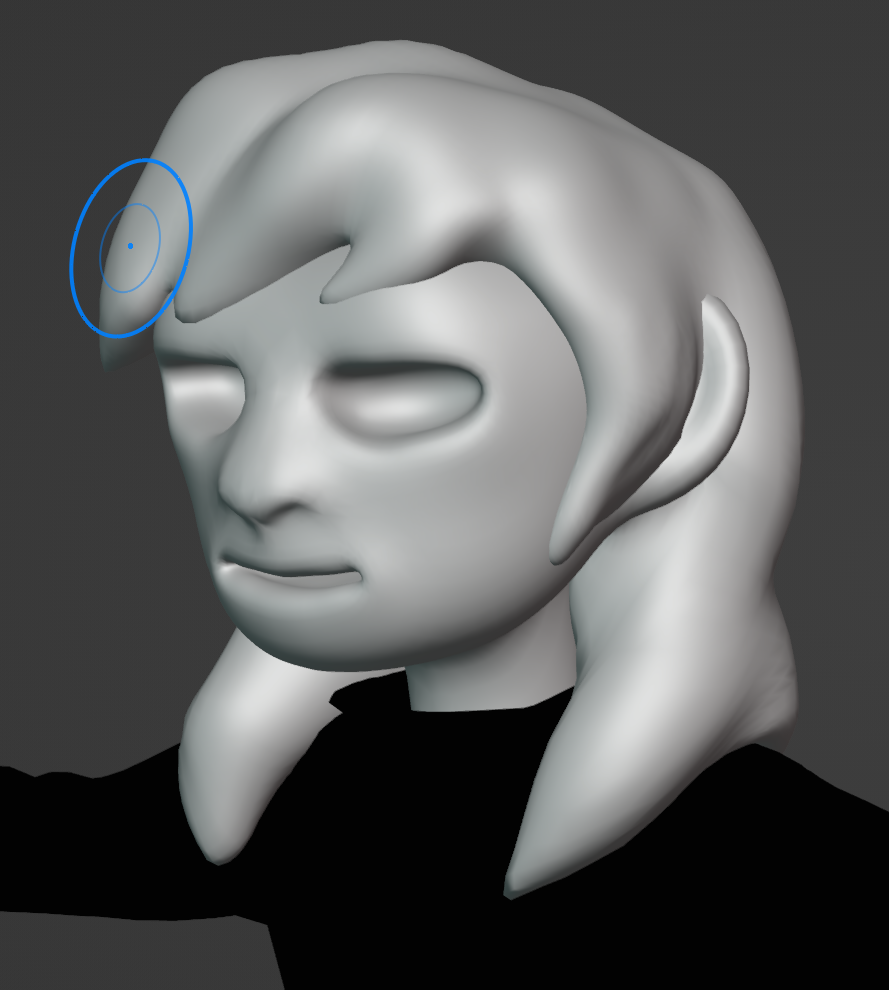
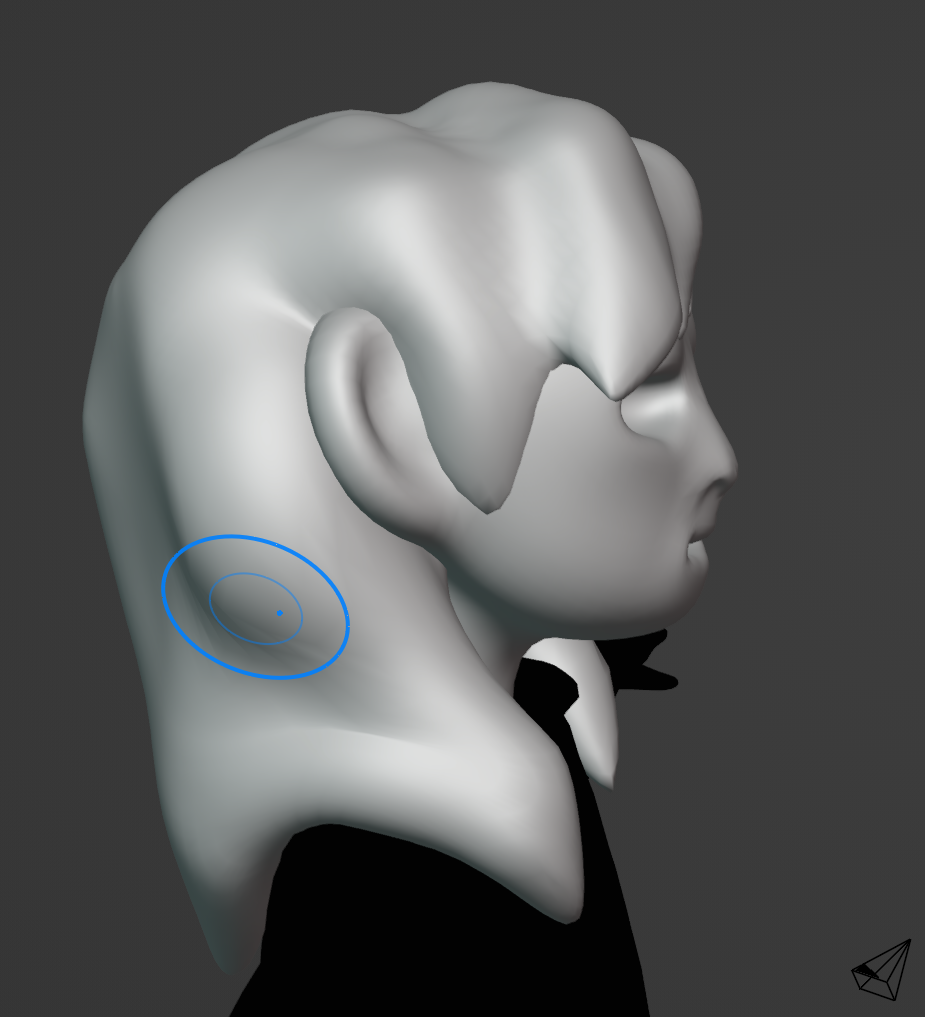
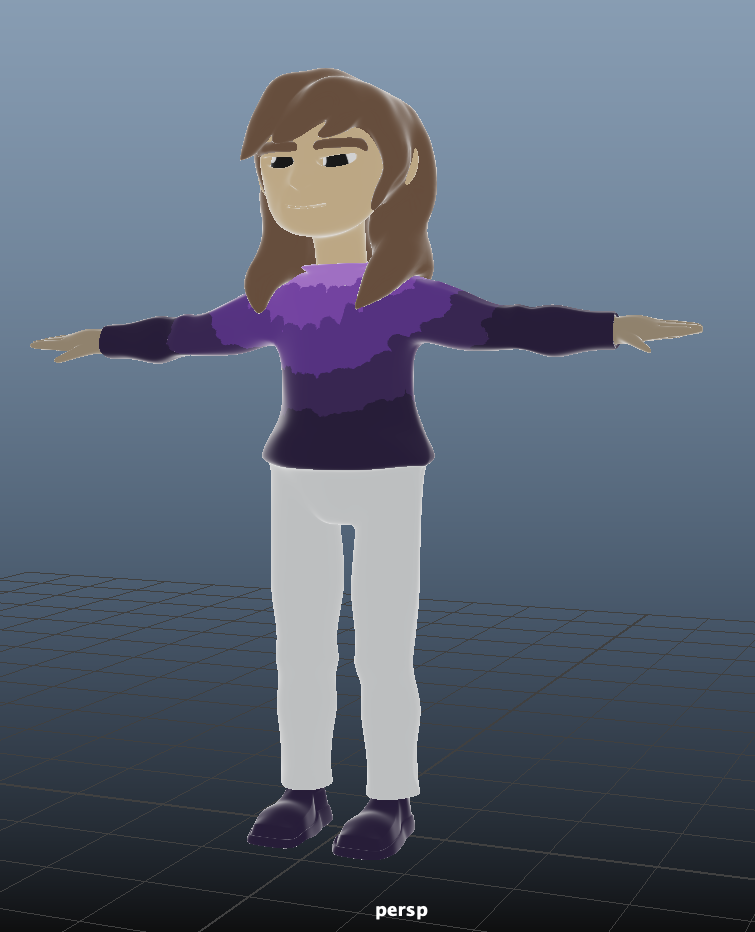
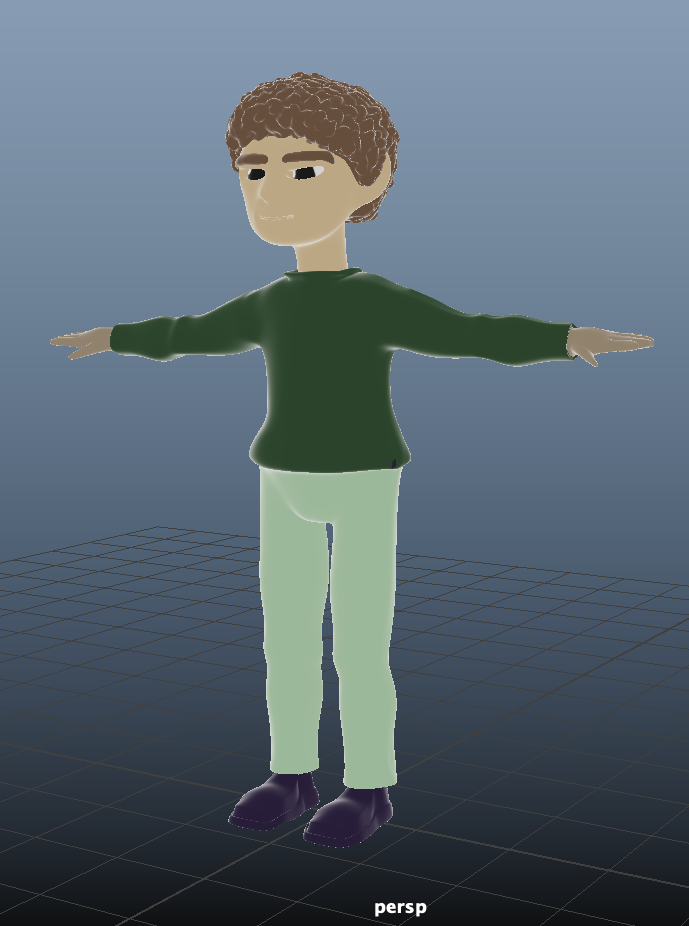
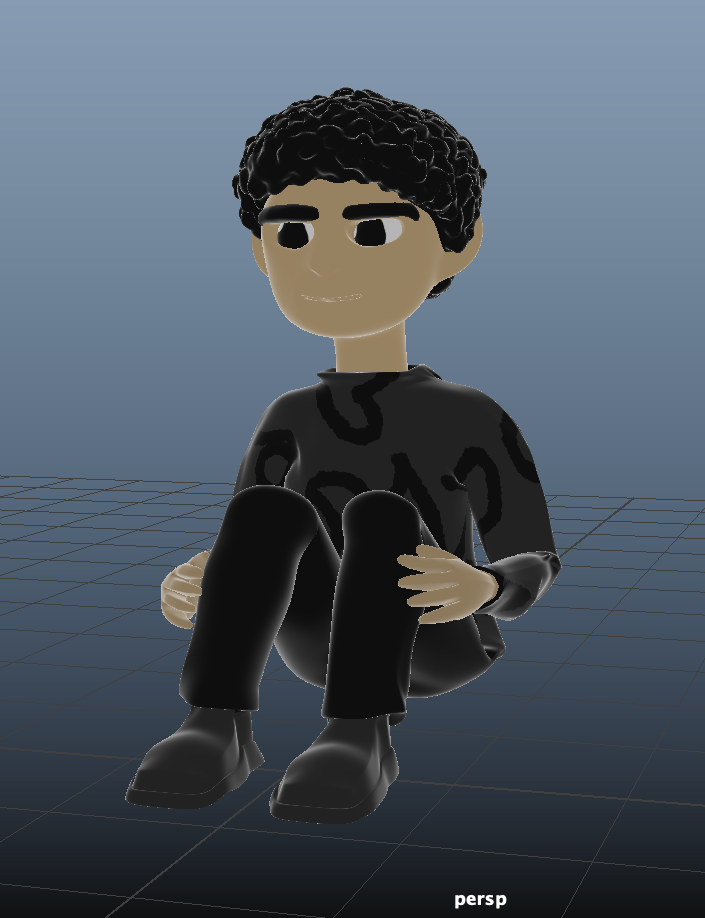
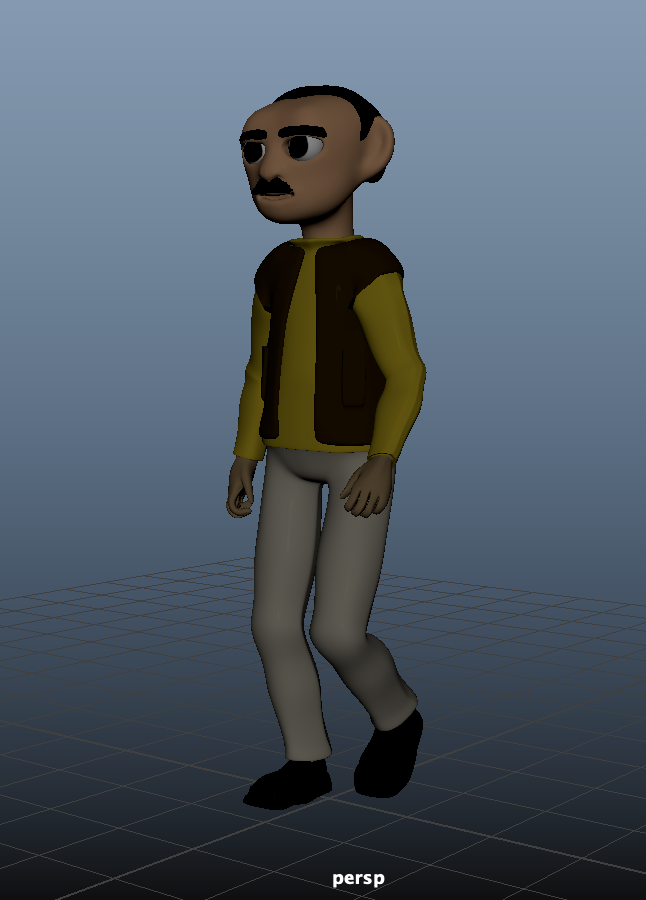
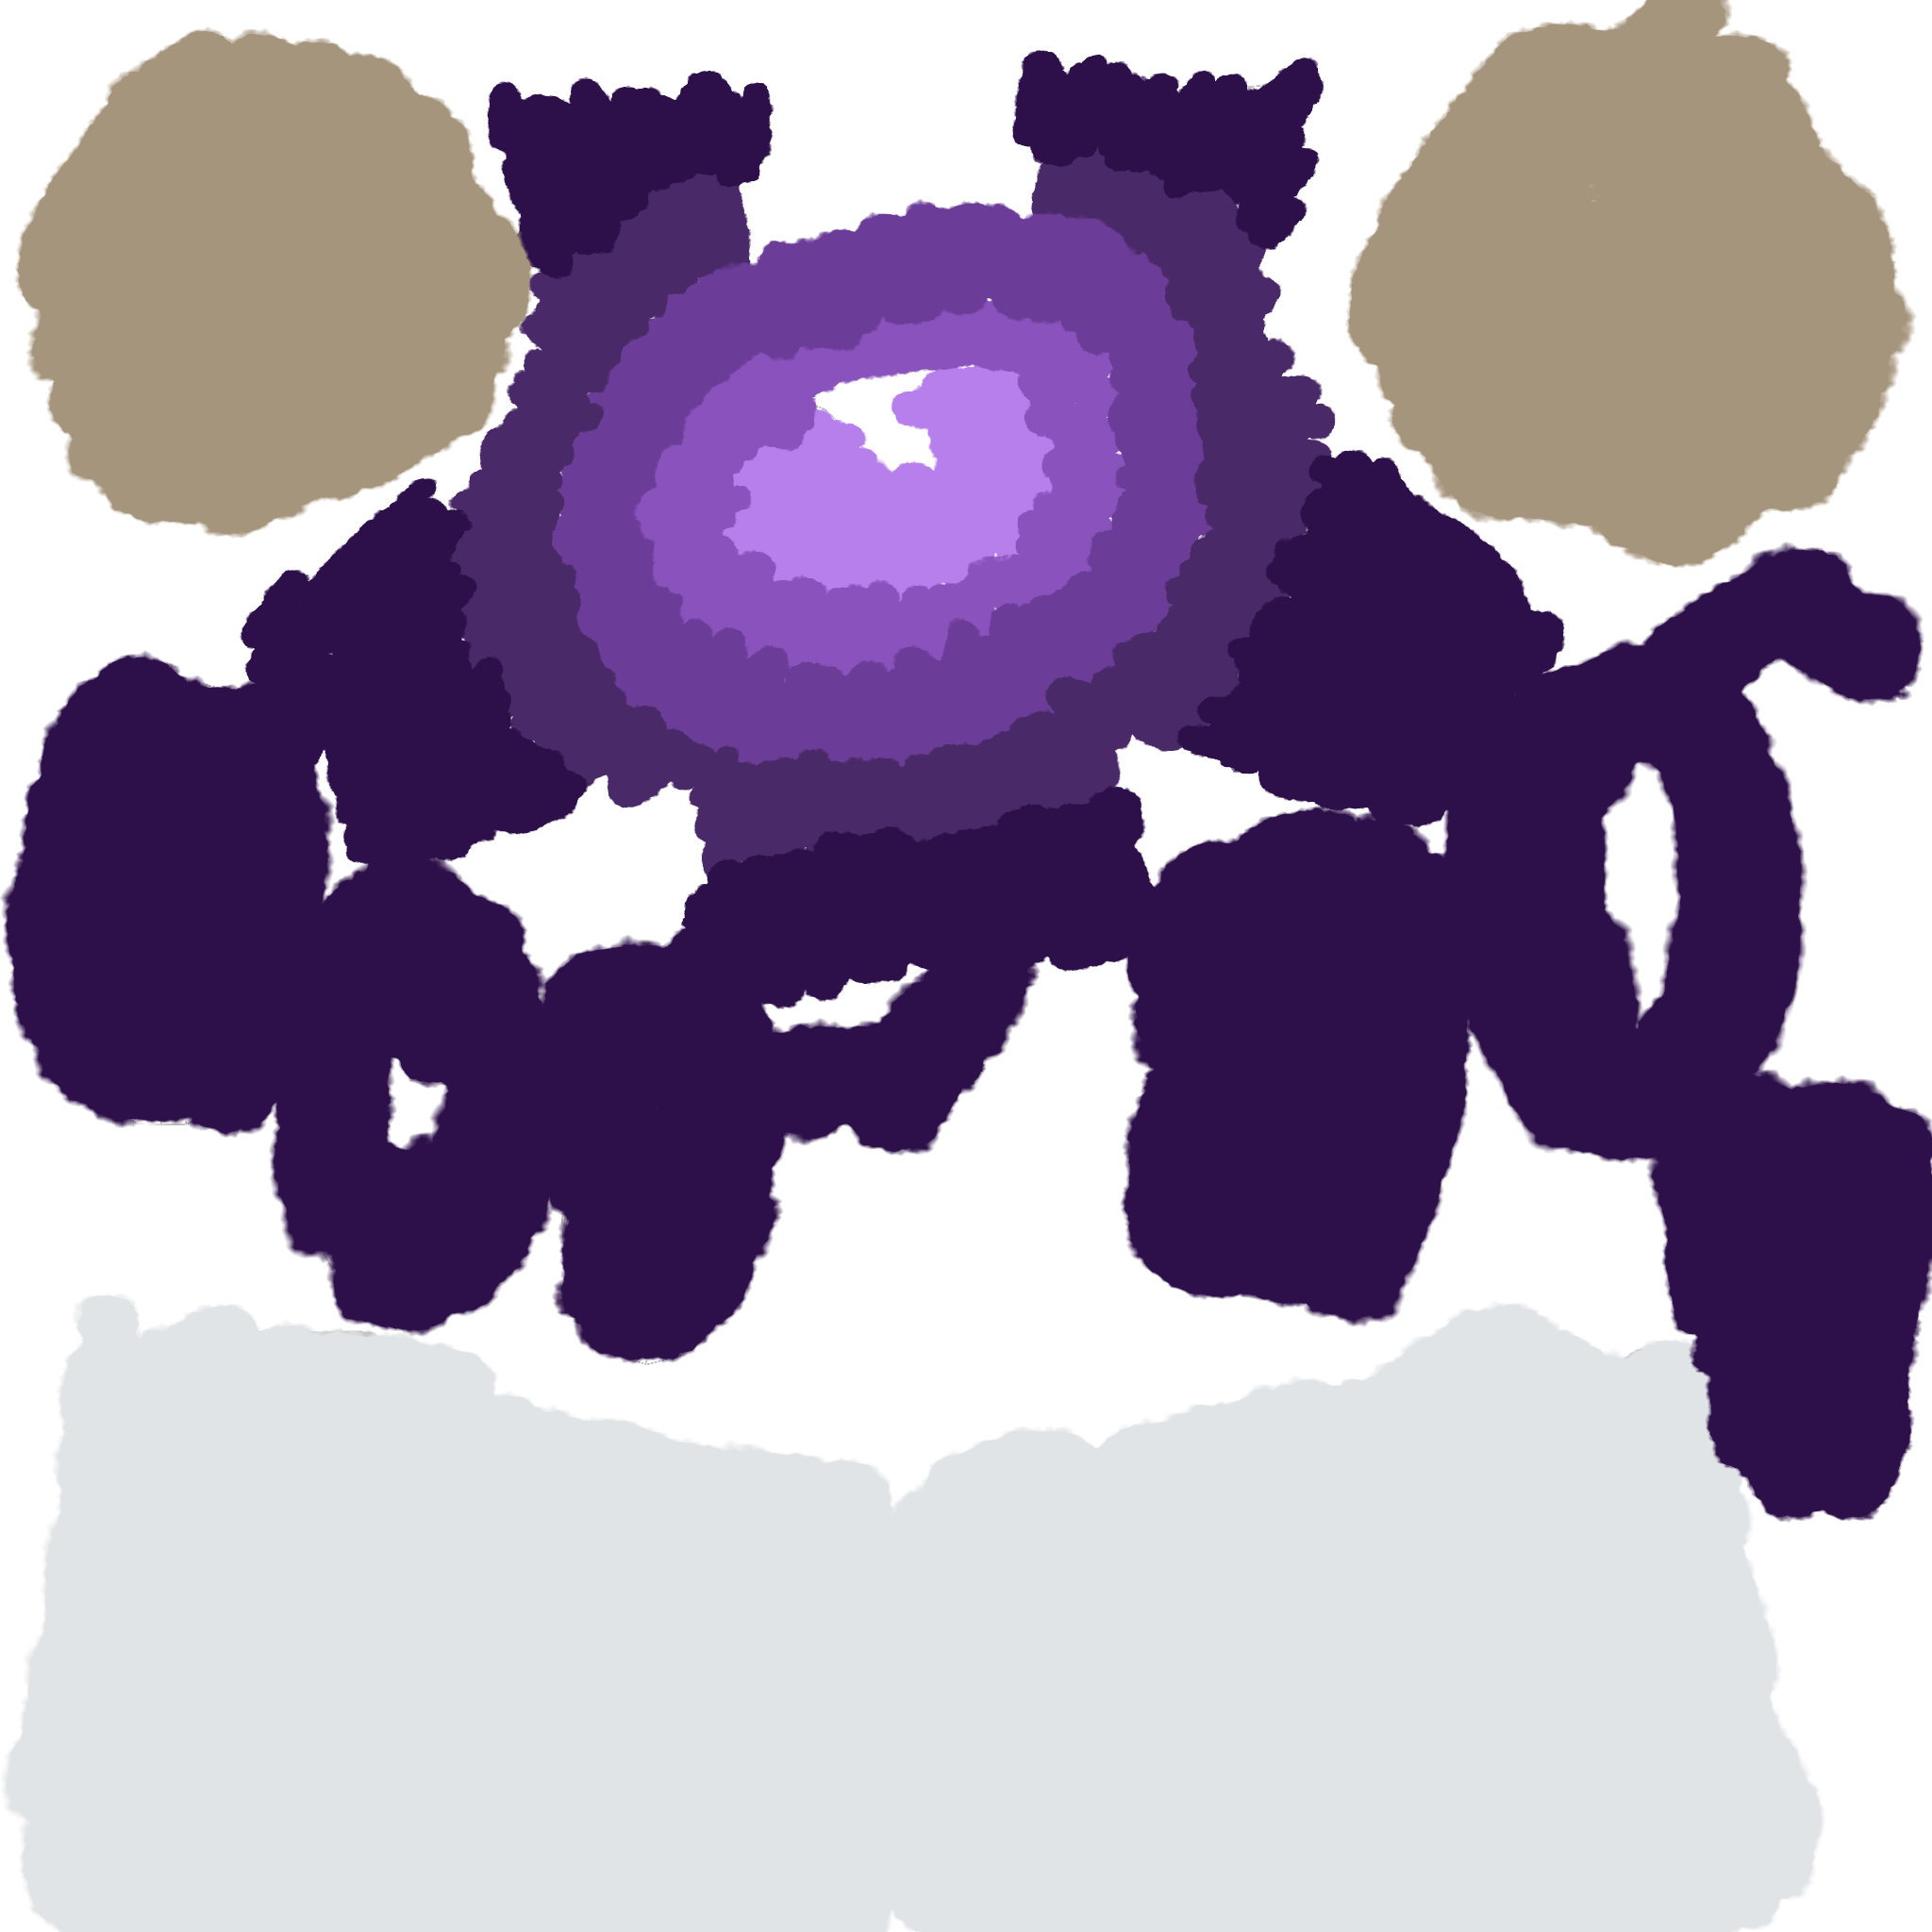
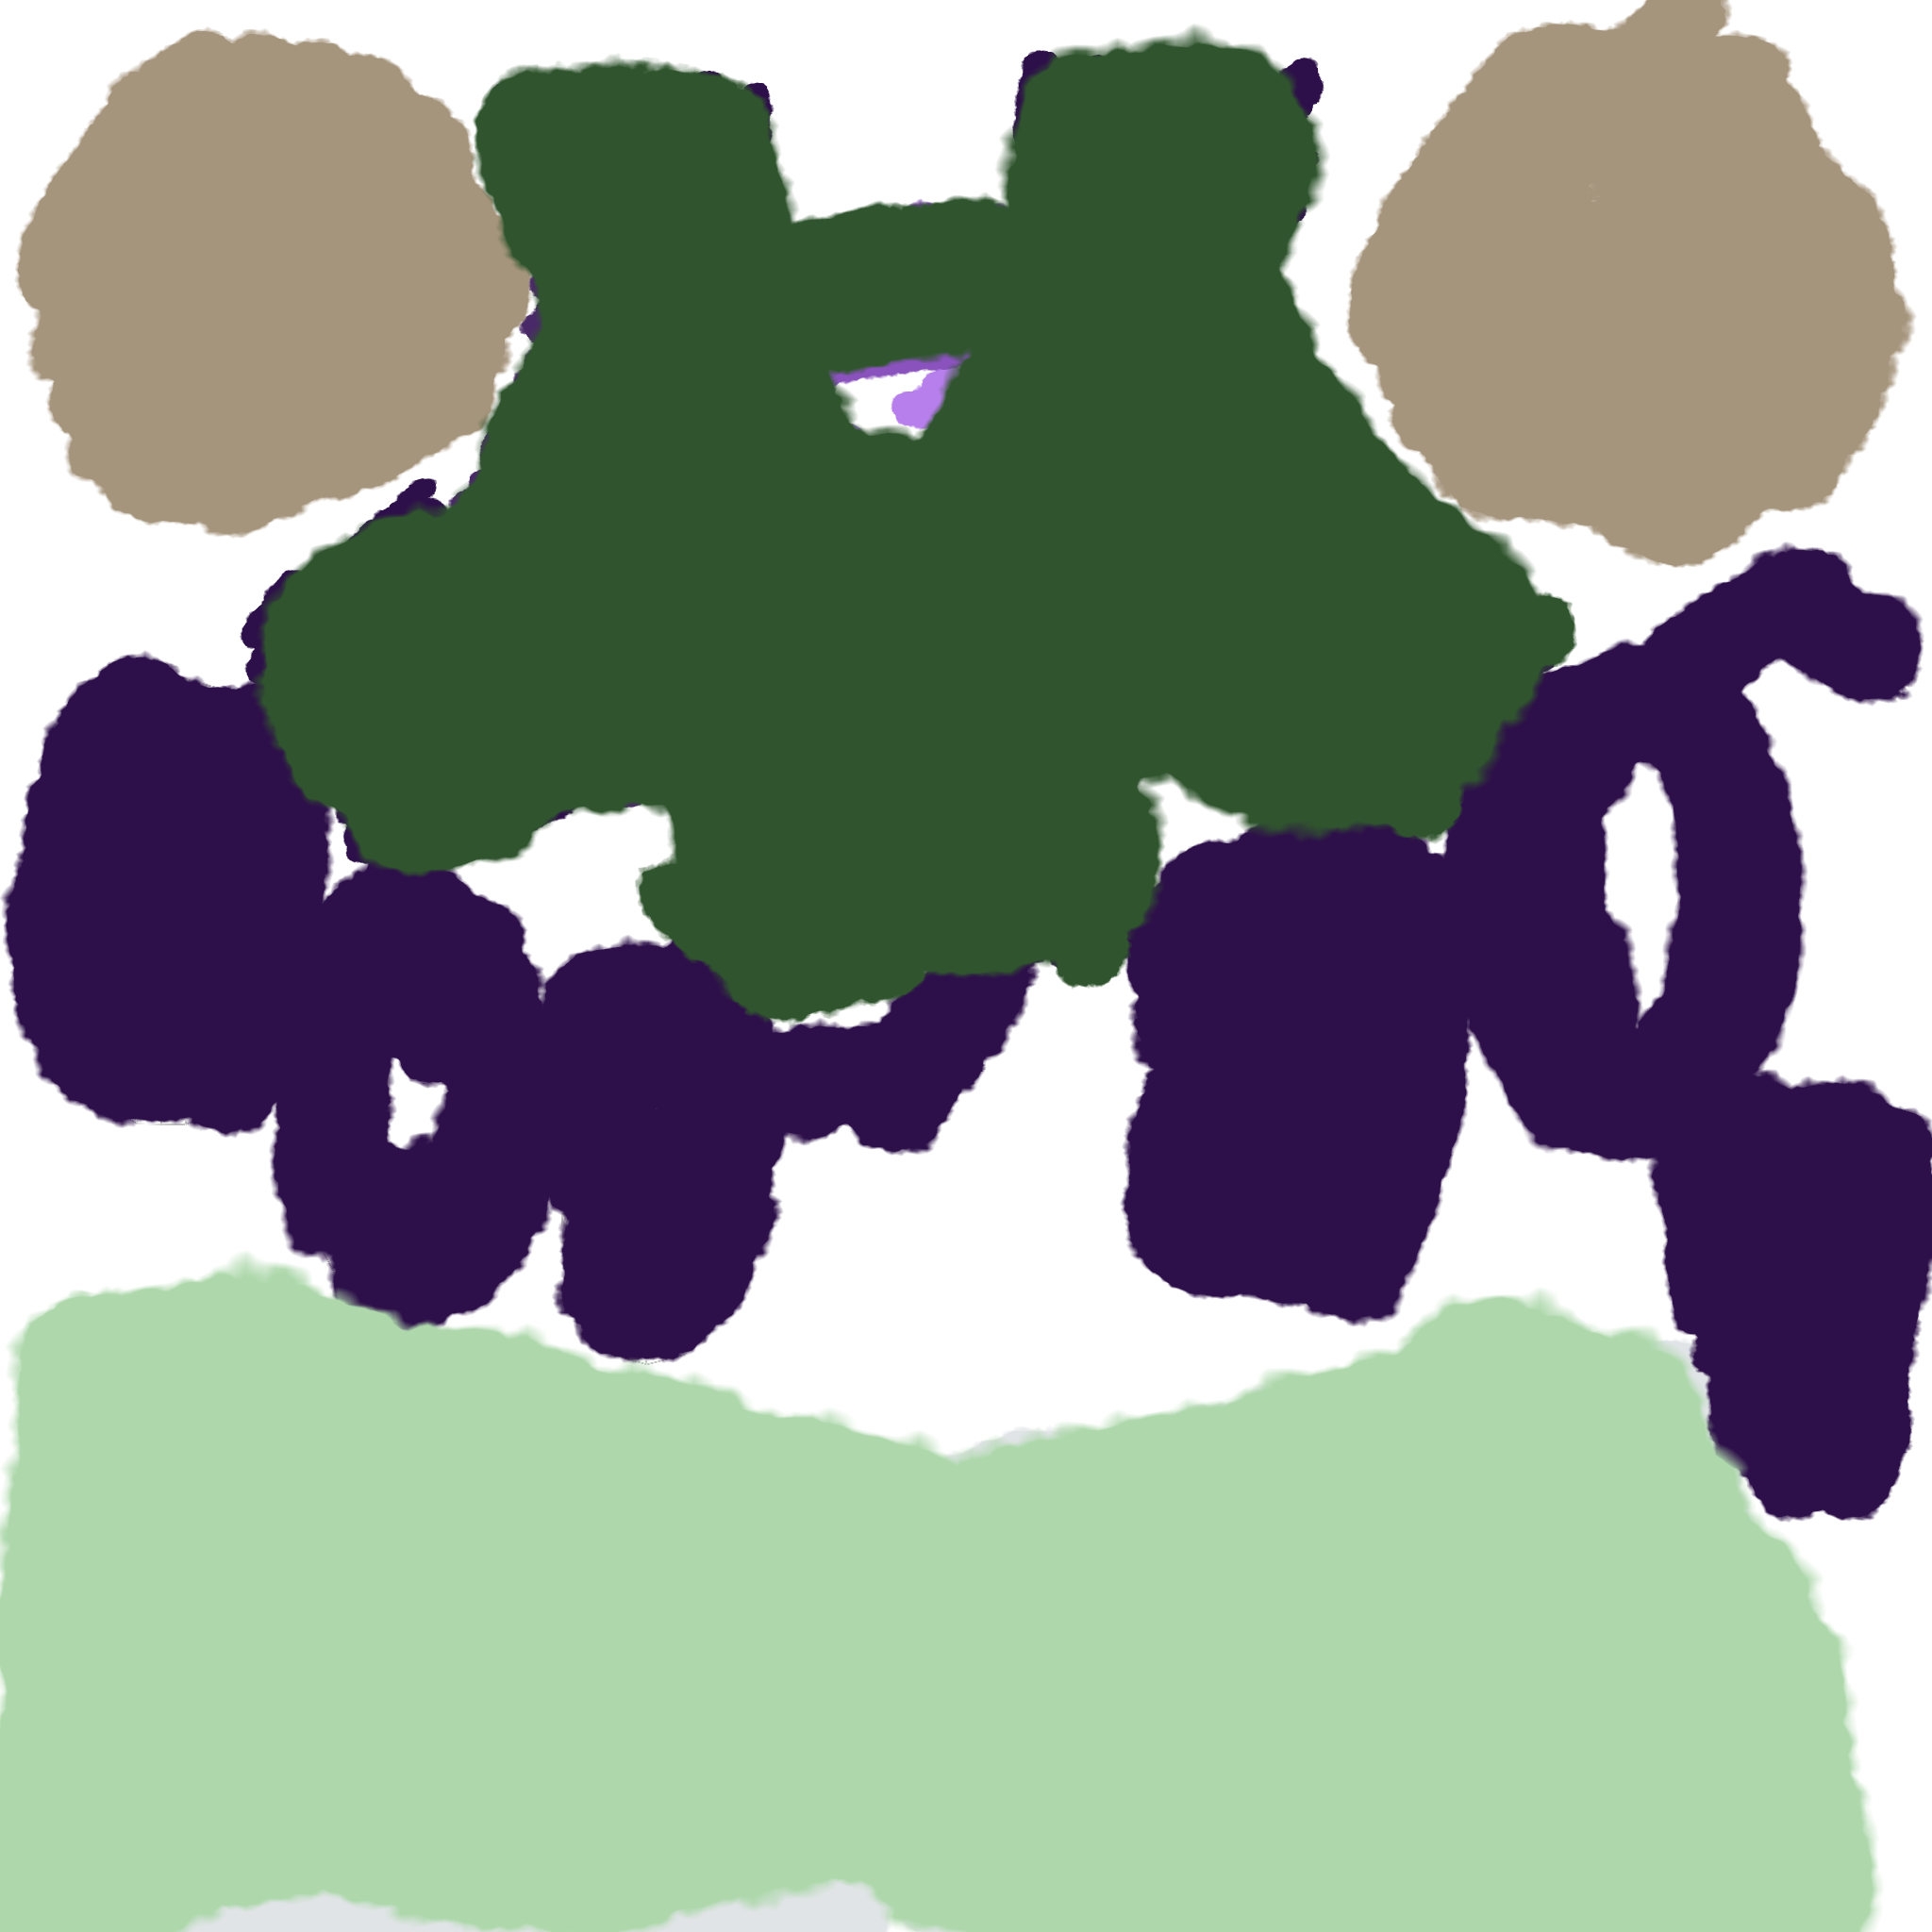
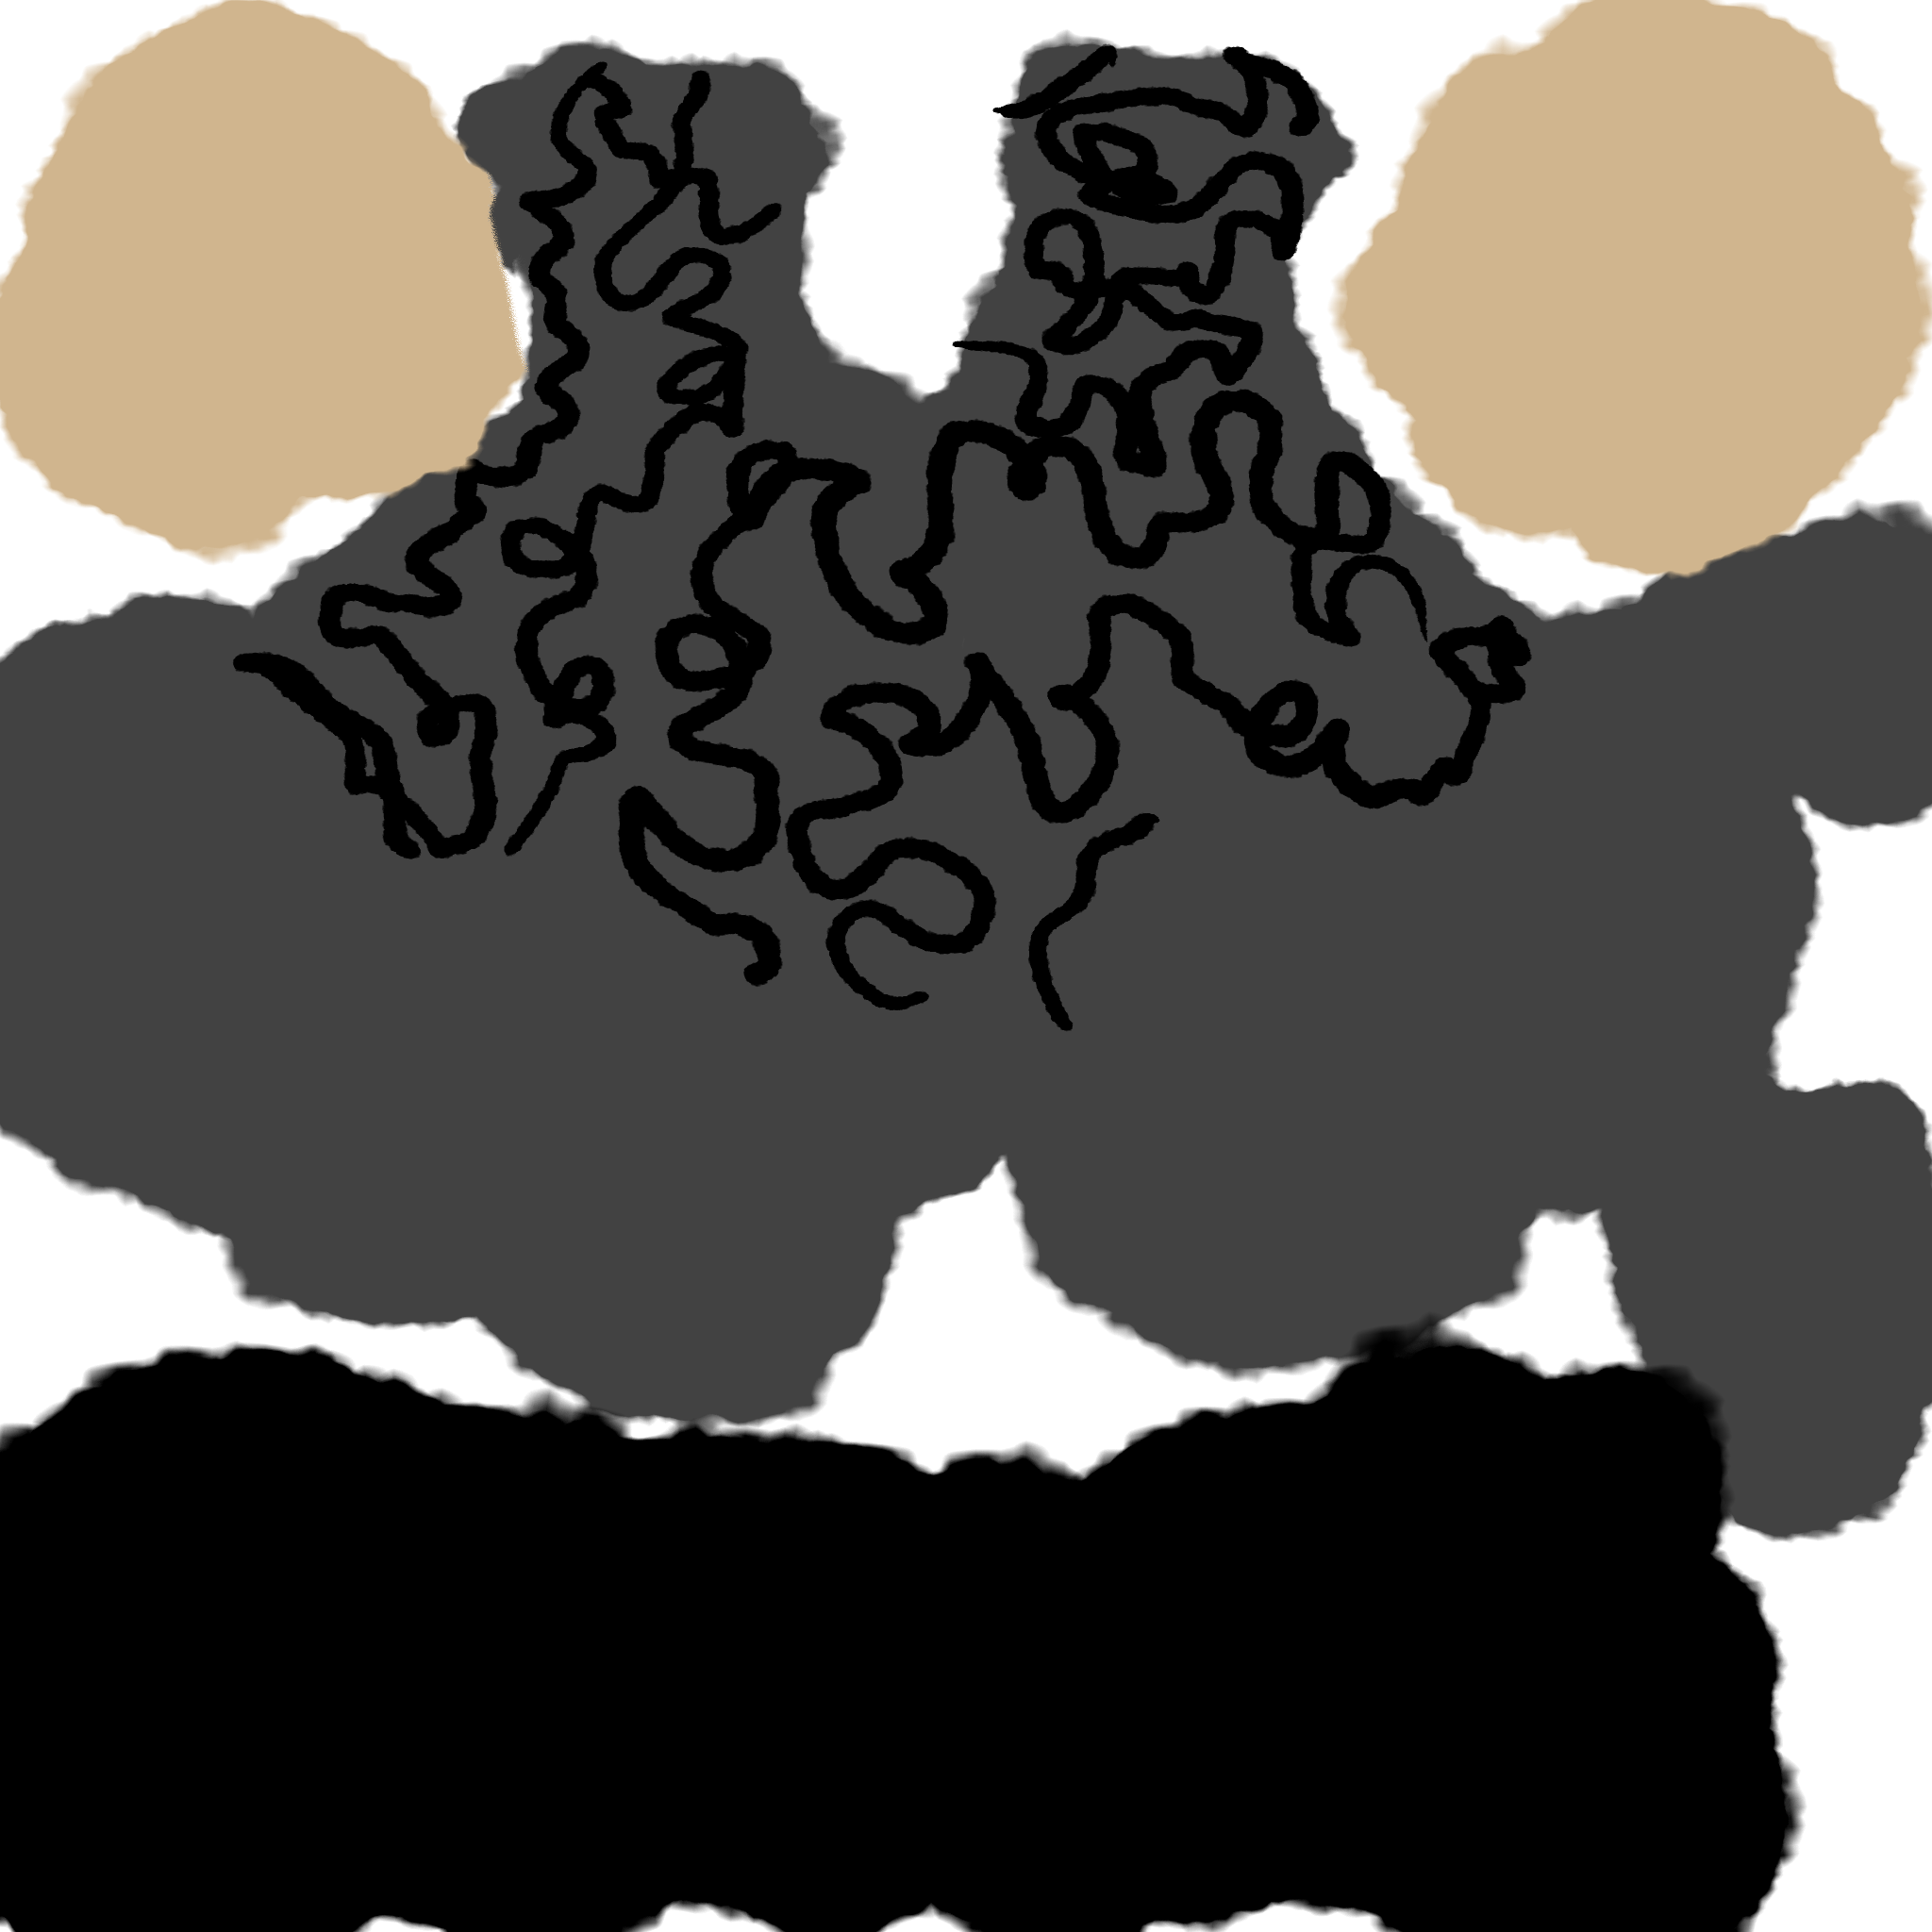


To start polishing the film and improve the visual graphics, I started working on taking my base character model and
changing
up some aspects of it to create my side characters. I sculpted 2 different hair looks and created 4 new colour maps.
I quickly posed two of them, and used a Mixamo sitting pose for the other two so I can jump into Unity again.


When I had the first iteration on Unity play for the technical showcase, it didn't play on awake and needed one click. So, I thought to make a little start screen so users can intuitively click and have a smoother journey into the film.
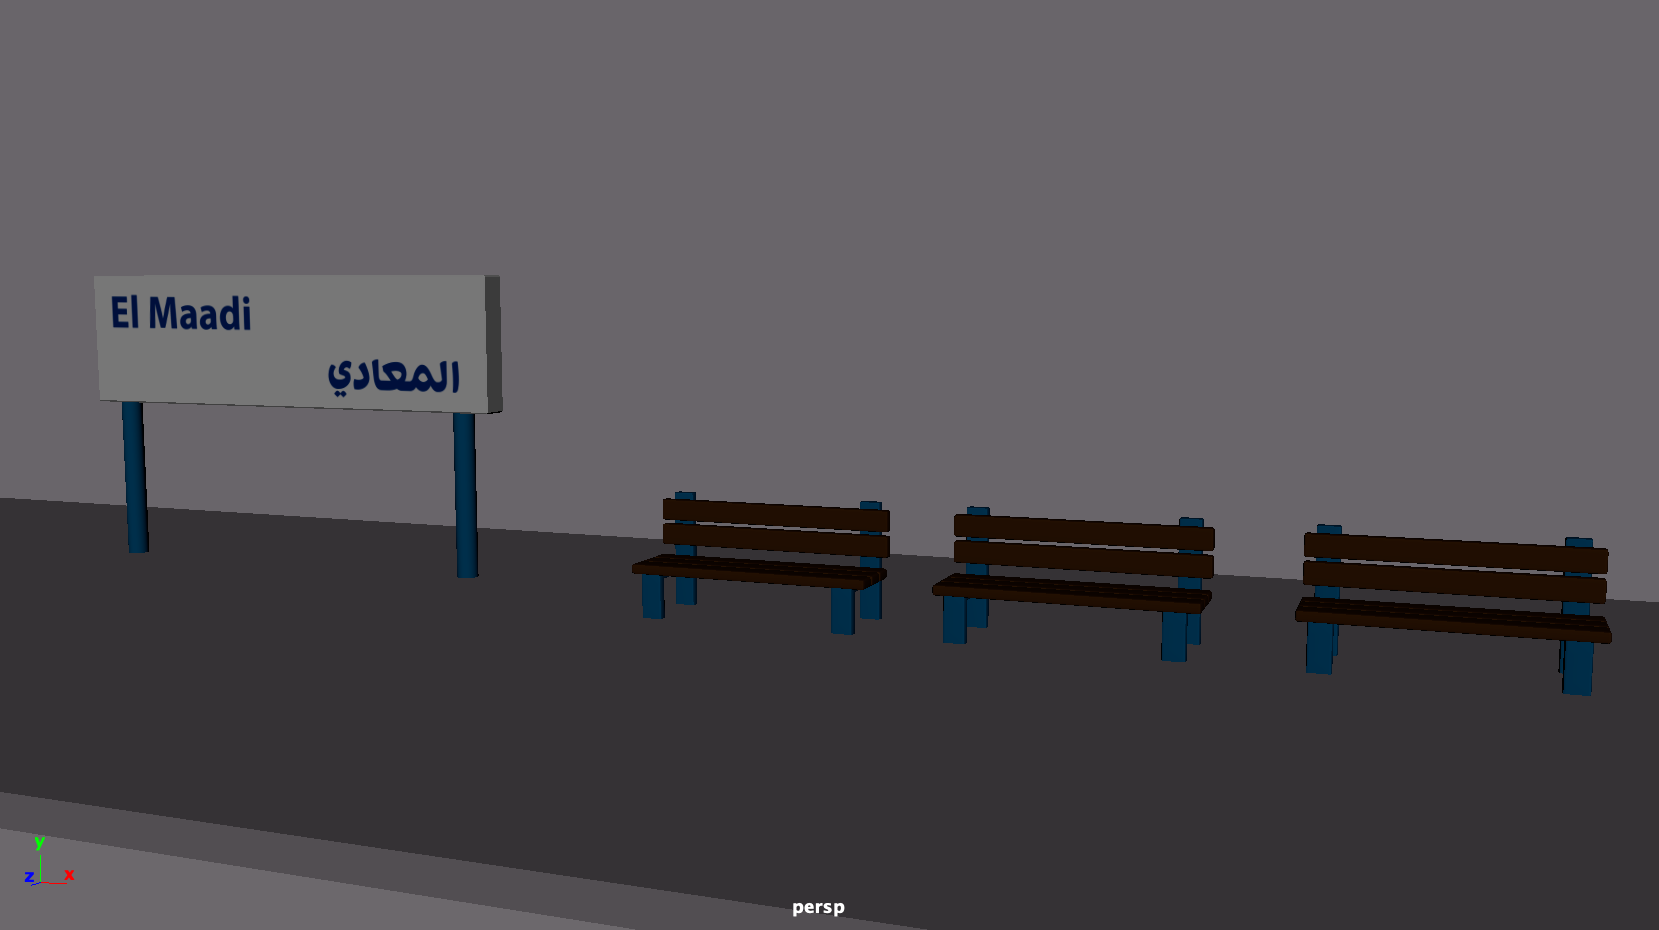
I polished the bench models I had made a little bit
more and textured them.
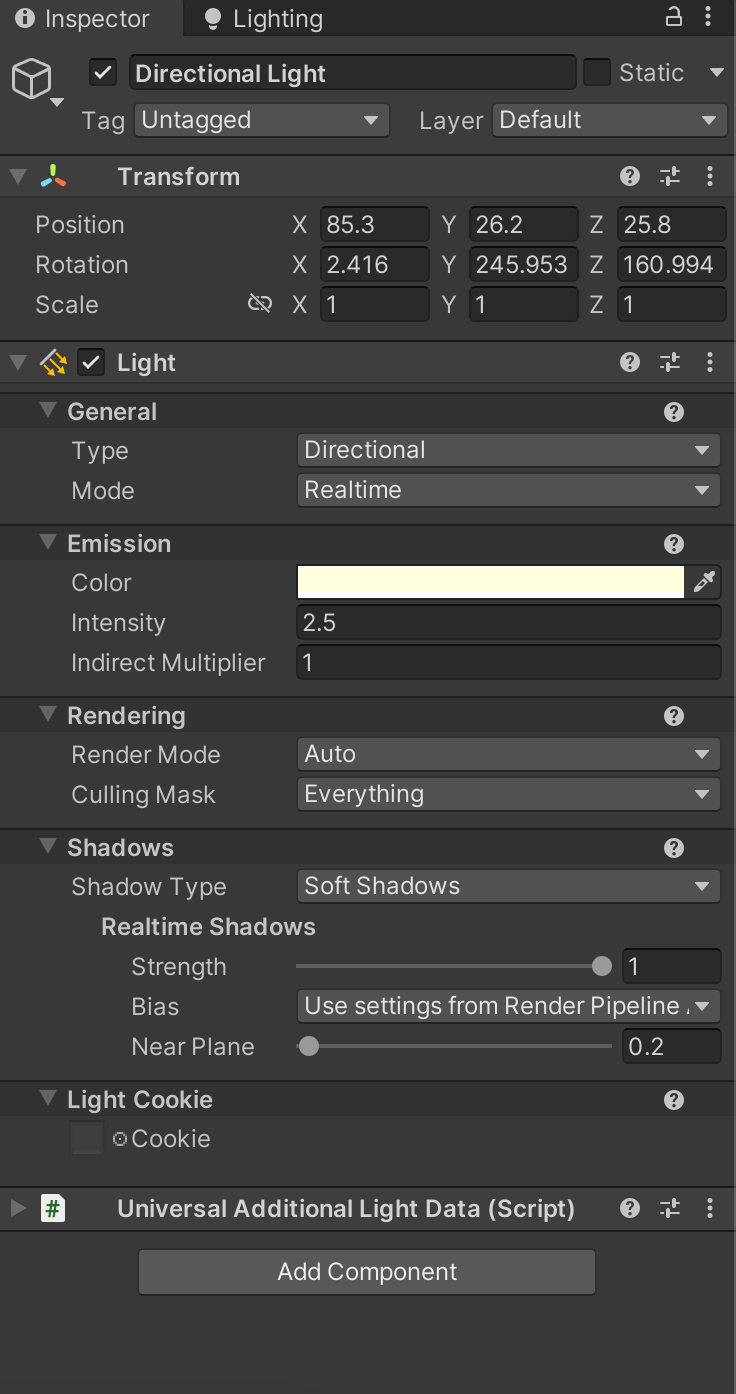
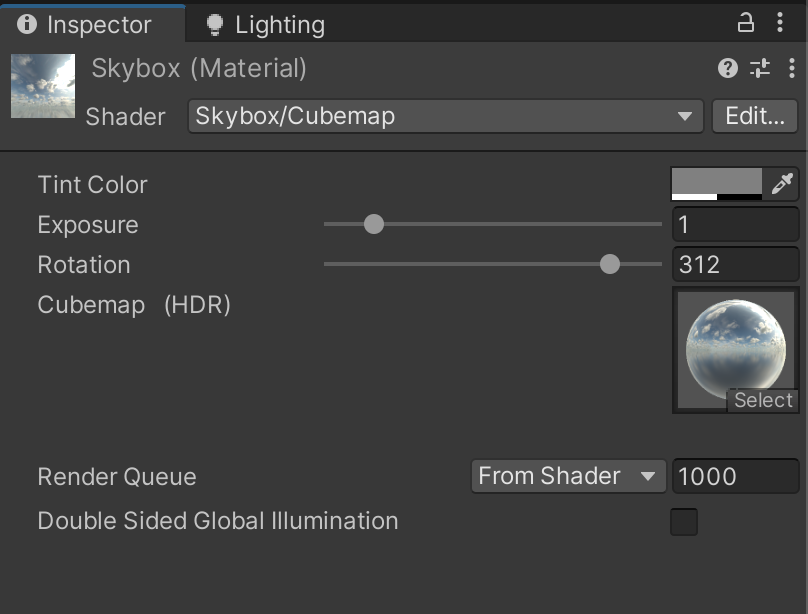
In an attempt to improve the lighting of my scenes, I had to scale down all my hierarchy. I grouped all my hierarchy under one gameObject and duplicated my character model and moved it next to a new cube game object to use as size reference. I played around with my skybox and directional light settings. I tried to add spotlights and develop the lighting further, but I didn't have time and the lighting workflow in Unity wasn't as intuitive as in Maya and Blender so it was difficult to develop it further within the short timeframe I had.

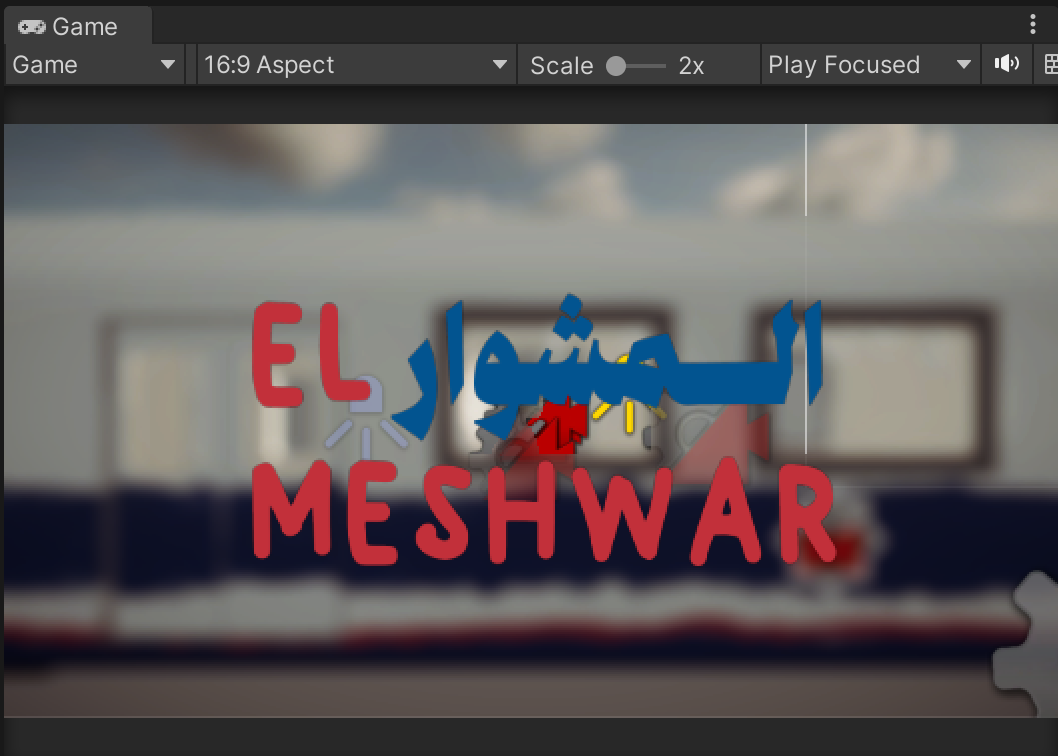
Another challenge I encoutered was with setting a depth of field post-processing effect. Because I'm using Cinemachine, all the work seen in the game is controlled by the timeline, and since depth of field is a predetermined setting on global or local volumes, I couldn't animate it in the timeline like how I was doing with the rest of my elements. I looked into dynamic depth of field tutorials where a script on the camera sends out raycasts that collides with specified objects that contain a box collidor and changes accordingly. However, because my objects aren't collidors, the script needed editing so it can apply to what I'm trying to do and as a begginer in C#, I simply didn't have the time or the knowledge to apply this specific detail and achieve it. My main need for this effect was to create a blur effect in the backgrouund, so the title appears more contrasted. I was able to still achieve it after numerous trials by setting the focus distance to 1.17 which didn't affect the shots in the rest of this particular scene. I added other post-processing effects like vignette, bloom, tonemapping, and color grading. This global volume was then duplicated in the other scenes but with different depths of field that can work depending on the shots.

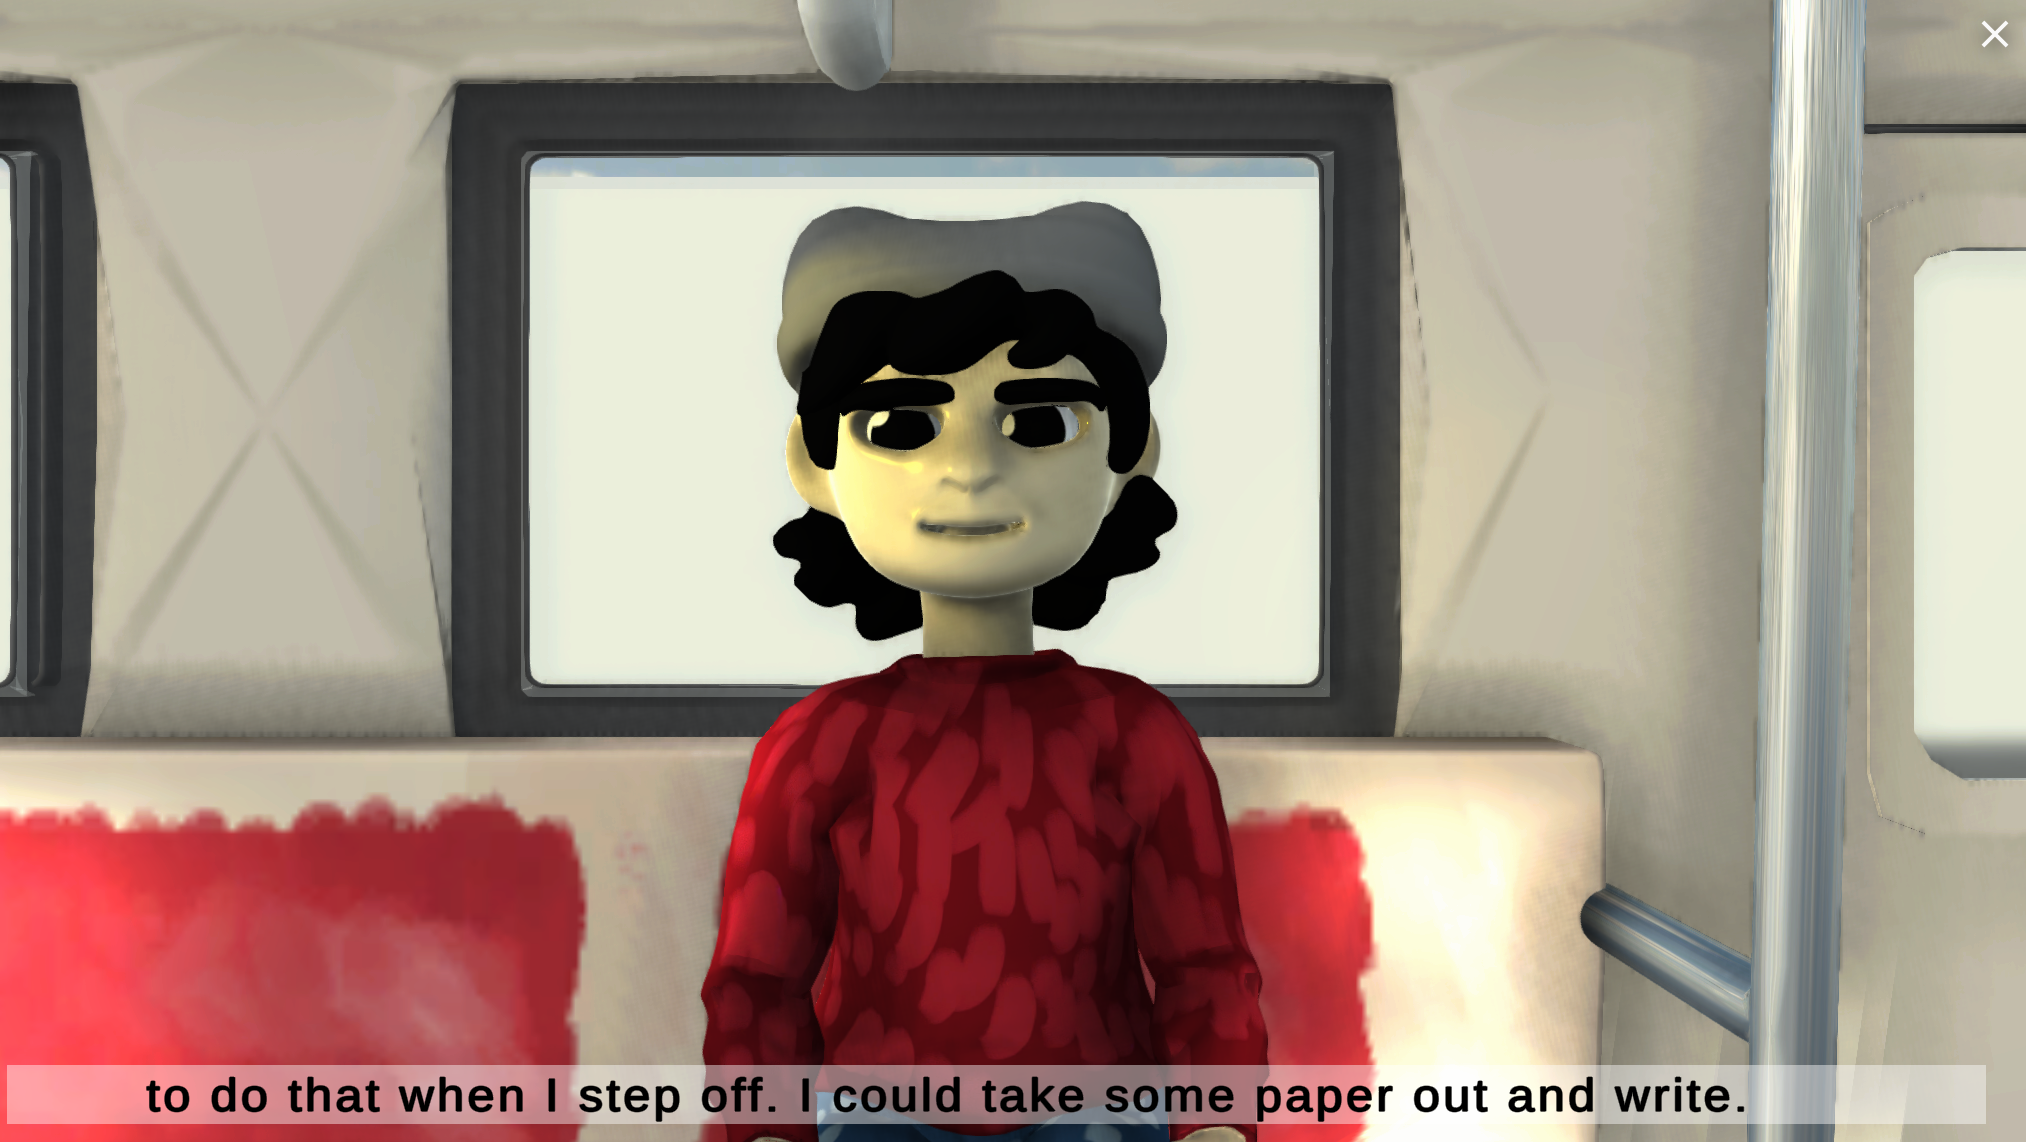
I added subtitles in the timelines through activation tracks
of text objects.
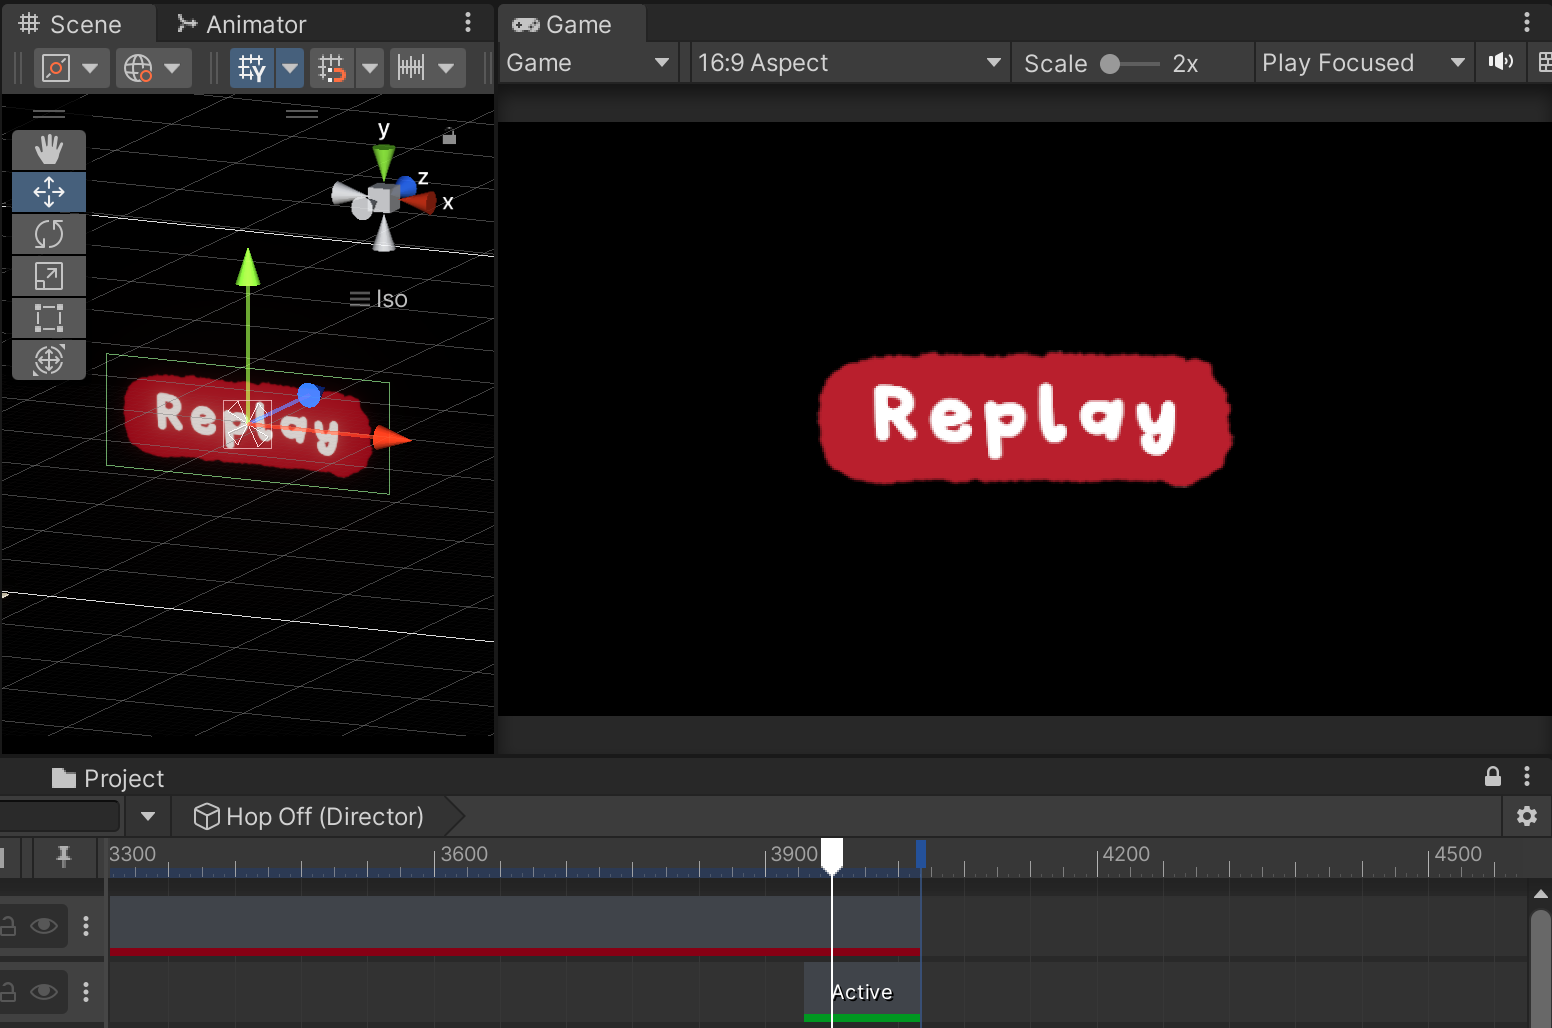
Based on feedback from users in the technical showcase, I added a button at the end of each ending that brings them back to the first song choice. I had to create a new scene that features that specific shot rather than havin the user go through the entire intro scene again.